Featured Posts
How to Turn Your NAS into a Home Media Center(Plex, Jellyfin & More)
![]() Giorgio Zhang - Jun 23, 2025
Giorgio Zhang - Jun 23, 2025
In an age of countless streaming subscriptions and fragmented digital libraries, the dream of a single, unified place for all your movies, TV shows, music, and photos feels more relevant than ever. Your digital content is likely scattered across external hard drives, old laptops, and various cloud services. What if you could consolidate everything into a personal, on-demand media library, accessible from any device, anytime?
The solution is likely already in your home or on your tech wish list: the Network Attached Storage (NAS).
Traditionally viewed as a simple device for file backups, a modern NAS is a versatile server capable of much more.
This guide will walk you through the process of transforming your NAS from a passive storage box into the vibrant, beating heart of your home entertainment system. And we’ll show you how ZimaOS makes this transformation easier than ever before.
This guide will walk you through the process of transforming your NAS from a passive storage box into the vibrant, beating heart of your home entertainment system. And we’ll show you how ZimaOS makes this transformation easier than ever before.
Why a NAS is the Perfect Foundation for a Media Center?
Before we dive into the “how,” let’s understand the “why.” Using a NAS as your media server offers several distinct advantages over other solutions:
- Centralized Ownership & Control: This is your media library. You own the hardware and the data. There are no monthly subscription fees to access your own files, no surprise content removals, and no third-party terms of service to worry about.
- 24/7 Availability: A NAS is designed for continuous, low-power operation. Your media library is always online and ready to stream, whether you’re on your living room couch or on vacation halfway across the world.
- Privacy First: Your viewing habits and data remain on your local network, under your control. You’re not feeding data to a large corporation about what you watch and when.
- Scalability: As your media collection grows, you can easily expand the storage capacity of your NAS. With devices like the ZimaCube, you can start with a couple of drives and add more as your library expands, ensuring you never run out of space.
The key ingredients for building a home media server: hardware and software
To build your media center, you need two core components: the right hardware and the right software.
Hardware: The Engine of Your Media Center
Your server’s performance, especially with high-resolution 4K content, depends on its hardware. You need a device that is powerful enough to handle media tasks, yet energy-efficient enough for 24/7 operation.
This is where the Zima family of products excels. They are purpose-built for creating a personal cloud and home server.
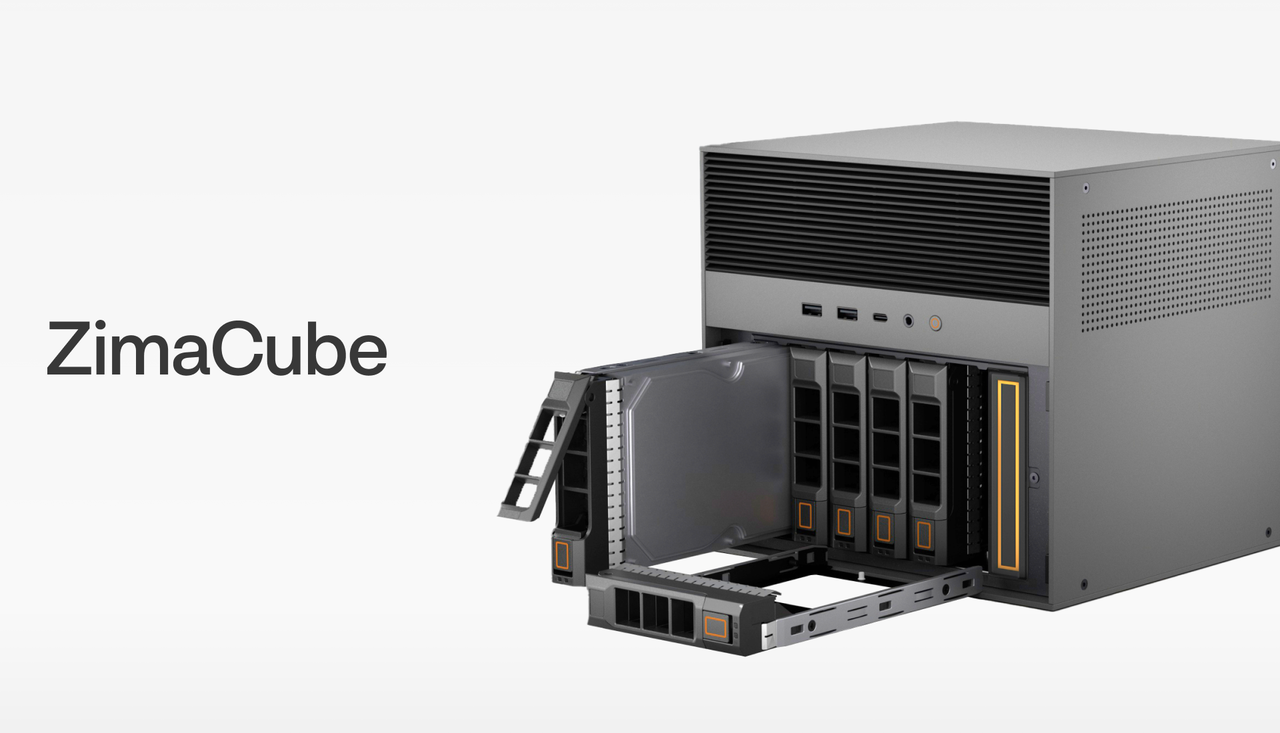
- For the Ultimate Powerhouse: The ZimaCube is a purpose-built personal cloud server designed for high-performance tasks. With a more powerful processor and dedicated bays for multiple hard drives, it can effortlessly handle multiple 4K streams, on-the-fly video transcoding, and run numerous other applications simultaneously without breaking a sweat.
Software: The Brains of the Operation
The Operating System (OS): You need a stable, user-friendly OS. ZimaOS is a Linux-based system designed specifically for managing your personal cloud. One of its key feature is a user-friendly App Store that eliminates the need for complex command-line installations.
The Media Server Application: This is the software that scans, organizes, and presents your media in a beautiful, user-friendly interface. It fetches movie posters, cast information, subtitles, and more, creating that “personal Netflix” experience.
Step-by-Step: Building Your Media Server with ZimaOS
Step 1: Set Up Your Hardware
First, get your Zima device online. Connect it to your router and power it on. For ZimaCube or ZimaBoard/Blade with attached drives, ensure your storage is properly installed.
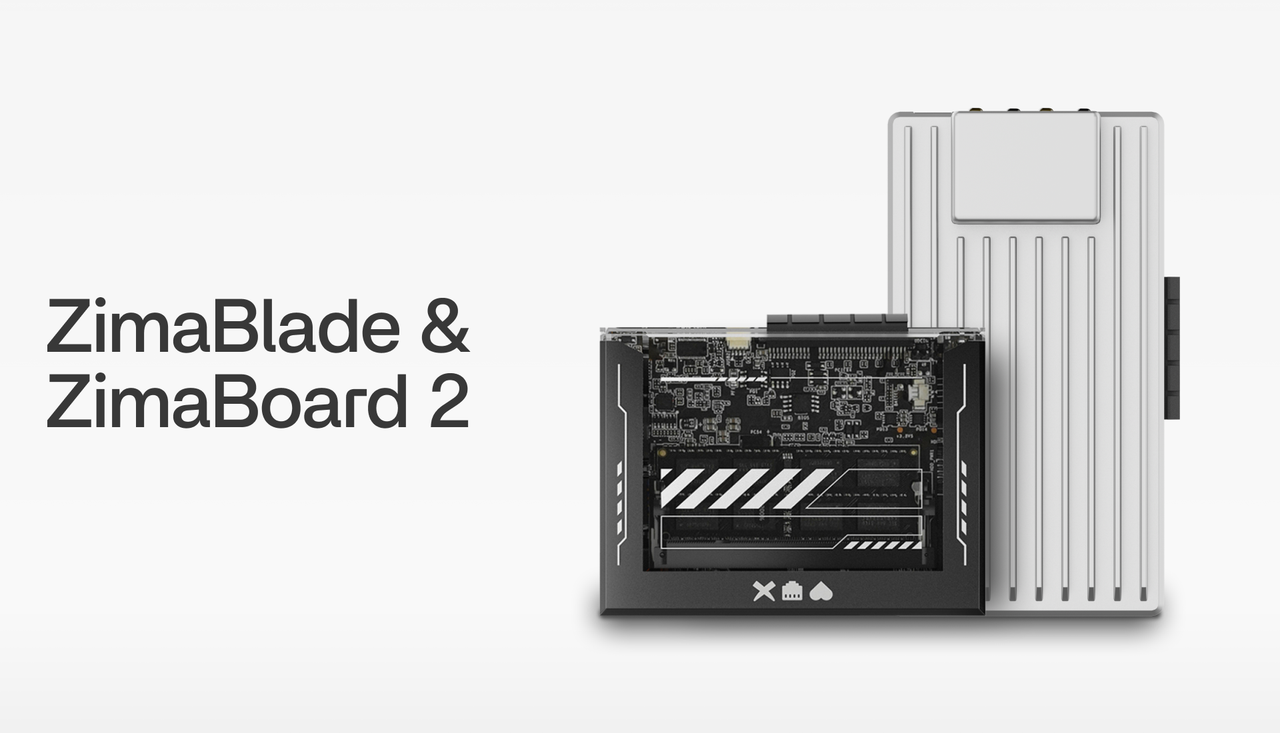
ZimaBlade, ZimaBoard and ZimaCube are all compatible/pre-installed with ZimaOS. If you want to install it and set up a NAS manually yourself, these tutorials are helpful:
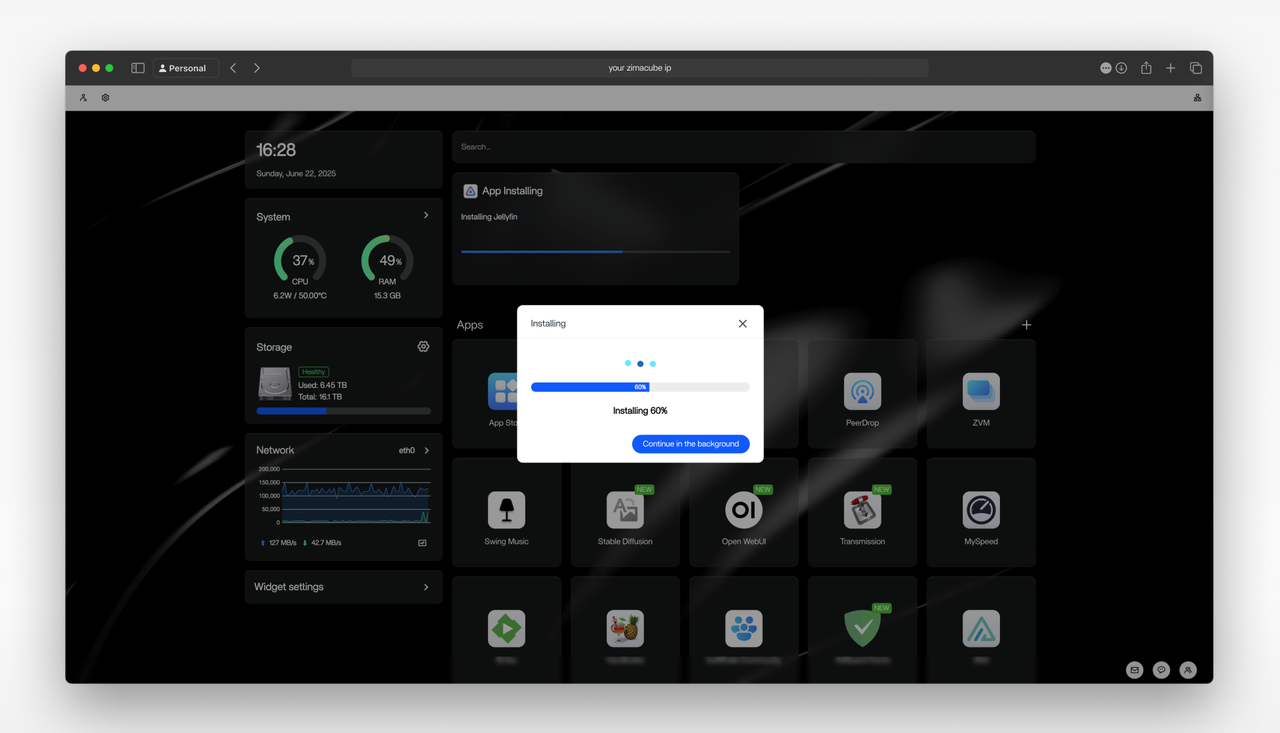
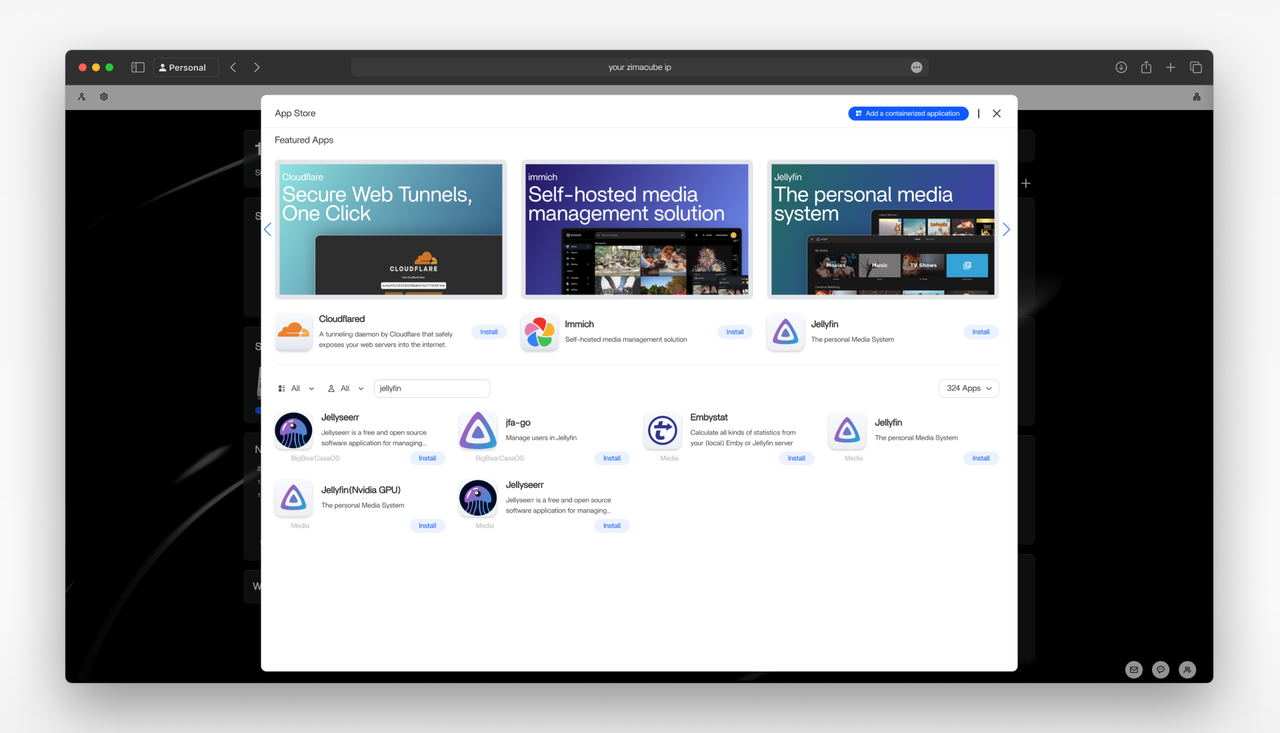
Step 2: Install Your Media Server via the ZimaOS App Store
This is where the magic of ZimaOS shines.
1.Access your ZimaOS dashboard from your browser.
2.Navigate to the App Store.
3.Find your desired media server application (e.g. Plex, Jellyfin, Emby).
4.Click “Install”.
ZimaOS handles all the complex background configuration. In just a few minutes, your media server will be up and running.
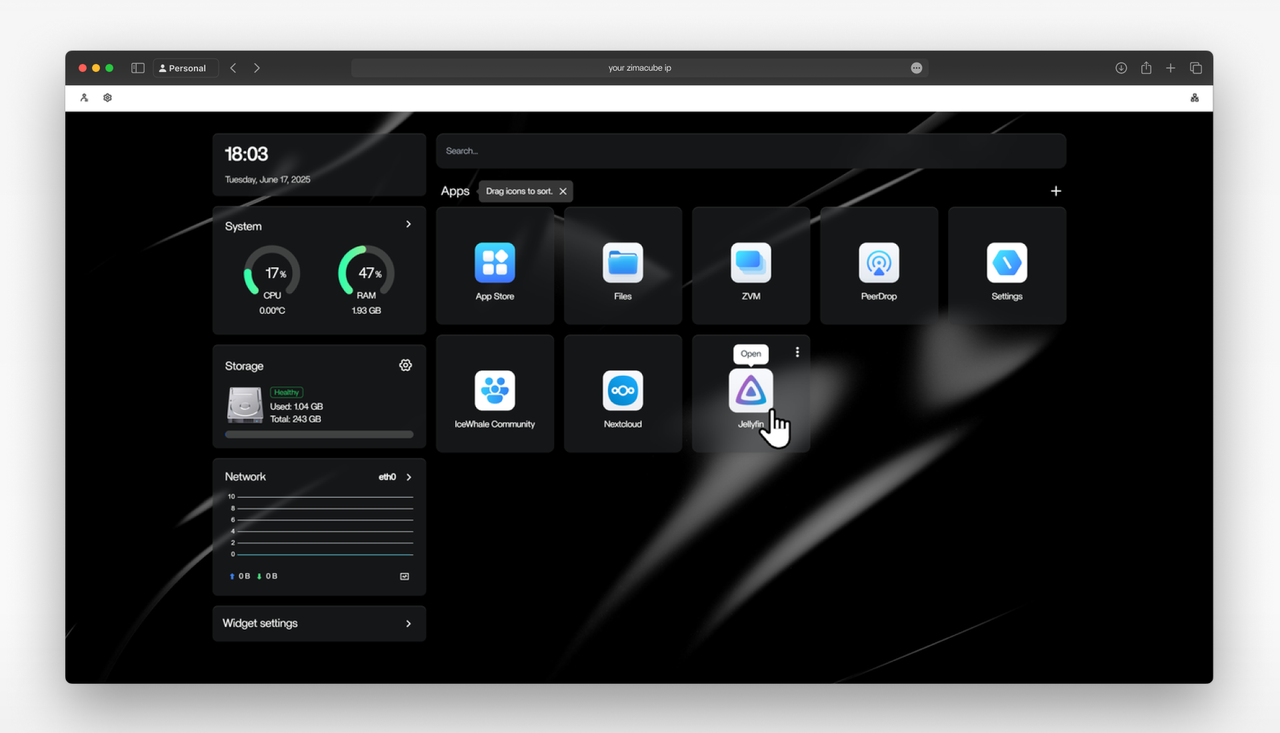
Step 3: Configure Your Media Library
Open your newly installed media server application from the ZimaOS dashboard. During the initial setup, it will ask you to create a library. Simply point it to the folders you place media files. (e.g., add a “Movies” library and point it to your
/DATA/Movies folder). The software will then scan your files and automatically download all the metadata to create a stunning visual library.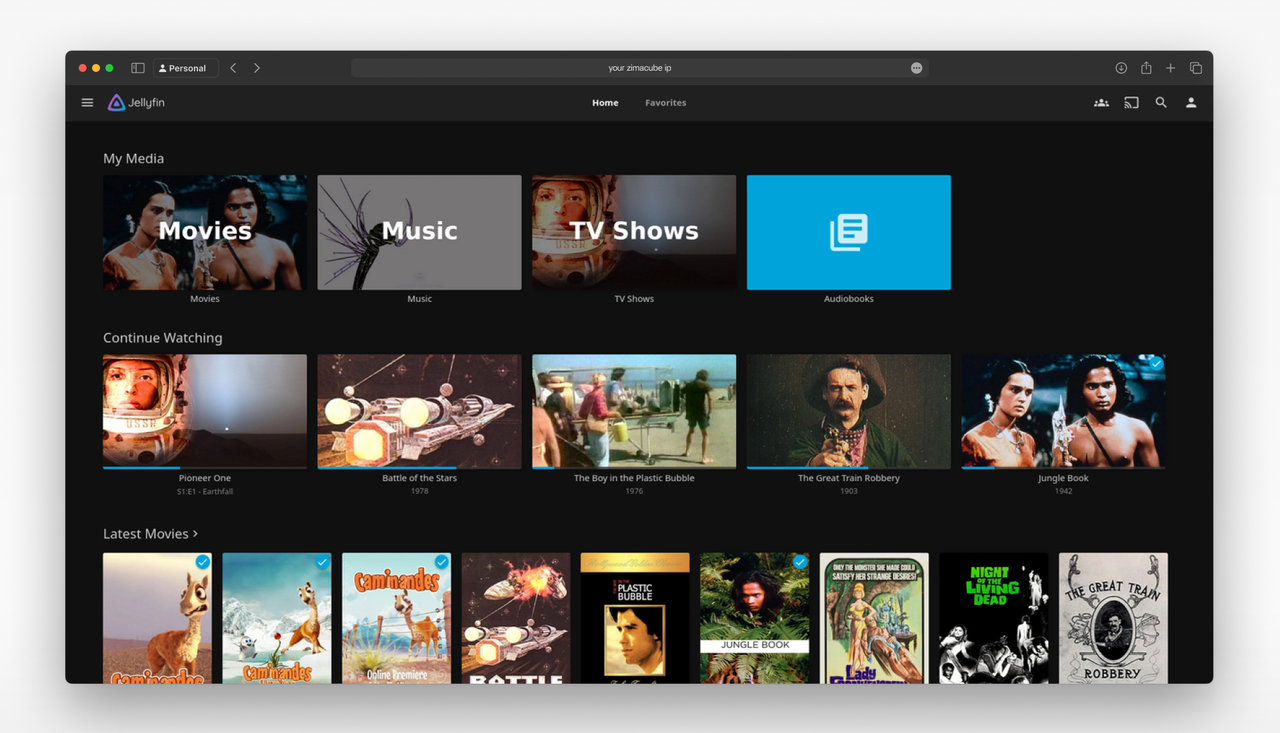
Step 4: Access and Enjoy
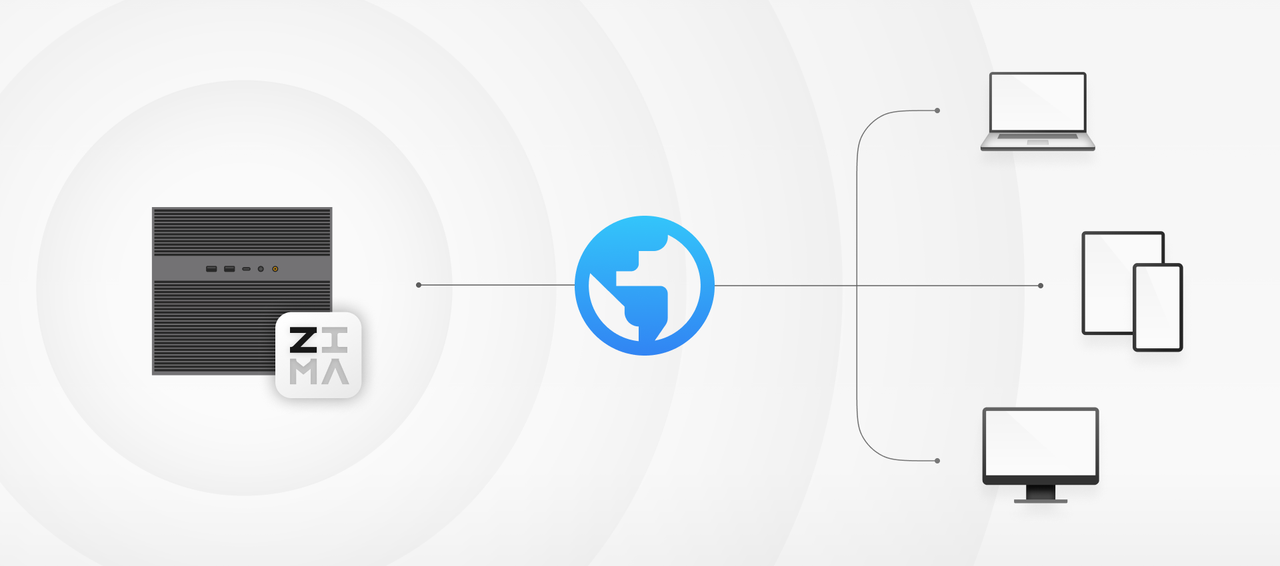
Your media server is now up and running! You can access your media library in the following ways:
ClientApp Access.Install the Plex or Jellyfin app on your devices (smart TV, smartphone, tablet, gaming console, or streaming devices like Fire Stick/Apple TV). Log in to your account, and your entire media library will be available for streaming.
Local Network Access.You can also access your server directly via a web browser on any device connected to the same local network as your ZimaOS. Simply enter ZimaOS dashboard and click the app icon.
Remote Access. Accessing your media center remotely is like a piece of cake. Refer here: Access Jellyfin and More Remotely: Using Tailscale, Zerotier or Cloudflare.
Choosing Your Media Server: Plex vs. Jellyfin
The two most popular choices for media server software are Plex and Jellyfin. Both are available with a single click in the ZimaOS App Store.
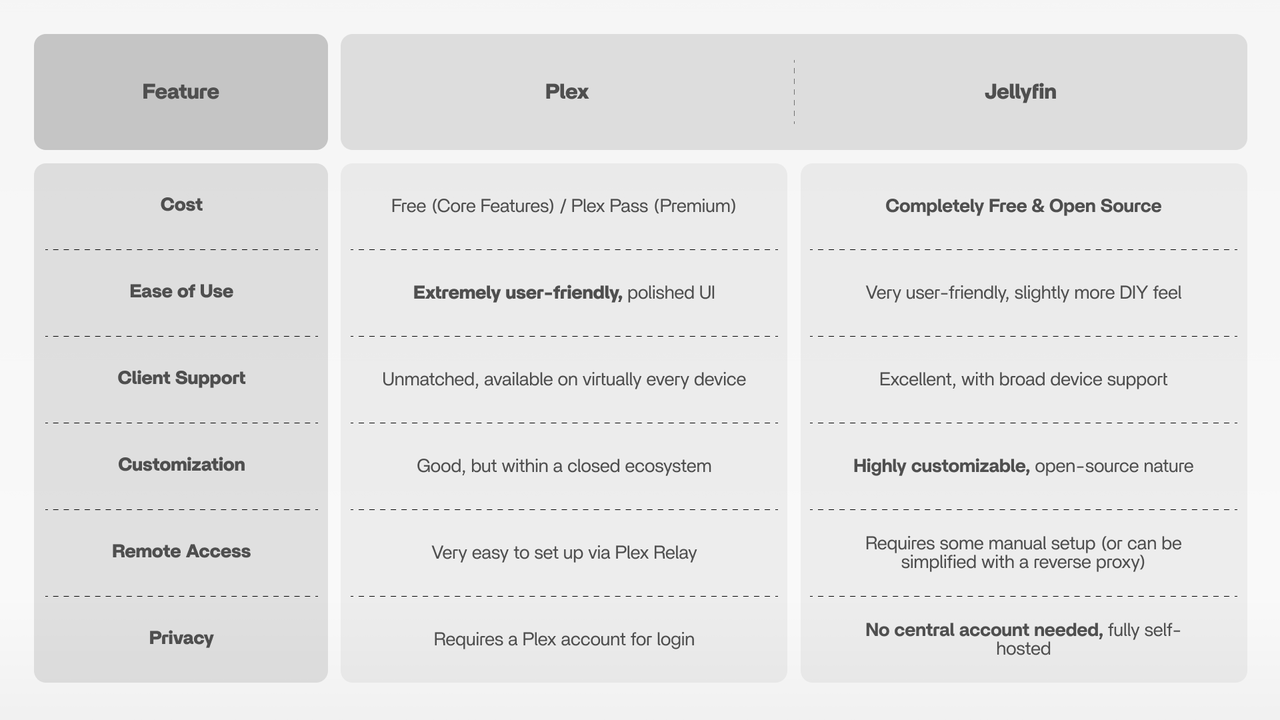
For a plug-and-play experience with the most polished interface, Plex is a fantastic choice. For users who prioritize privacy, cost-free access to all features, and open-source principles, Jellyfin is the ideal solution and a community favorite.
Conclusion
Building a home media server is an incredibly rewarding project, and the Zima ecosystem is the perfect platform to do it on.
- Effortless Setup: The ZimaOS App Store turns a potentially complex task into a few simple clicks.
- Energy Efficiency: Zima devices are designed for low power consumption, saving you money on your electricity bill.
- Silent & Compact: Their small footprint and fanless design (ZimaBoard/Blade) mean they can be placed anywhere without noise or disruption.
- More Than a Media Server: Your Zima device can also run dozens of other applications, from a Pi-hole ad-blocker to a secure file-syncing service (like Nextcloud), creating a truly comprehensive personal cloud.

Your friendly guide to the world of NAS! We’re all about cutting through the tech jargon to bring you the most useful and practical software and hardware knowledge. Whether you’re looking to build your first home server, create a rock-solid backup system, or set up a personal media library, we break down the concepts step-by-step. Let’s explore DIY builds, compare off-the-shelf options, and master apps together to help you get the most out of your network storage.