With the official release of the ZimaOS ISO image , you can now install and deploy ZimaOS more easily in virtualized environments such as Proxmox VE (PVE) .
This ISO image is specifically optimized for virtual machine installation, allowing you to deploy ZimaOS without physical hardware and quickly explore its core features.
This installation method is ideal for testing, learning, evaluation, and lightweight usage scenarios.
Introduction
Installing ZimaOS on Proxmox VE (PVE) means running ZimaOS as a virtual machine using an ISO image, rather than installing it directly on physical hardware. This approach allows you to experience the full ZimaOS system and web-based management interface within a standard virtualization environment.
By deploying ZimaOS on PVE, you can quickly create an isolated ZimaOS instance on your existing server or homelab. Compared to bare-metal installation, this method offers several advantages:
- Faster setup with a lower learning curve
- Reduced risk compared to direct hardware installation
- Easy environment replication with snapshots and backups
- Flexible resource allocation (CPU, memory, storage)
It is especially suitable for feature evaluation, solution validation, and lightweight service deployment.
Requirements
Hardware & Environment Requirements
- A working and accessible Proxmox VE (PVE) environment
- An x86_64 CPU with virtualization support enabled
Recommended minimum configuration:- CPU: 2 cores or more (4 cores recommended)
- Memory: 4 GB or more (8 GB recommended)
- Storage: At least 32 GB of available disk space
Software & System Requirements
- ZimaOS ISO installation image
- Proxmox VE 6.x / 7.x / 8.x / 9.x
- Virtual machine boot mode: UEFI
- VM BIOS type: OVMF (UEFI)
Installation Steps
Note:The ZimaOS ISO image required for this tutorial can be downloaded from:
https://github.com/IceWhaleTech/ZimaOS/releases
Upload the ZimaOS ISO Image
- Log in to the Proxmox VE web interface
- Navigate to local → ISO Images → Upload
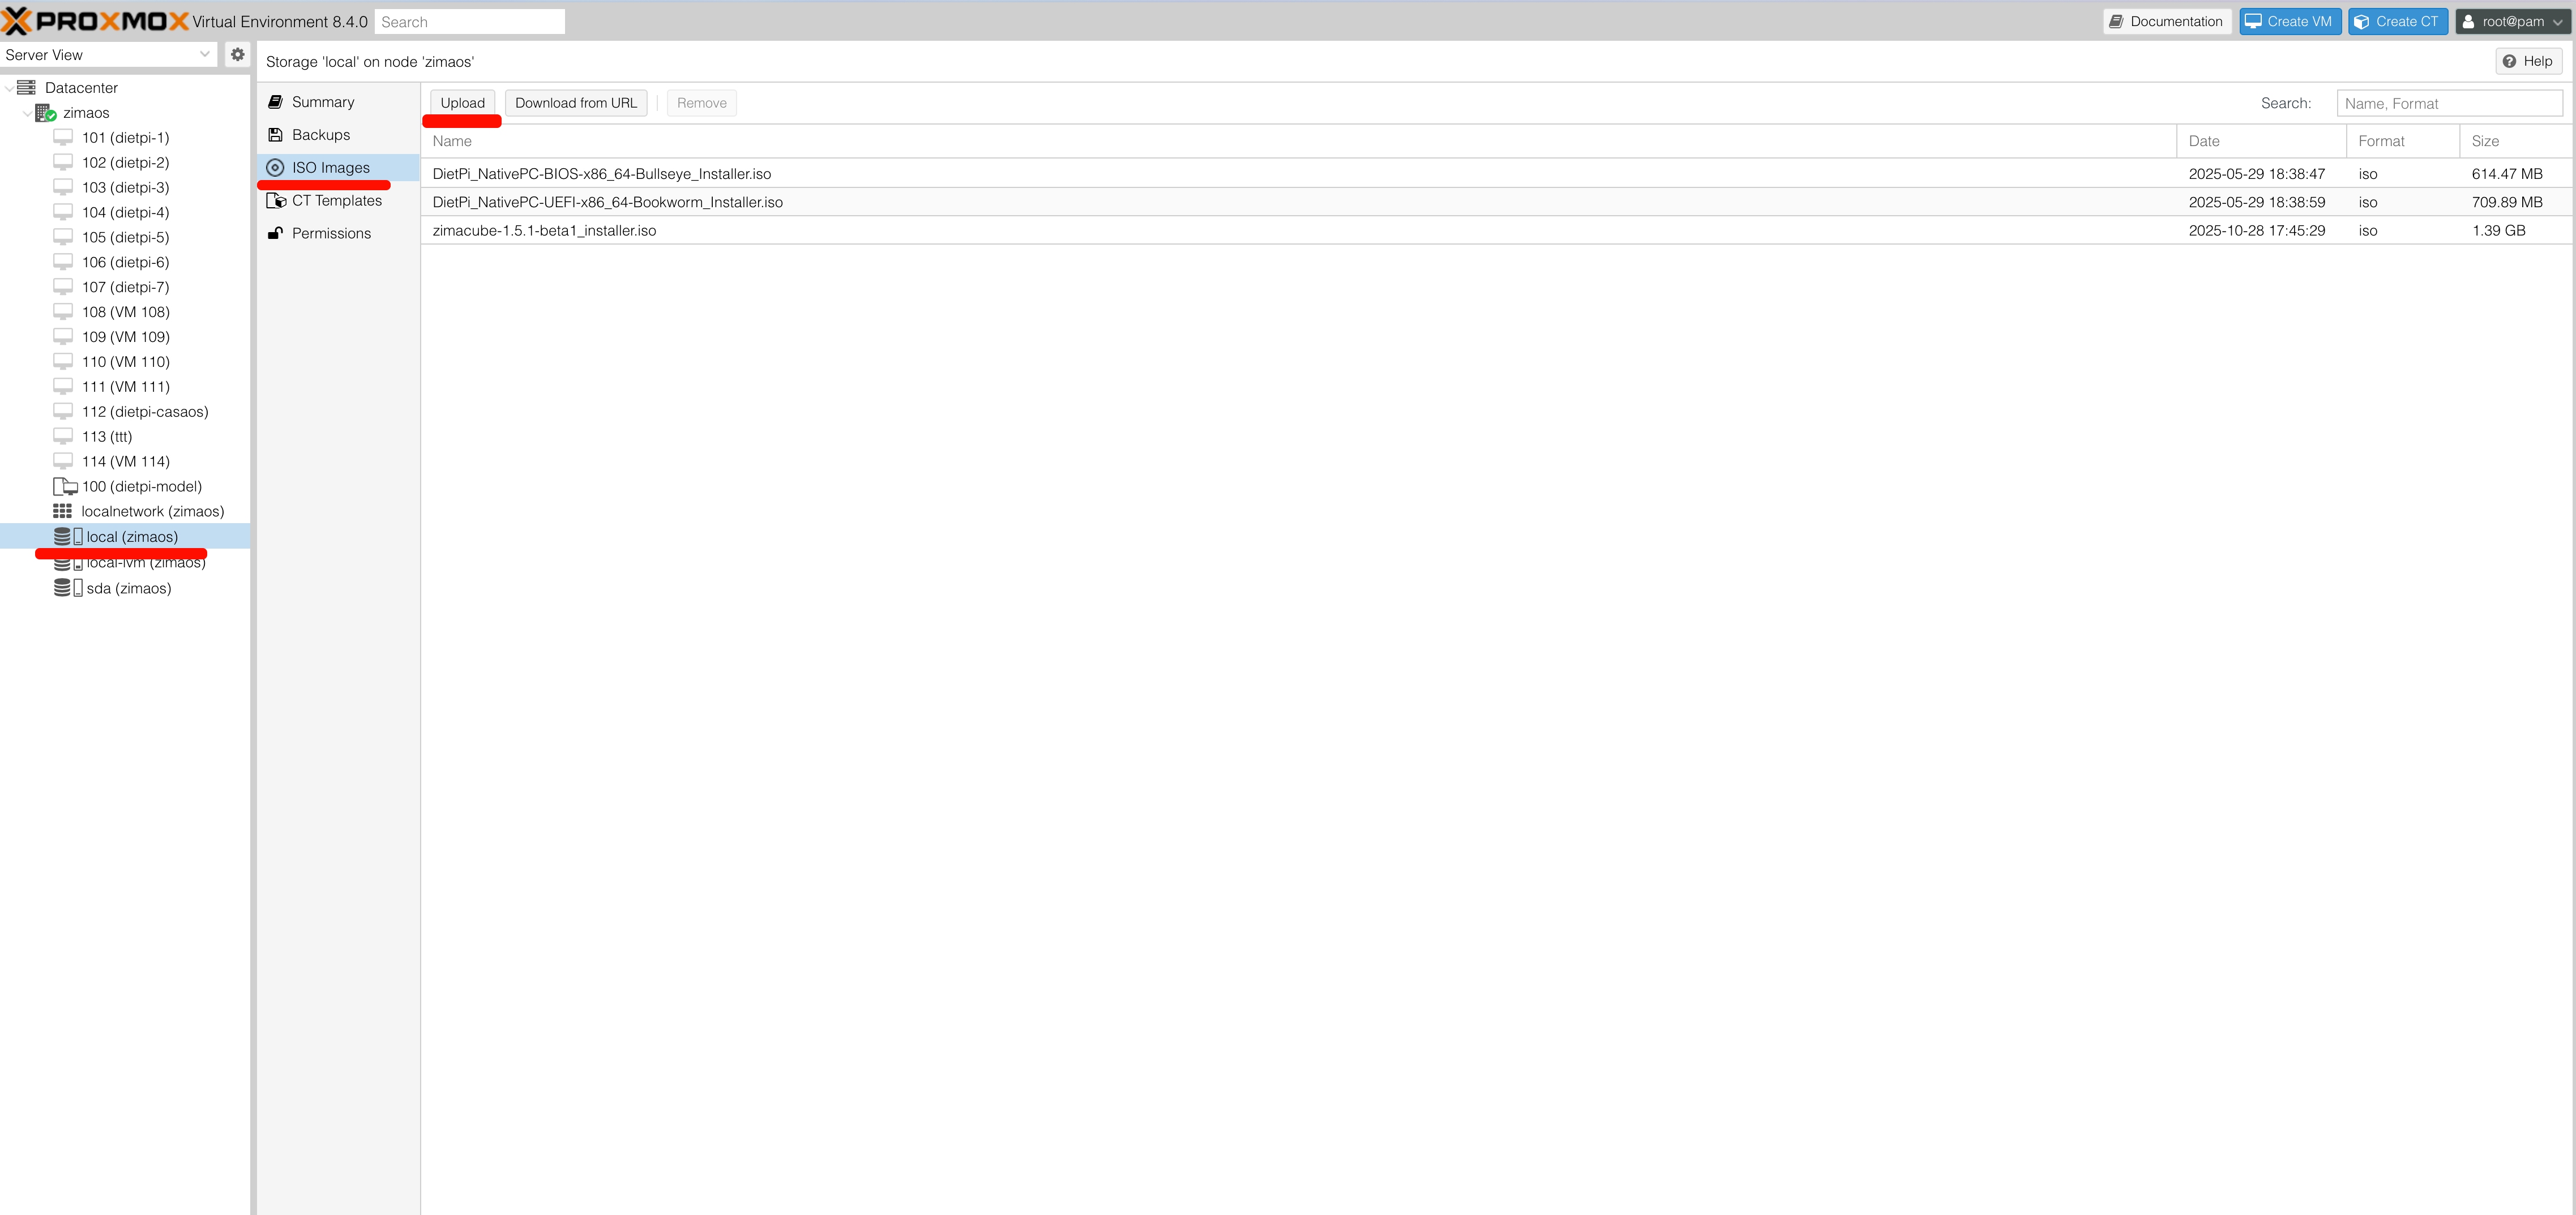
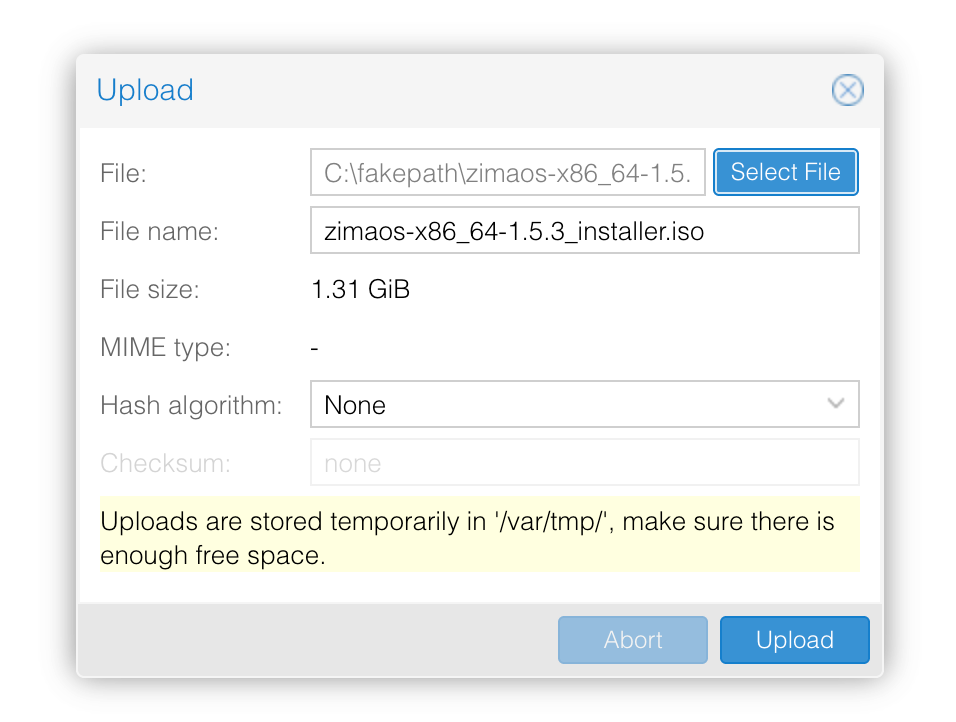
- Select the downloaded ZimaOS ISO image and click Upload
Create a Virtual Machine
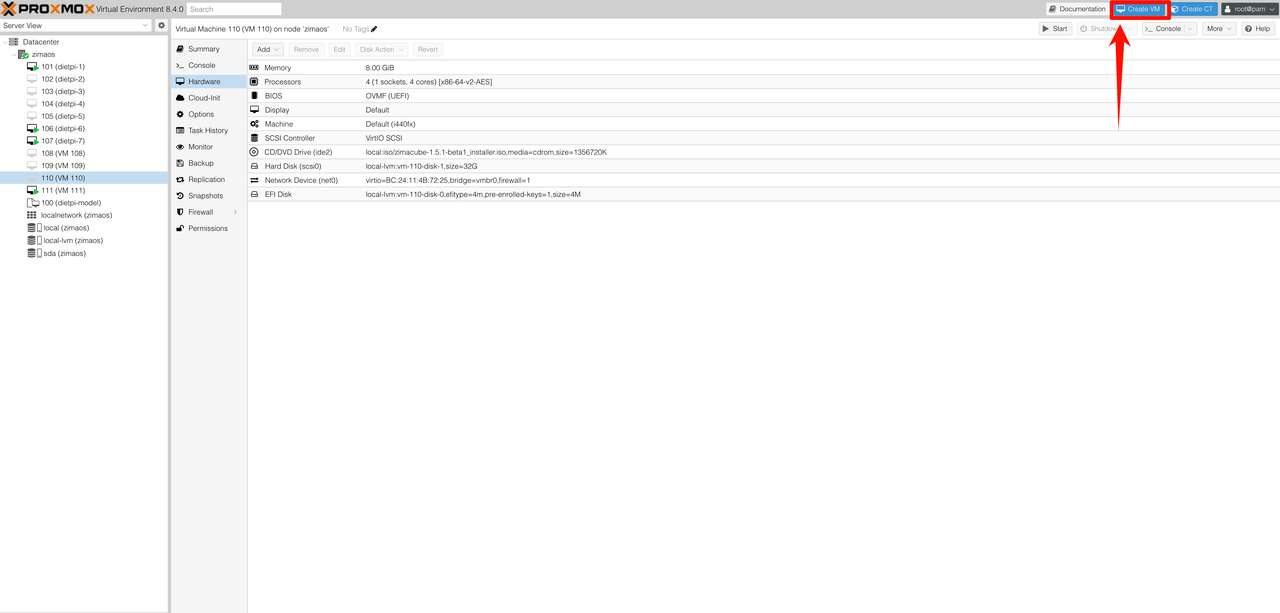
- Click the Create VM button
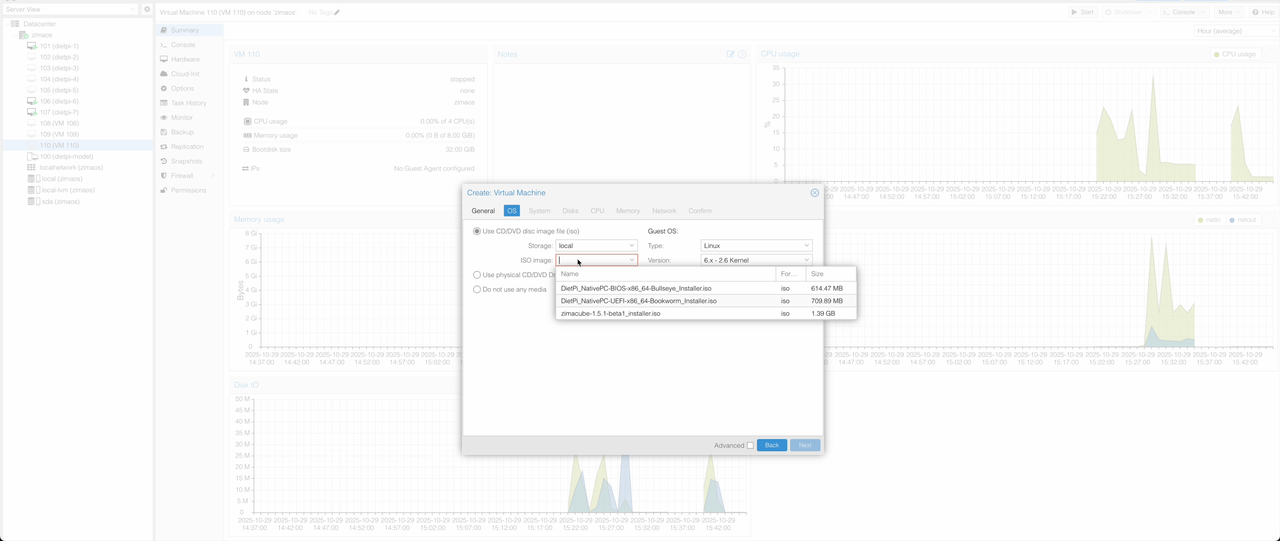
- On the OS page, select the ZimaOS ISO image
- On the System page:
- Set BIOS to UEFI
- Uncheck Add EFI Disk

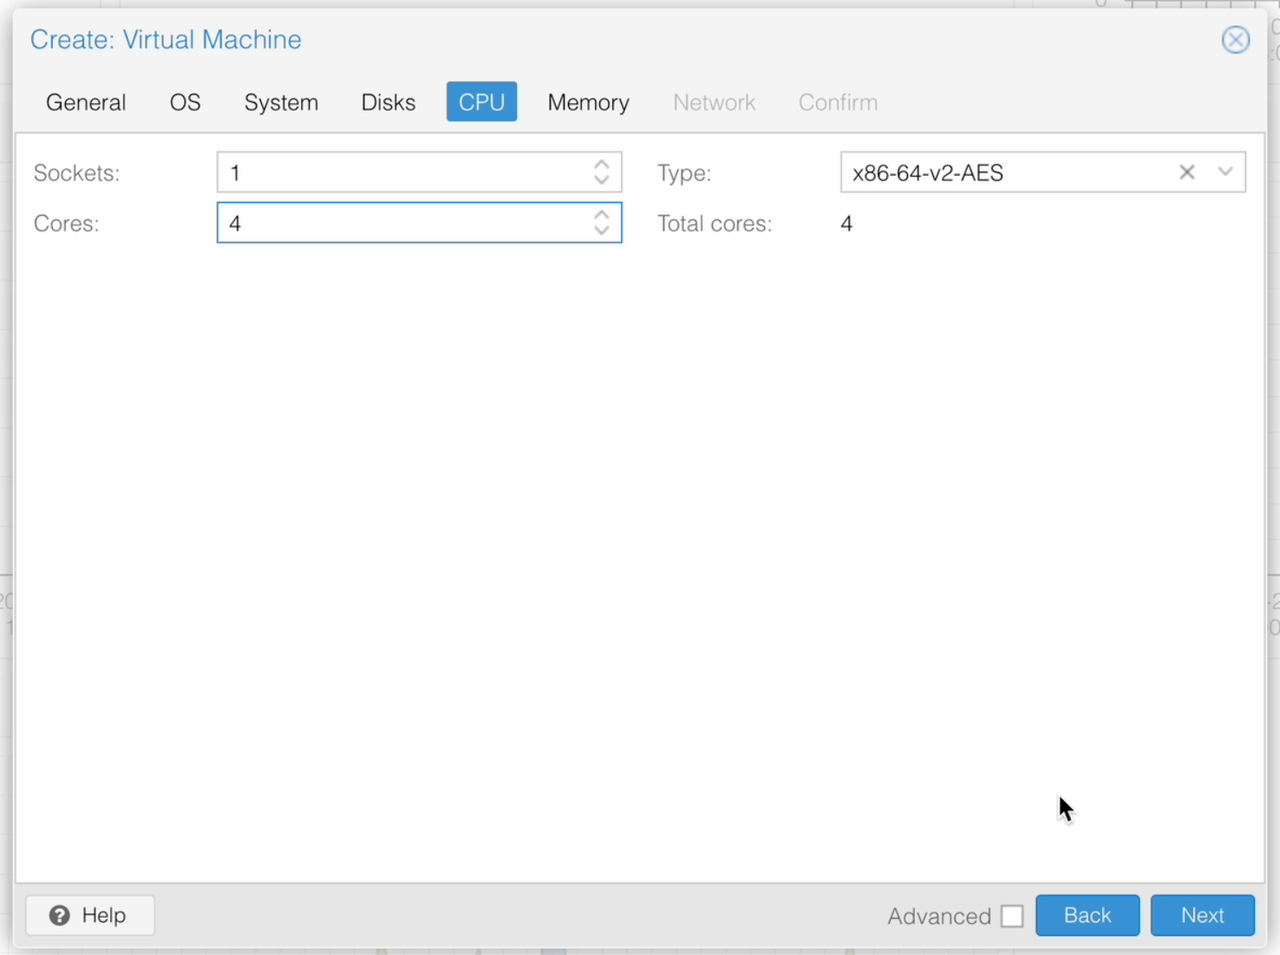
- On the CPU page, adjust the number of CPU cores
Purpose: Allocating more CPU cores improves multi-threaded performance and helps ensure smooth operation under load.
Recommended: 4 CPU cores or more
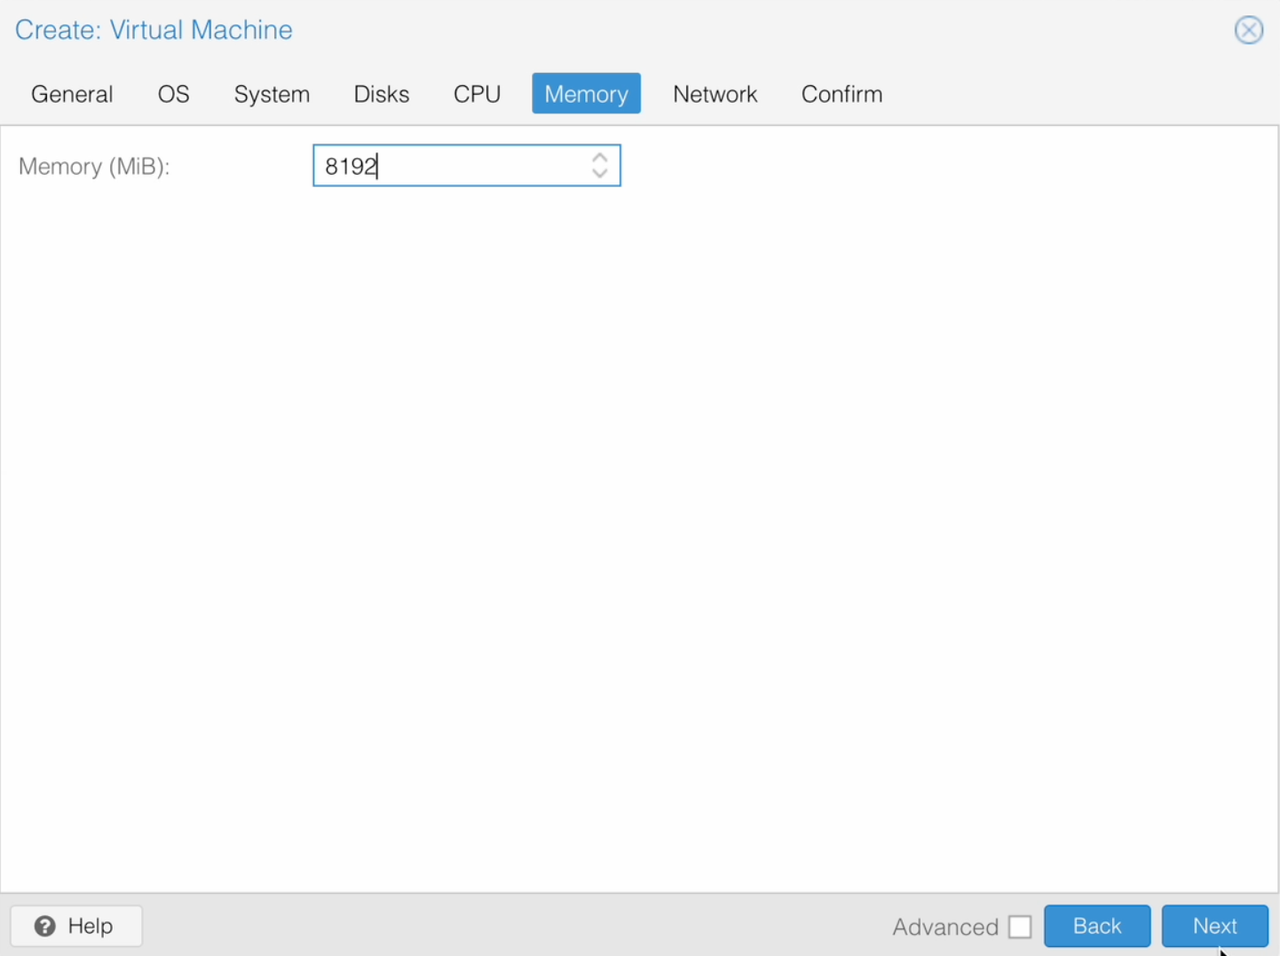
5. On the Memory page, adjust the memory size
Purpose: More memory allows ZimaOS to run additional services, improves multitasking performance, and reduces slowdowns during frequent operations.
Recommended: 8 GB (8192 MB) or more
Install ZimaOS
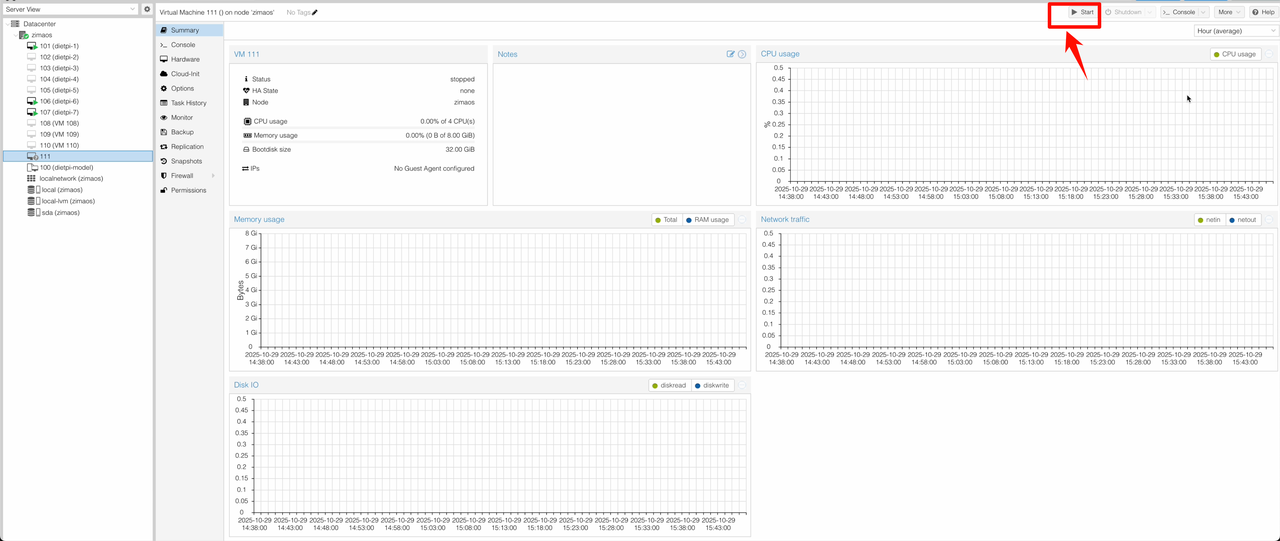
- After creating the virtual machine, click Start
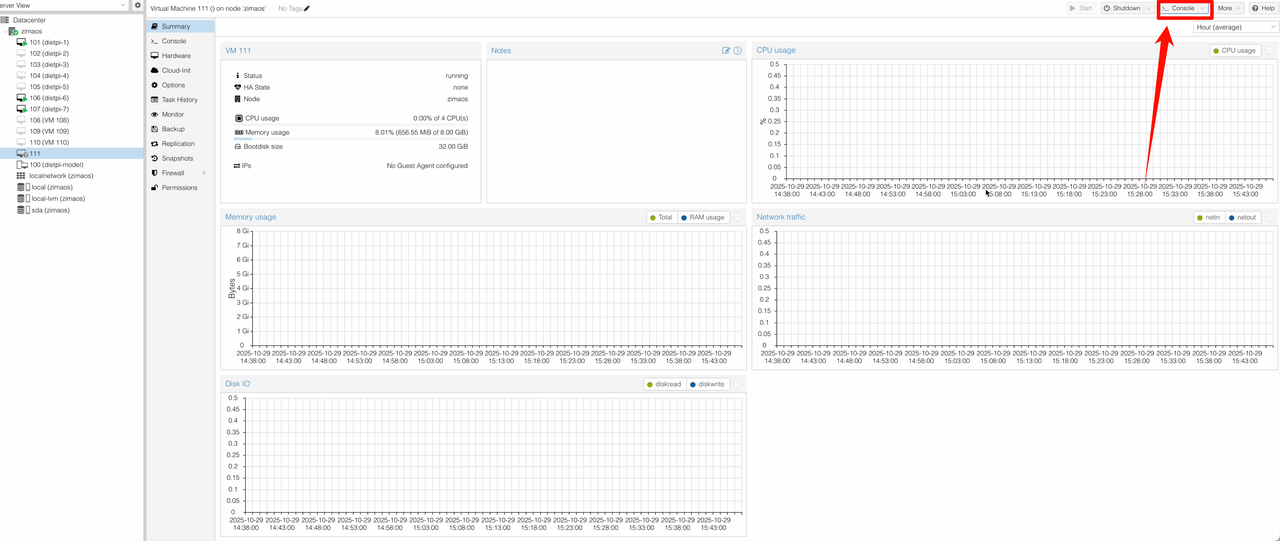
- Click Console to open the VM console
- Press
Enterto start the ZimaOS installation process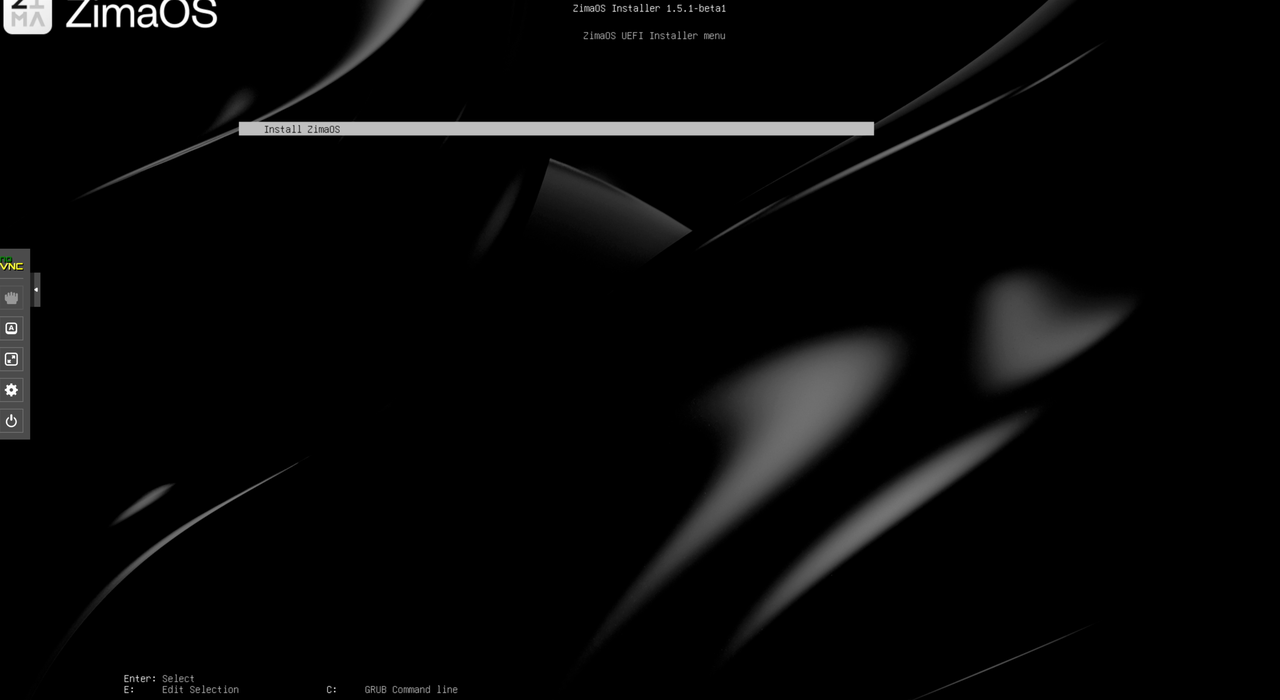
- Select
Install ZimaOSand pressEnter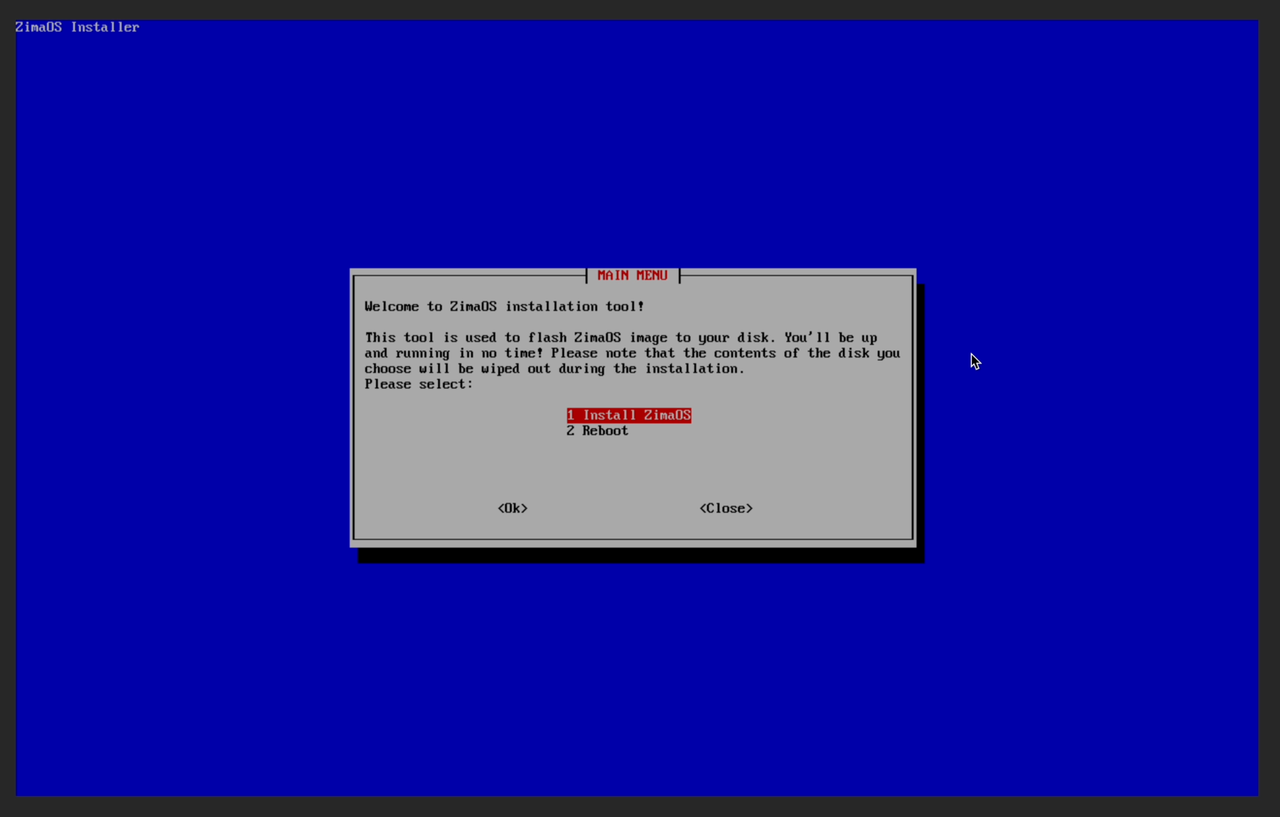
- Select the target disk for installation and press
Enter
- Confirm the selected disk by choosing
Yesand pressingEnter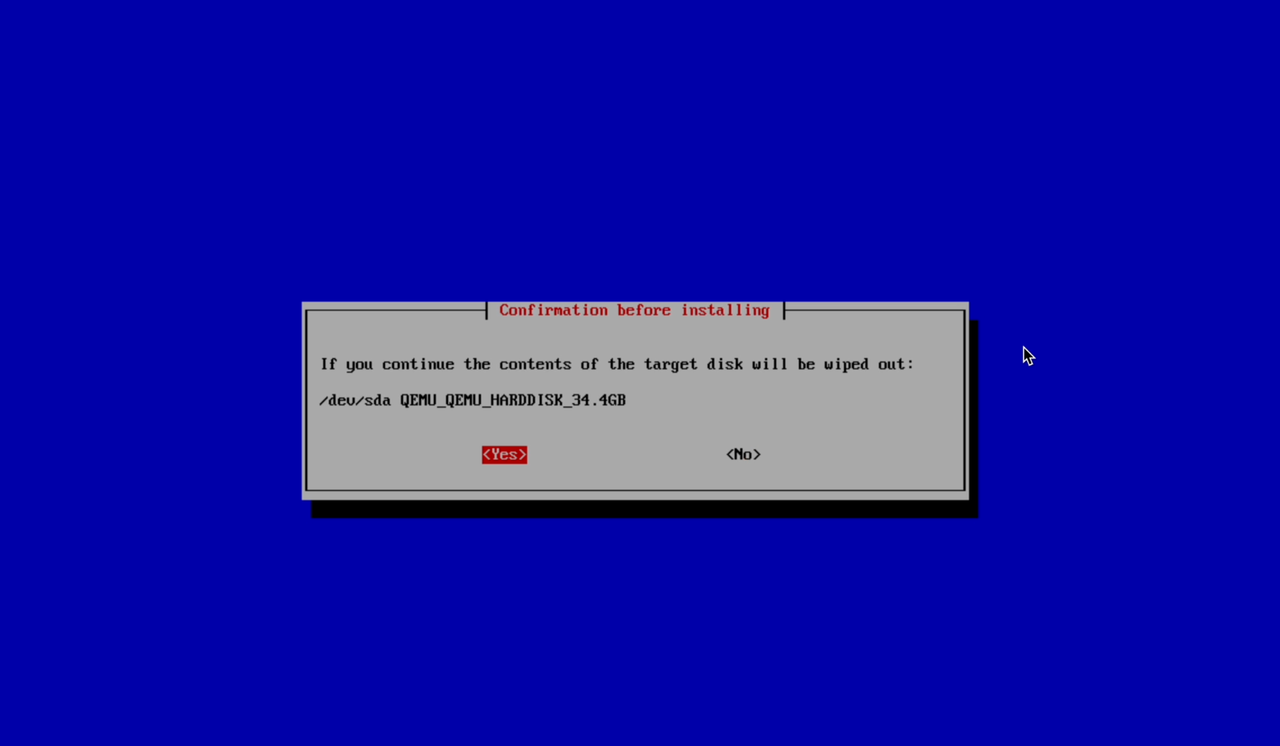
- Confirm again to proceed with installation
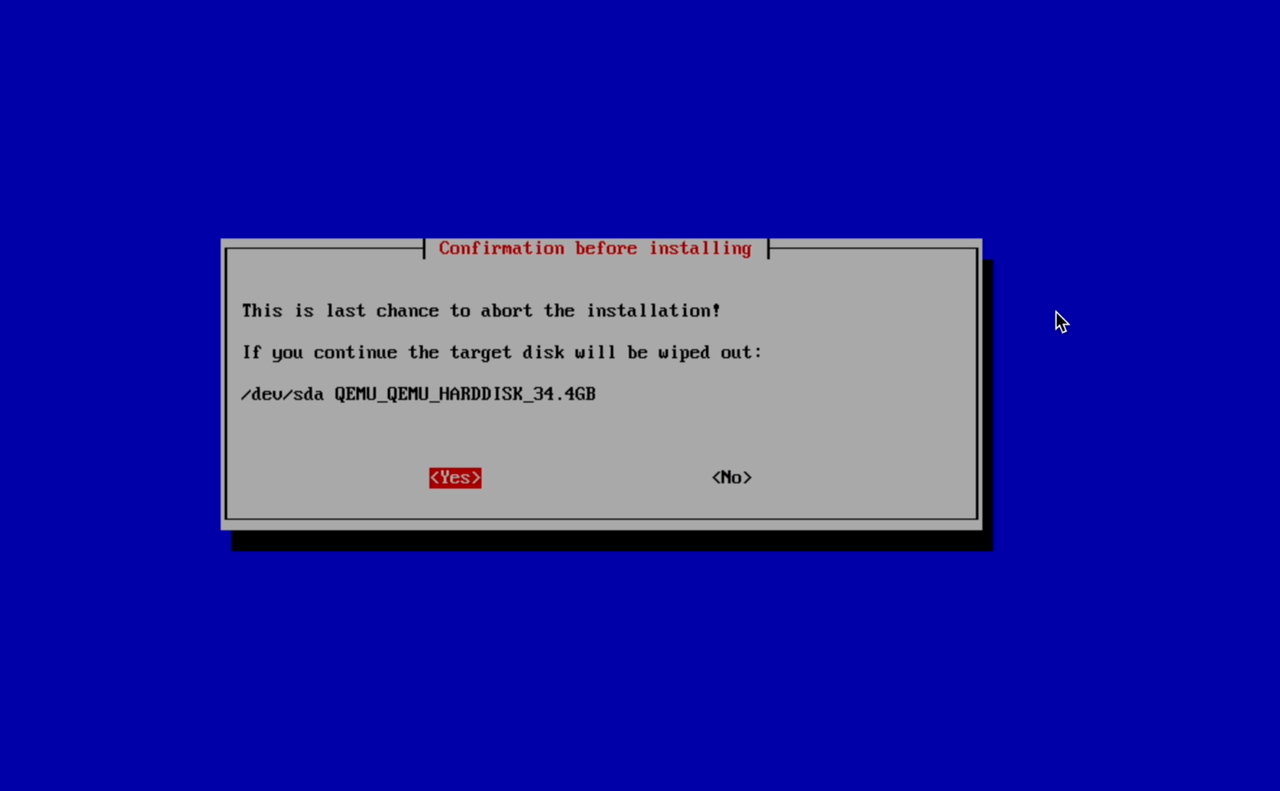
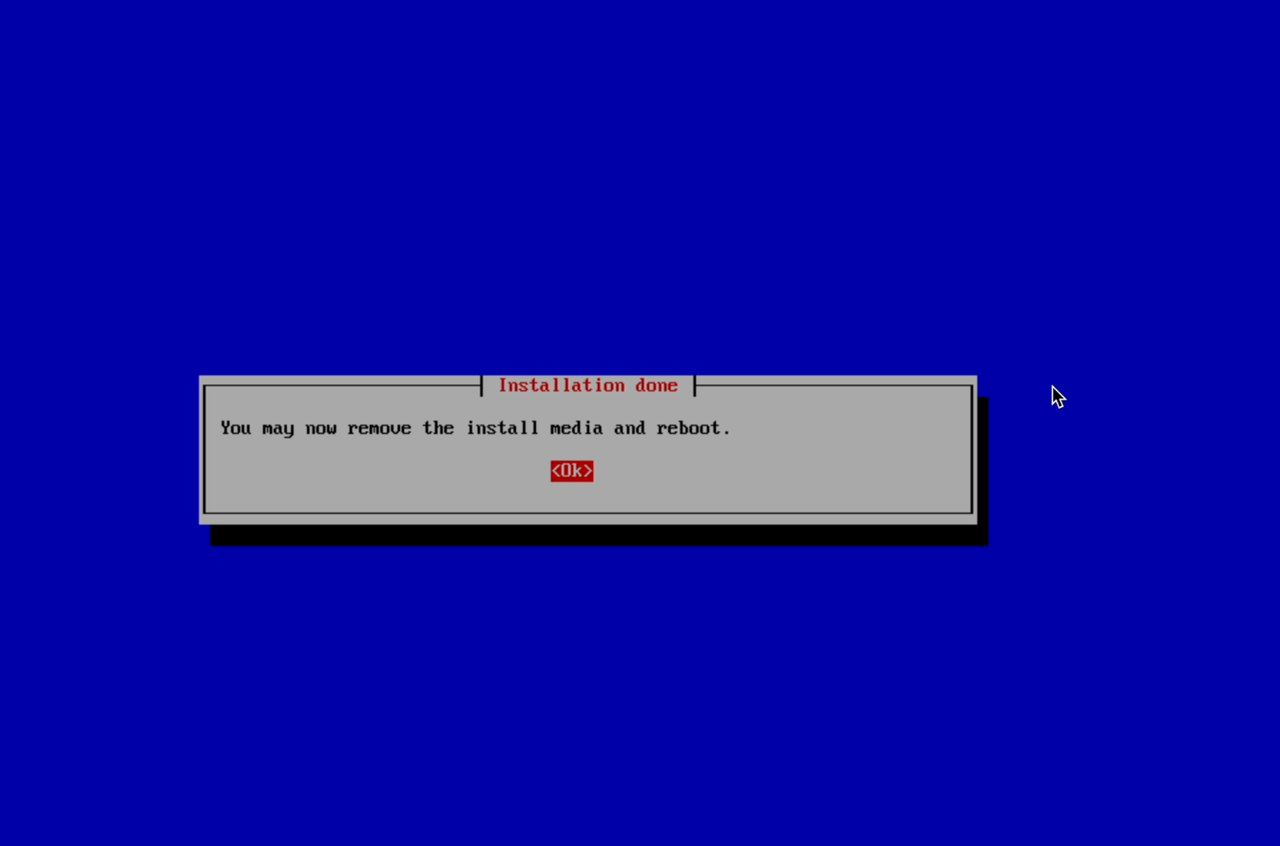
- When the installation finishes, the completion screen will appear
Remove the ISO Image
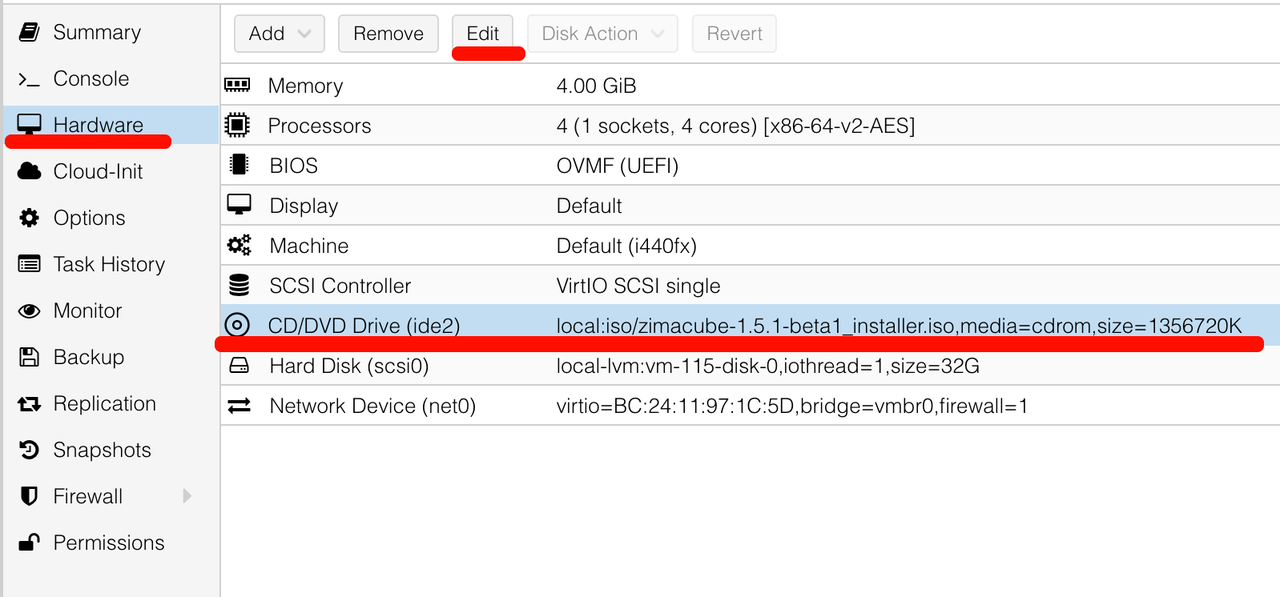
- Return to the Proxmox VE interface
- Select the virtual machine, choose CD, and click Edit
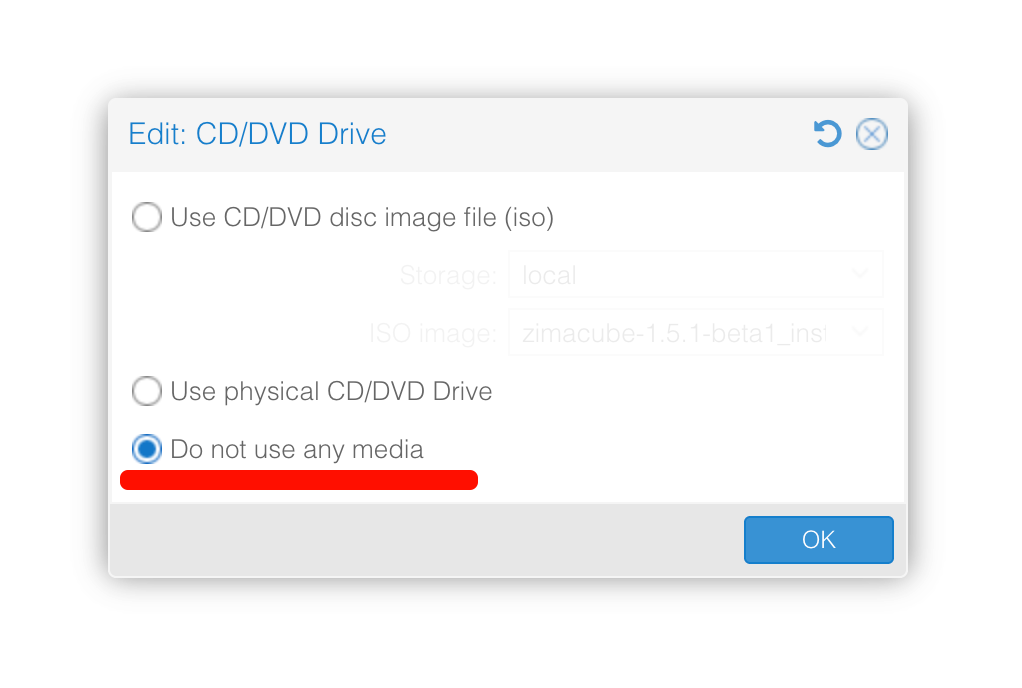
- Select Do not use any media and click OK
- After the change, the configuration should appear as shown below

Start and Access ZimaOS
- Start the ZimaOS virtual machine
- Click Console to access the VM console
- Wait for the system to finish booting
- The IP address will be displayed in the console
Open a web browser and enter the IP address to access the ZimaOS Web Management Interface.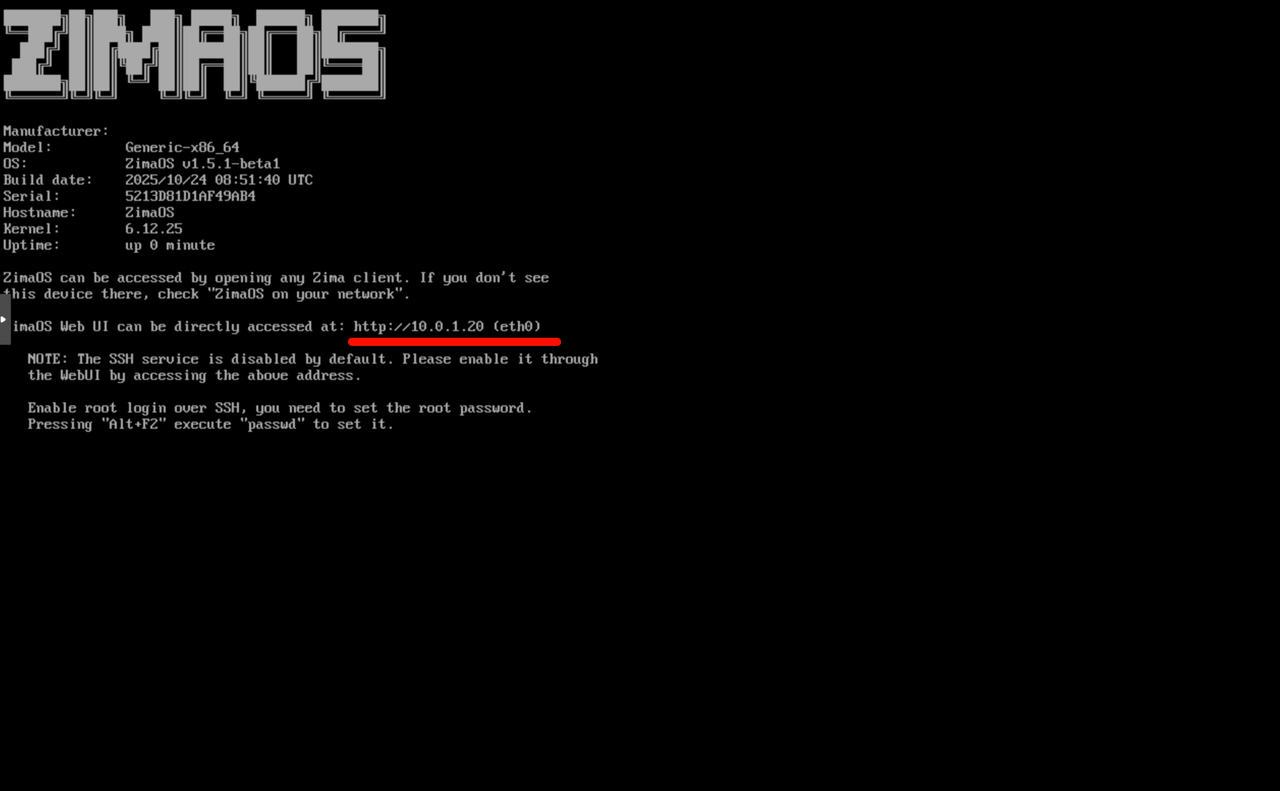
Continue Exploring ZimaOS
Now that ZimaOS is running in your virtual machine, you can continue exploring its features and workflows at your own pace.
To learn how to get started with system setup, storage management, and application deployment, please visit the following guide:
This guide will help you take the next steps and make the most of your ZimaOS environment.