🎯 Goal
Enable the AX210 Wi-Fi card on ZimaOS and connect to a wireless network—no graphical interface required.
For ZimaOS v1.4.2 and above
The Intel AX210 is a high-performance wireless card that supports Wi-Fi 6E. Many Zima device users rely on it for wireless connectivity. This guide walks you through enabling the AX210 and connecting to Wi-Fi in a command-line-only environment.
👉 Click here to download the latest version of ZimaOS
Step 1: Confirm AX210 is recognized
Run the following command:
lspci | grep -i network |
You should see output similar to:
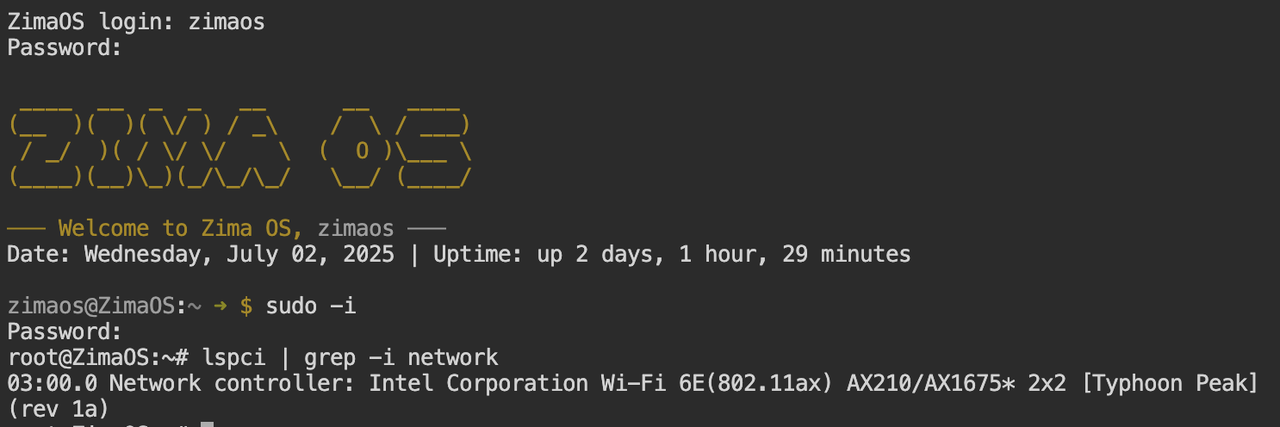
If it’s not detected, ensure the card is inserted into the correct M.2 E-key slot and that the hardware is functional.
Step 2: Connect to Wi-Fi using nmtui
ZimaOS includes the nmtui command-line tool. Launch it with:
sudo nmtui |
Then:
Select
Activate a connection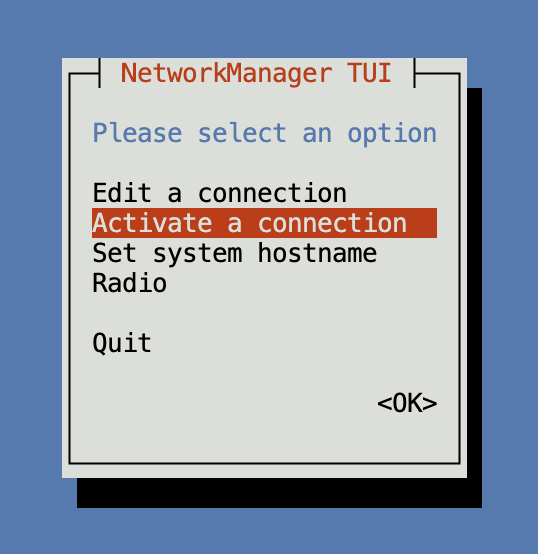
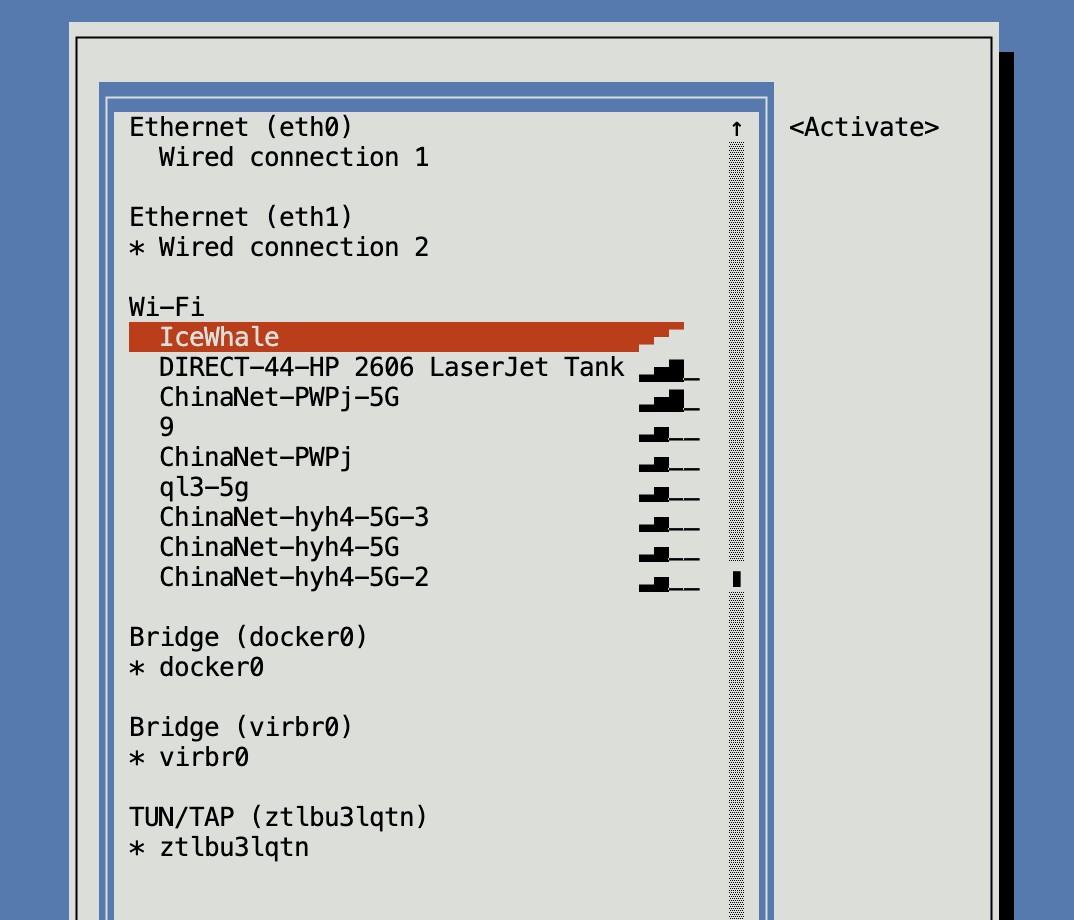
Choose your Wi-Fi network (SSID)
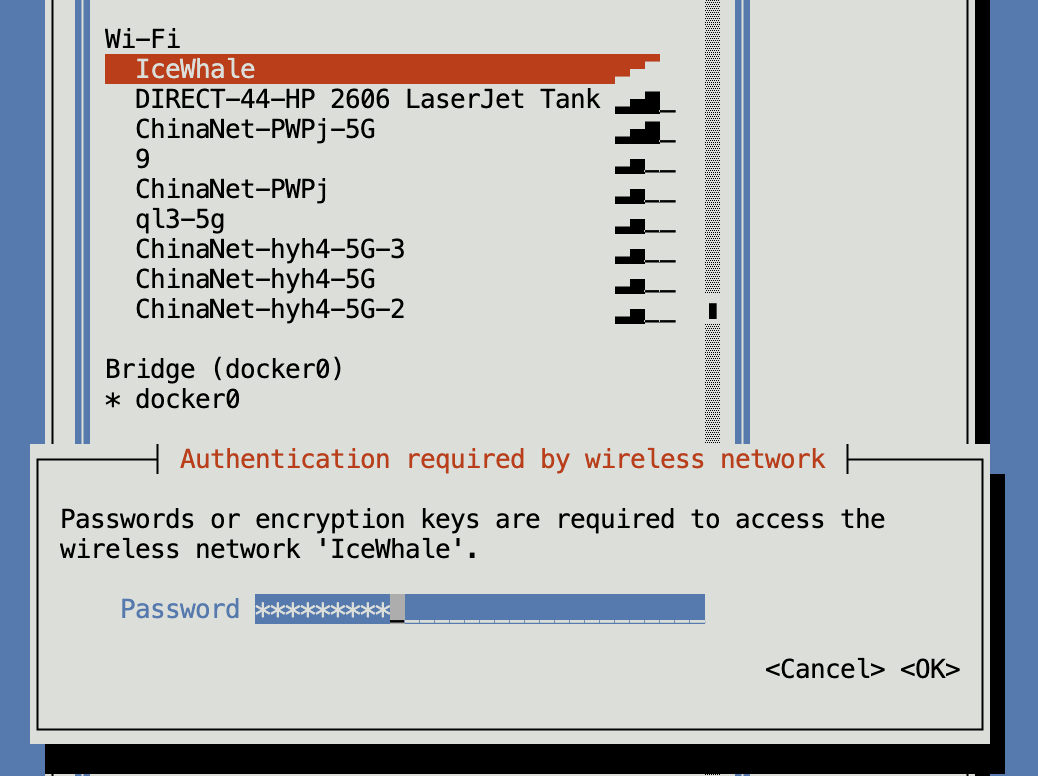
Enter the password and press Enter
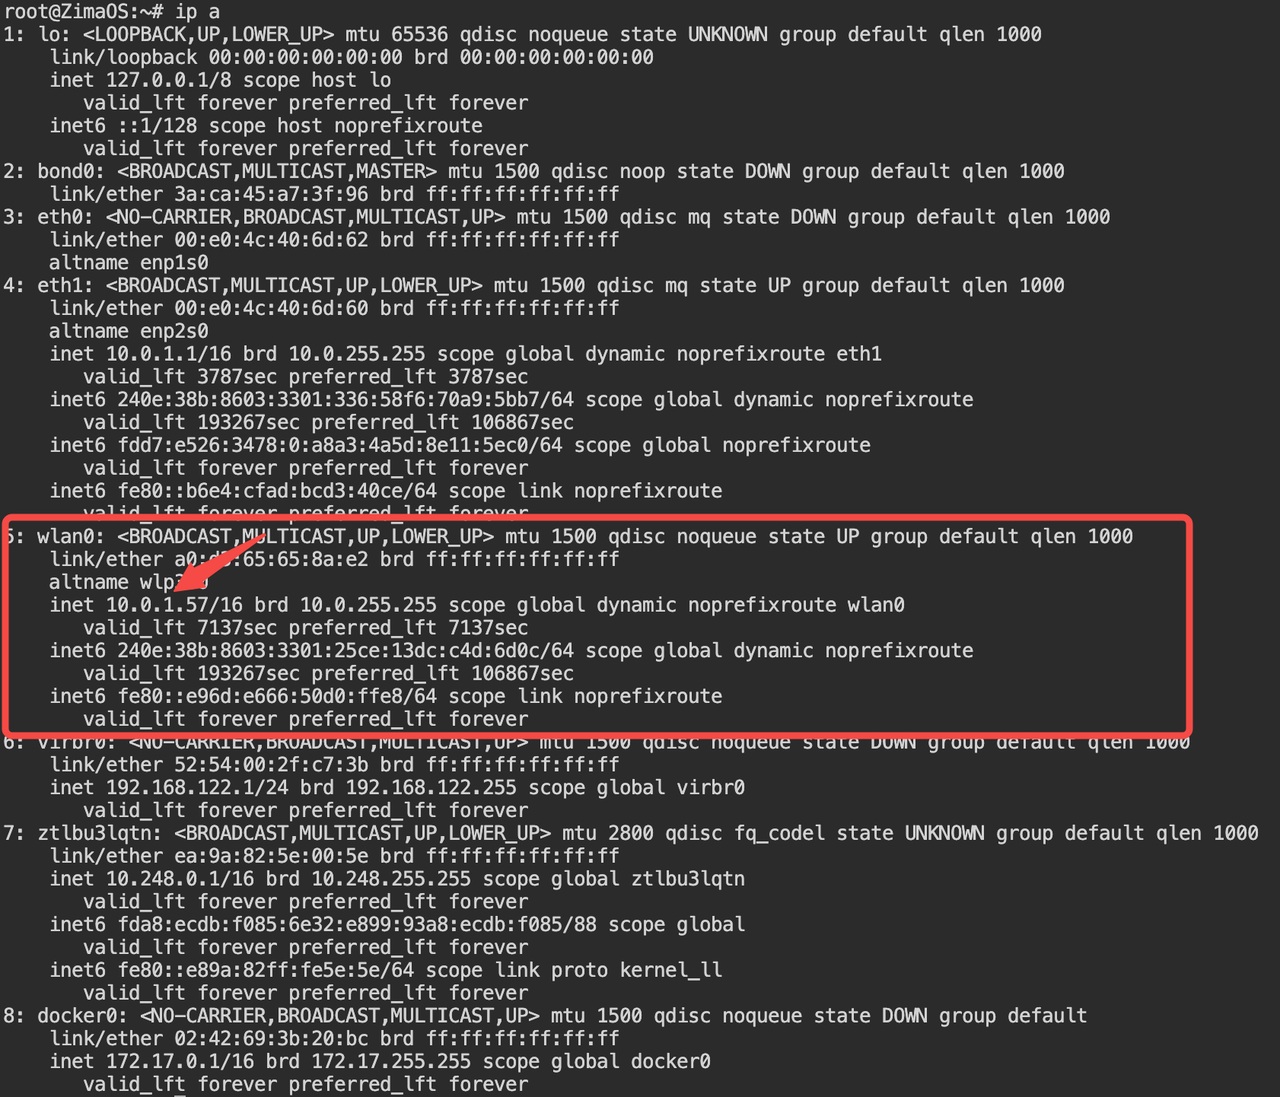
Step 3: Verify IP address and connectivity
Check your wireless interface status:
ip a |
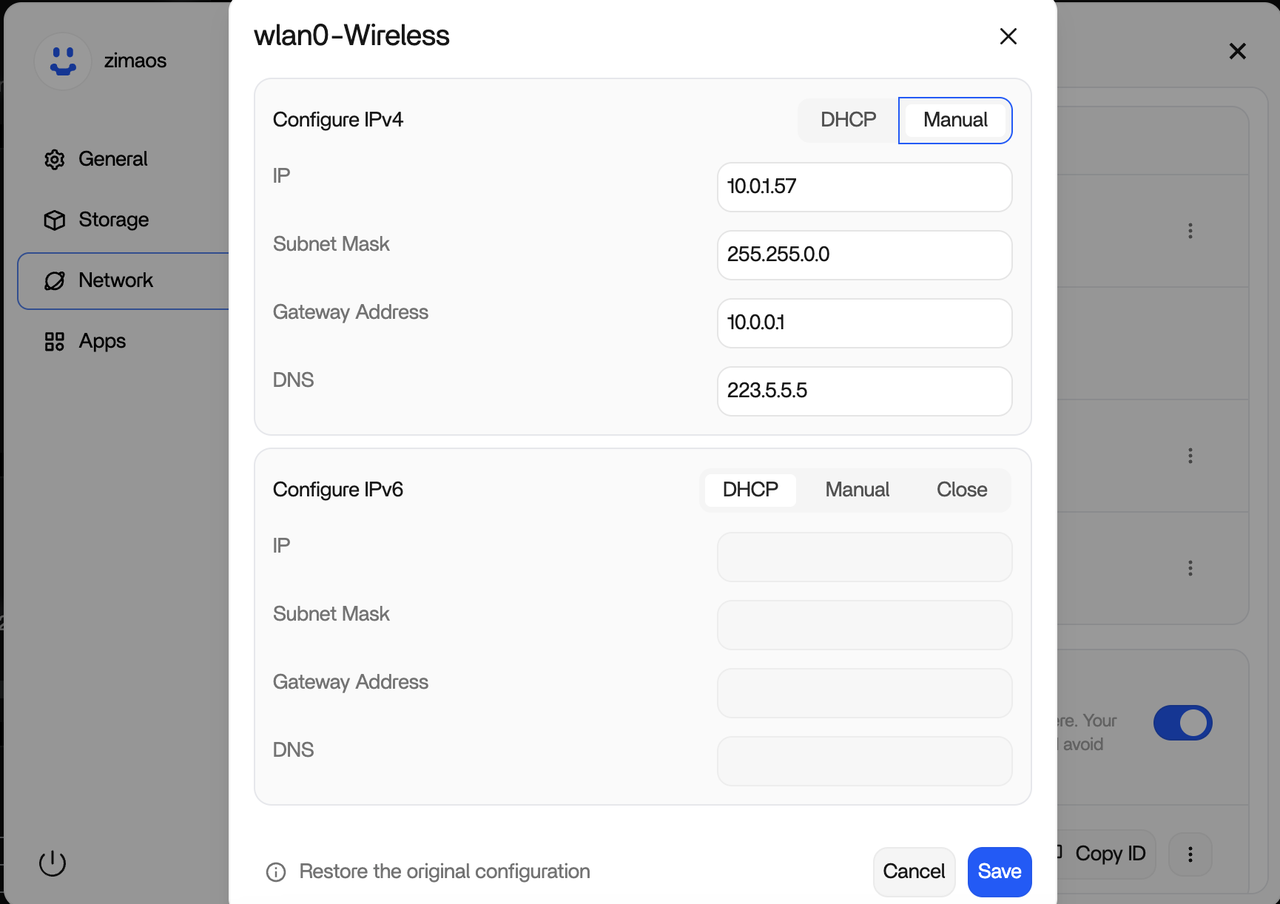
🖥️ Optional: View and manage network settings in the ZimaOS dashboard
If you’re using the ZimaOS web UI (Dashboard), you can also view and configure network settings there.
Example: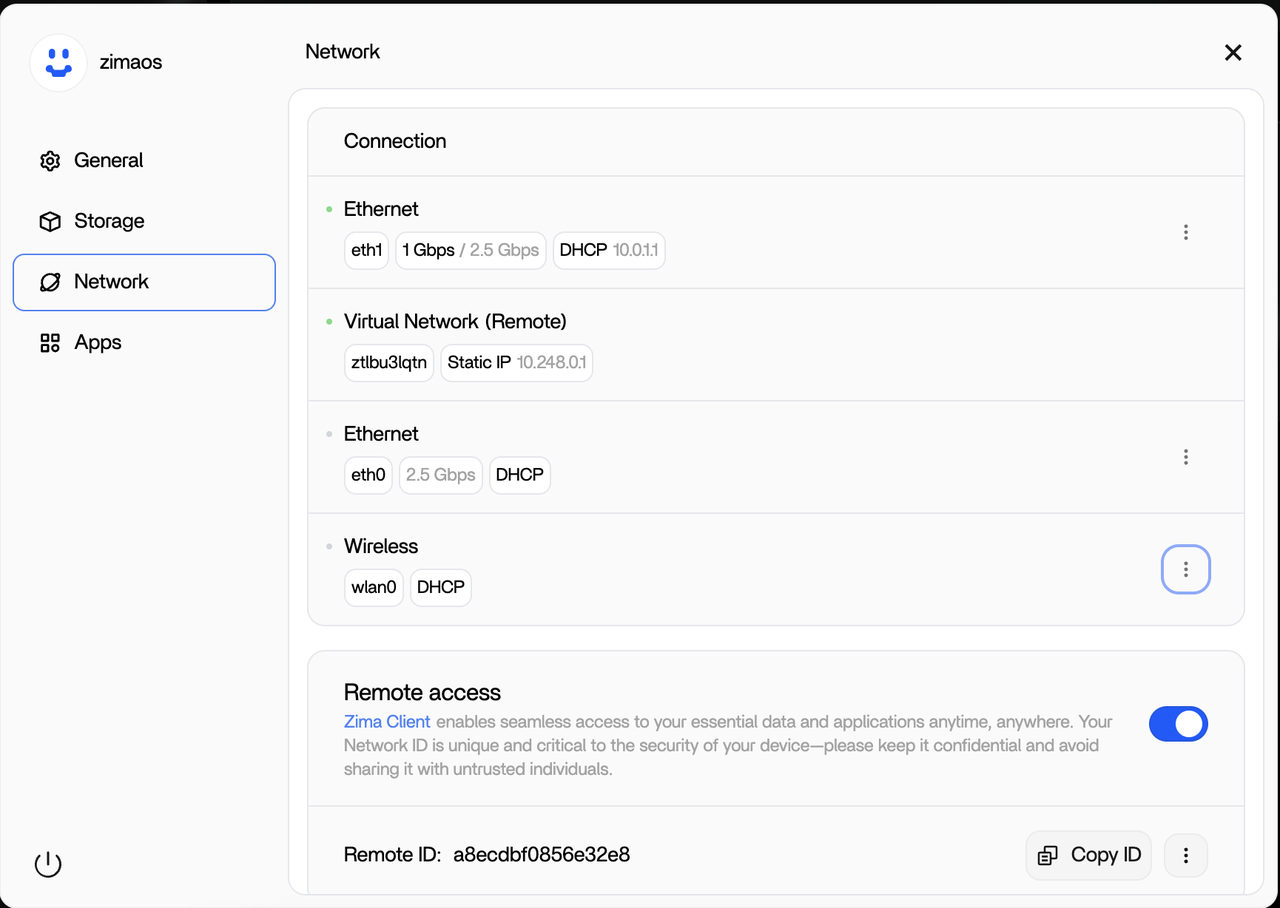
🎉 You’re all set!
Your AX210 Wi-Fi card is now connected and ready to use with ZimaOS.
If you have any questions, please contact support email: support@icewhale.org