What you’ll learn
ZimaOS is a lightweight NAS operating system designed for generic x86-64.
This guide provides a complete step-by-step process to help you download, flash, and install ZimaOS quickly and successfully.
What you’ll need
- A Zima device or a generic x86-64 with at least 25GB of storage space.
- A flash drive (4GB or above recommended).
Getting Started
To boot ZimaOS, the BIOS needs to have UEFI boot mode enabled and Secure Boot disabled.
Step 1: Download the ZimaOS Installation Image
To get started, download the latest ZimaOS .img file from the official GitHub release page:
👉 ZimaOS GitHub Releases
Step 2: Create a Bootable USB Drive
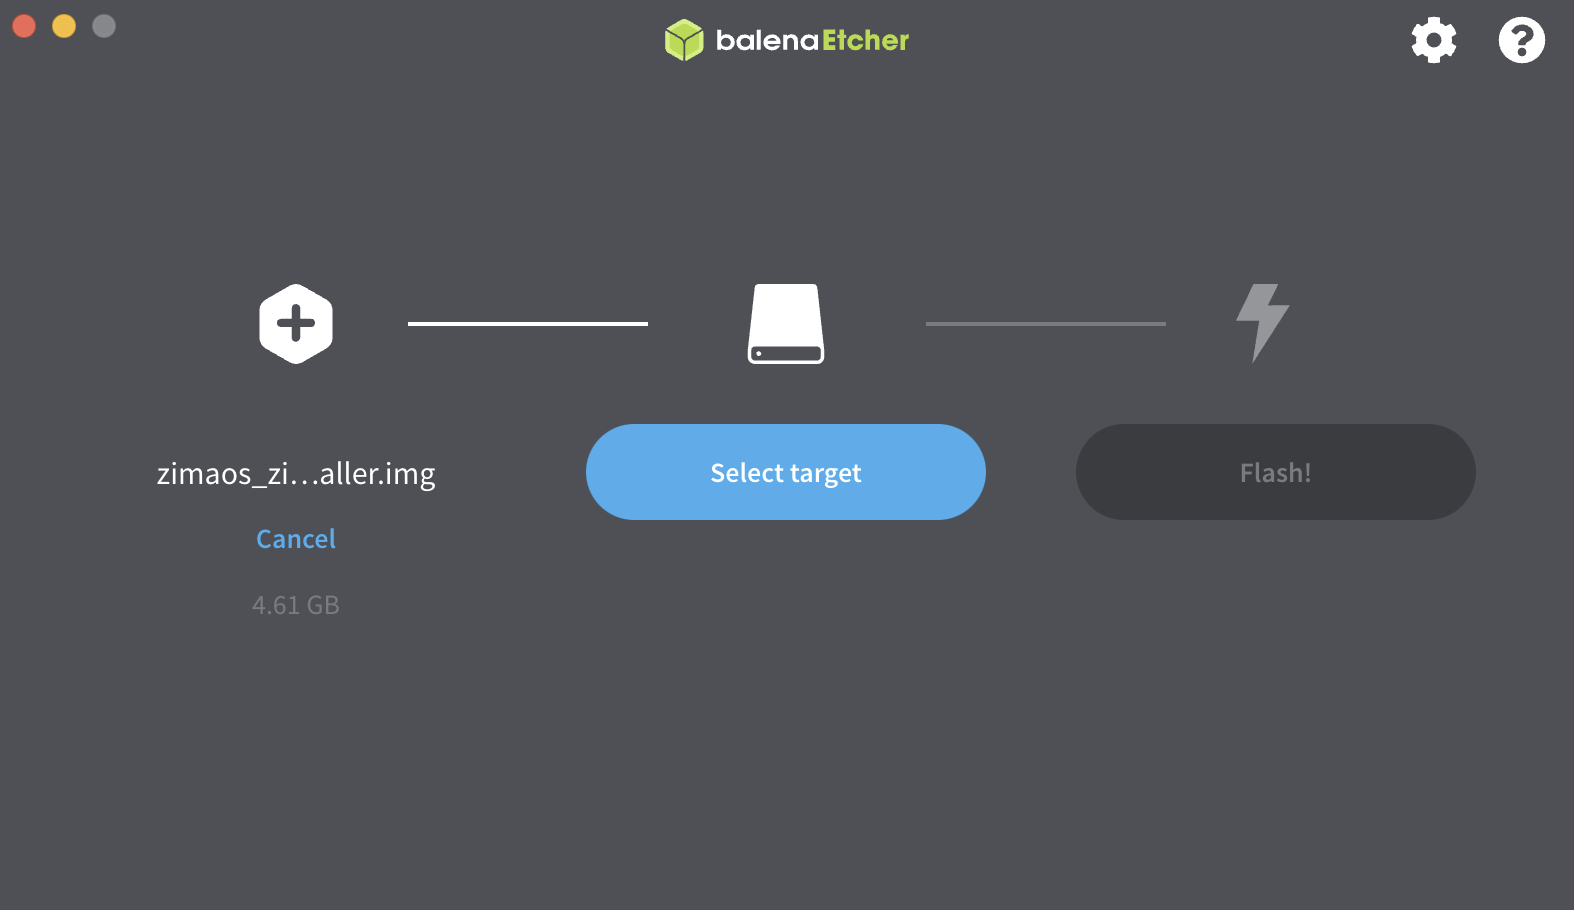
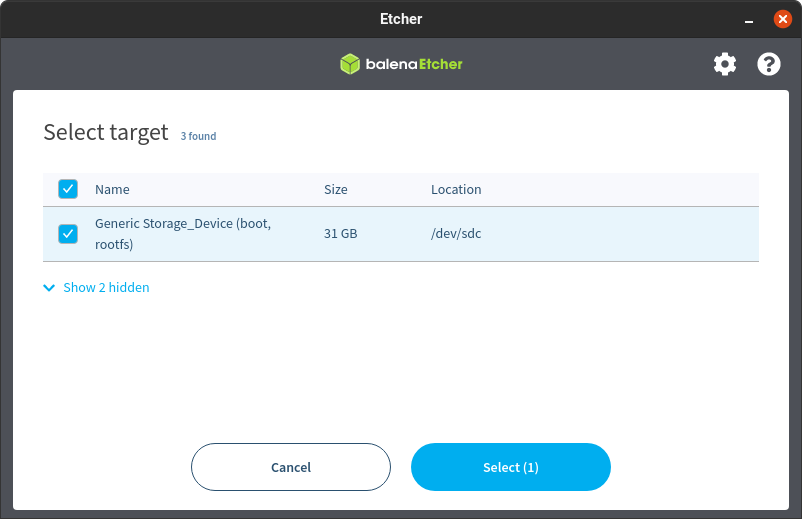
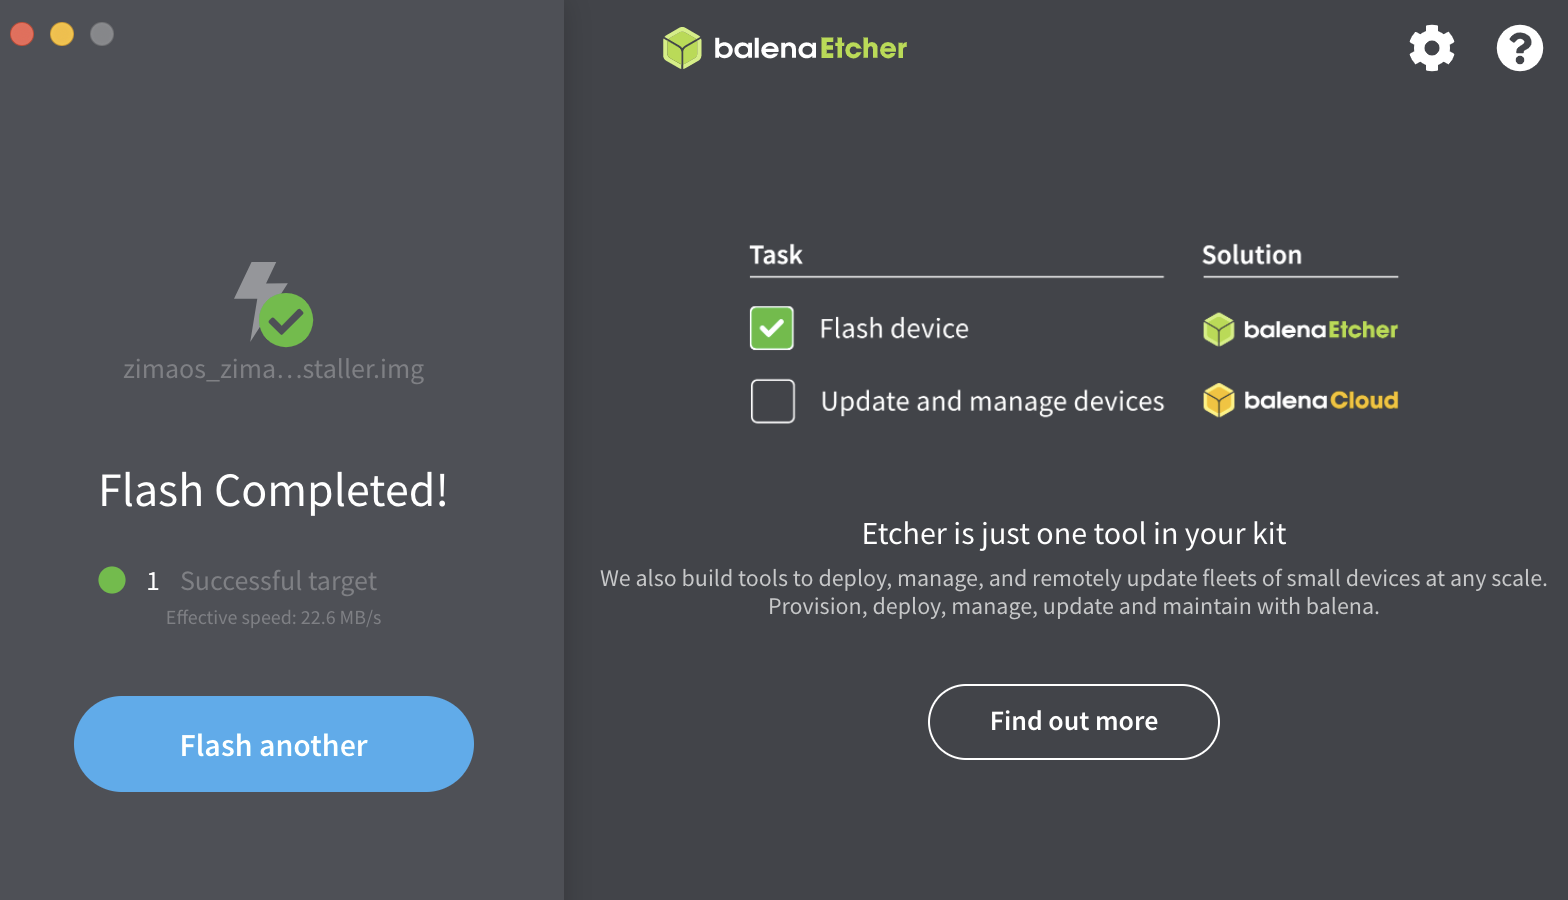
You need to flash the ZimaOS image to a USB drive. The easiest tool for this is Balena Etcher.
- Download and install Balena Etcher
- Open Etcher and select the ZimaOS
.imgfile. - Insert your USB drive and select it as the target.
- Click Flash to start writing the image.
Step 3: Boot your device from USB
- Insert the bootable USB drive into your device.
- Enter the BIOS/boot menu and choose Boot from USB.
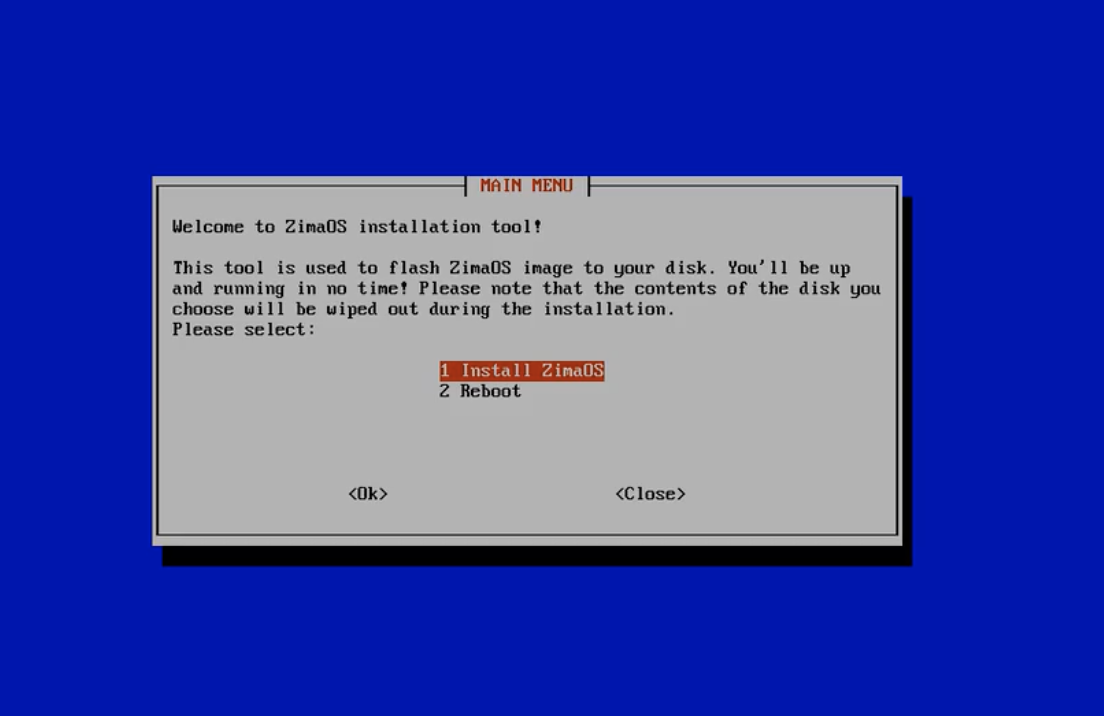
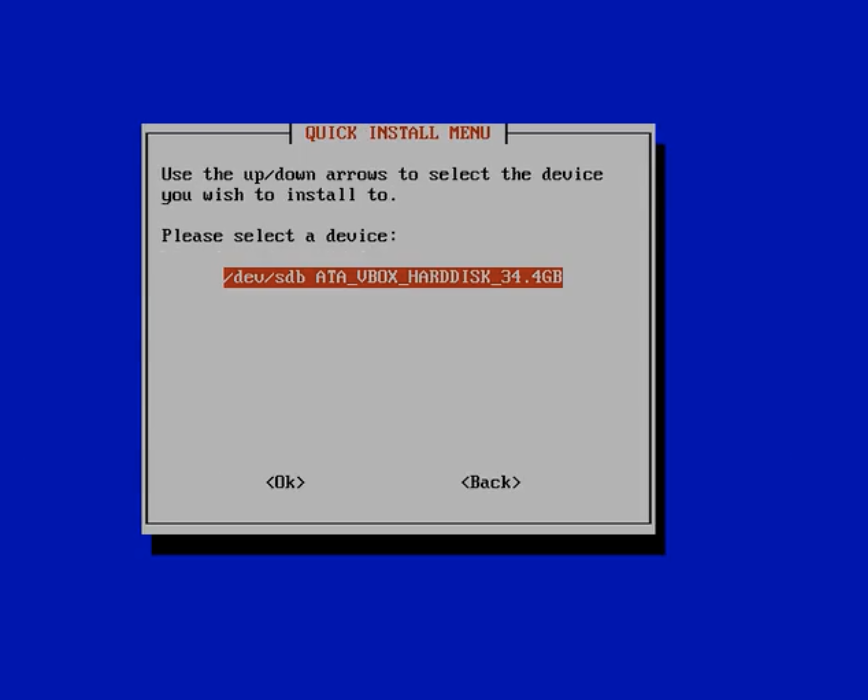
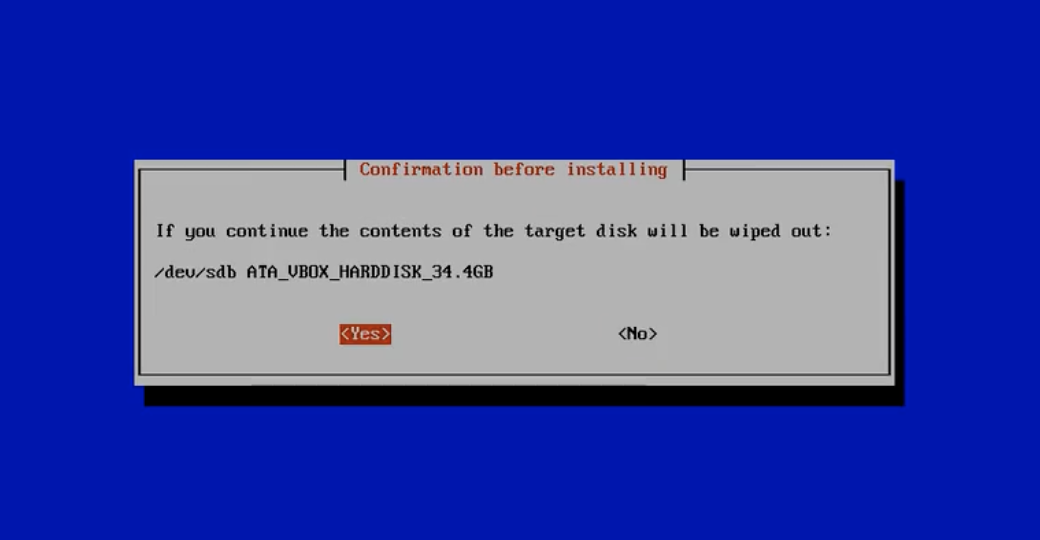
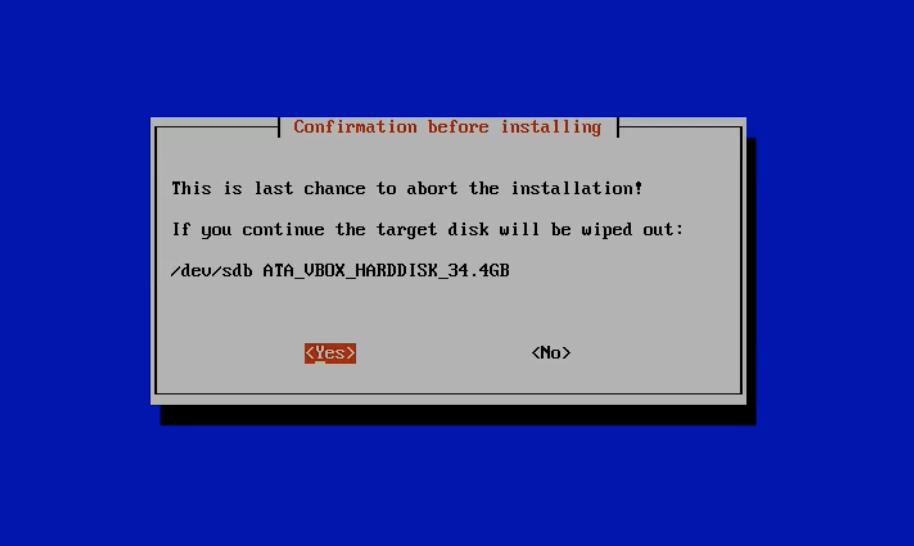
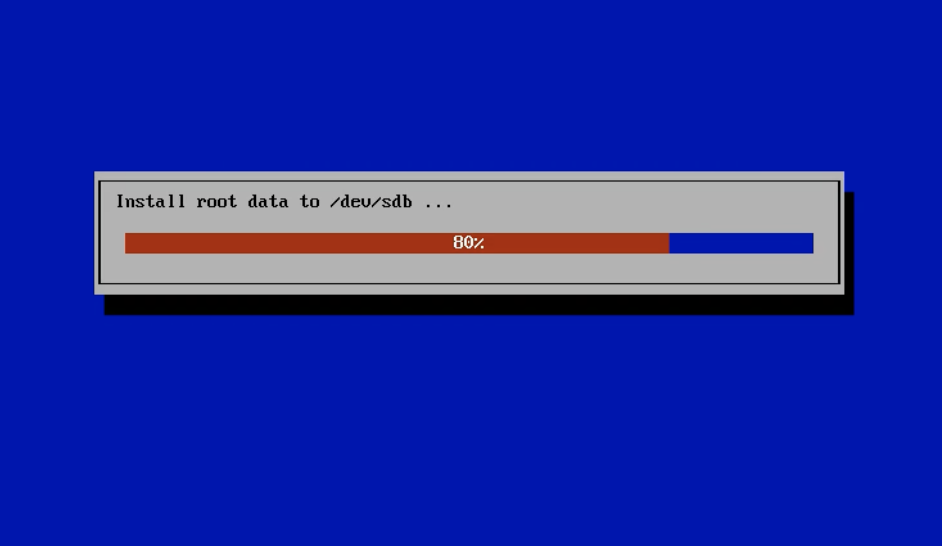
Step 4: Complete ZimaOS Installation
Follow the on-screen instructions to install ZimaOS.
When the system prompts, remove the USB drive and restart the device.
It will now automatically boot into ZimaOS.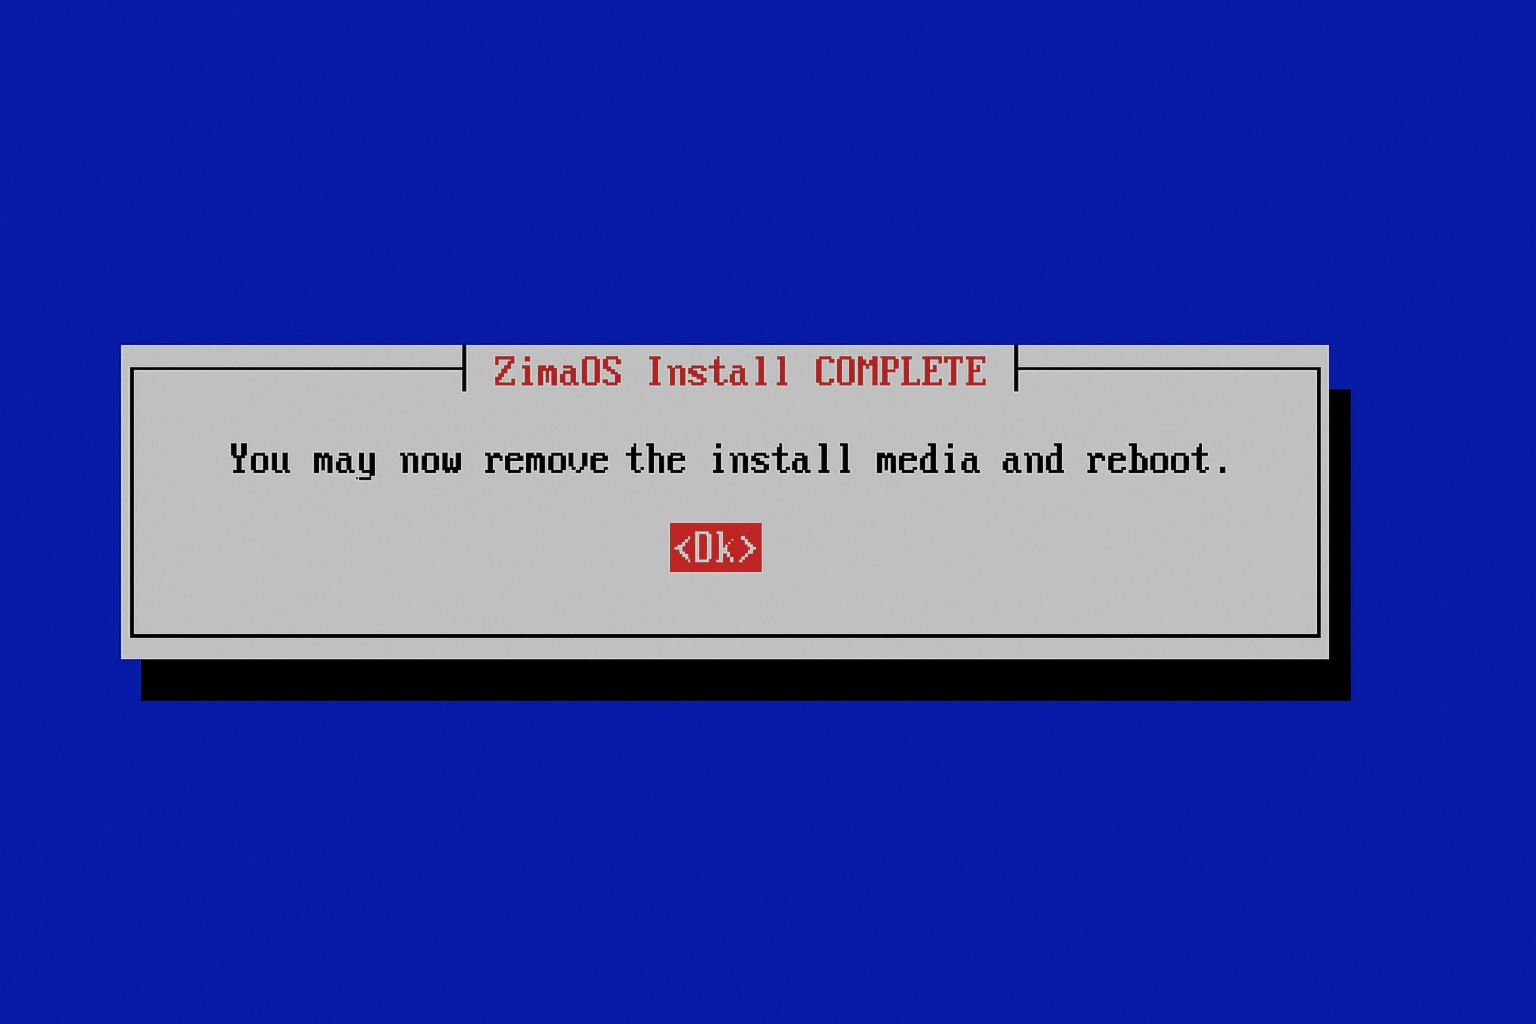
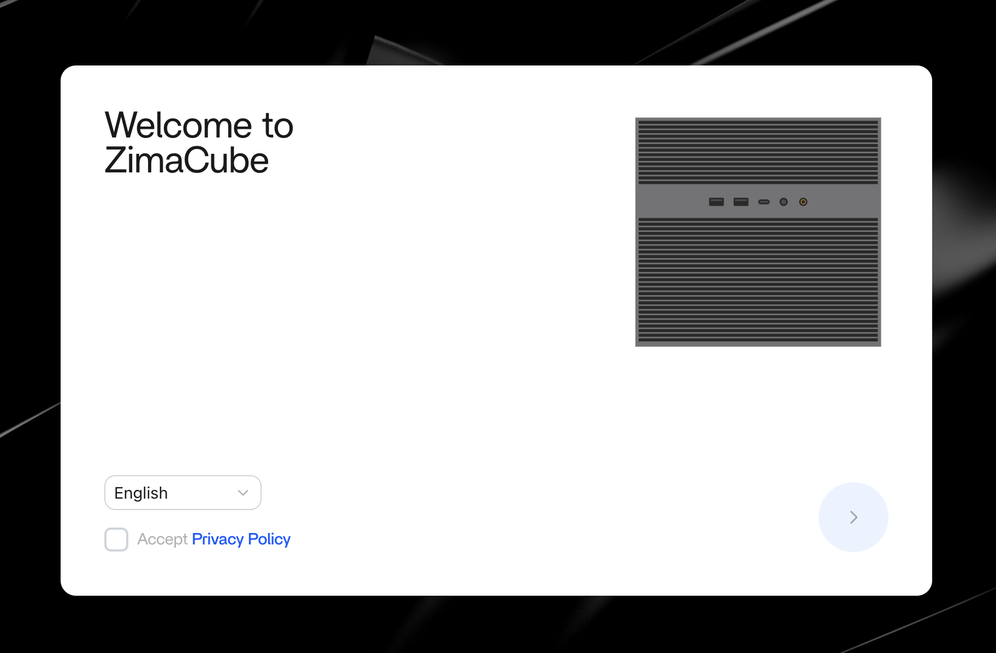
Step 5: Access ZimaOS
After reboot, the easiest way to log in is by using ZimaClient, which can automatically detect your device on the network and help you quickly access ZimaOS.
👉 Download ZimaClient and follow the guide here: ZimaOS Quick Start Guide
Alternatively, you can also check the IP address on your network and enter it into a web browser to access the ZimaOS Web UI.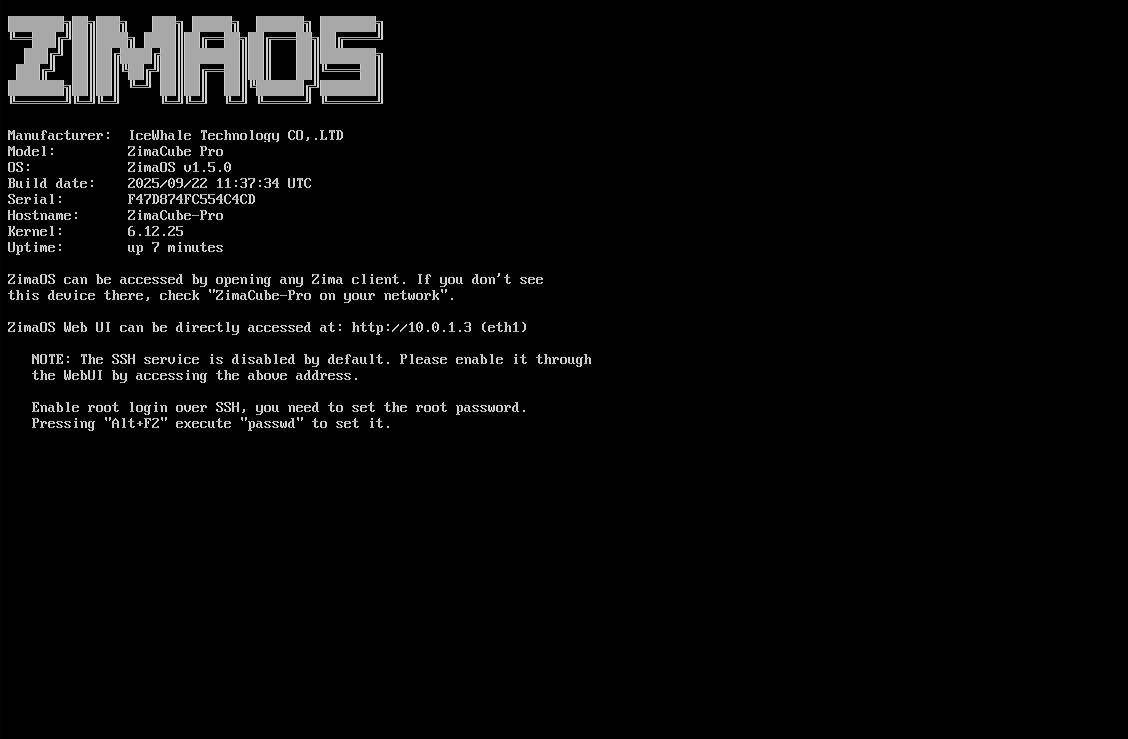
🎉 Congratulations! You have successfully installed ZimaOS on your device and can now start exploring all its NAS features.
Next Steps with ZimaOS
Now that ZimaOS is installed on your smart server, you can start building your personal cloud and home server.
Here are some ideas for what to do next:
- 🔧 Set up RAID or storage pools for data protection.
- 📂 Enable file sharing (SMB/FTP) across your devices.
- 🎞️ Run a media server (Plex, Jellyfin) to stream your movies and music.
- 🐳 Deploy Docker apps directly from the ZimaOS App Store.
- ☁️ Backup important data to external drives or the cloud.
👉 Ready to unlock more features?
- Visit the ZimaOS Documentation
- Join our Community Forum
- Explore the Awesome App Store to expand your setup
💡 Pro Tip: Bookmark this guide for future updates. New ZimaOS releases often include performance improvements and new apps.
Start your journey with ZimaOS today and enjoy a faster, simpler, and more reliable NAS experience! 🚀