
1. Introduction
The Intel® Wi-Fi 6E AX210 (Gig+) adapter is designed to support Wi-Fi 6E technology. The product supports dual-stream Wi-Fi in the 2.4GHz, 5GHz and 6GHz bands as well as Bluetooth® 5.3. Combined with Intel® Core™ processors and exceptional Intel wireless innovations, the Intel® Wi-Fi 6E AX210 module can dramatically improve your connected experience at home, work, or on the go.
2. Specifications
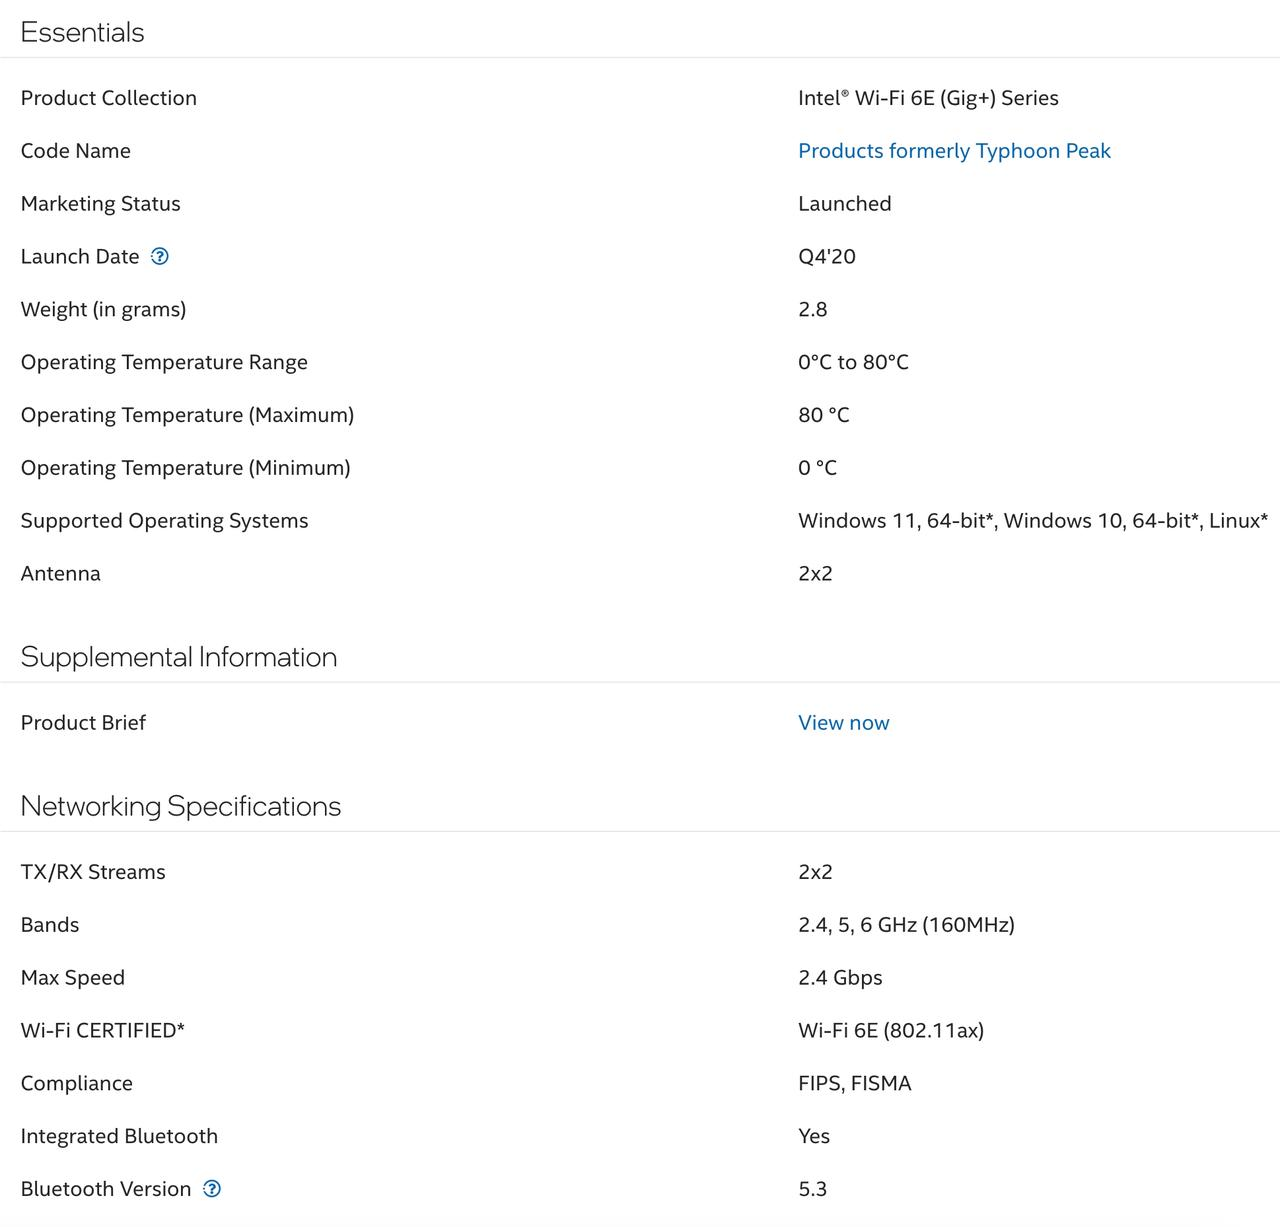
3. Usage Instructions
Quick Operation Steps:
A. Insert the AX210 card into the ZimaBoard.
B. Update the AX210 driver.
C. Open the CasaOS system and connect to Wi-Fi.
STA Mode
Required Equipment:
- ZimaBlade / ZimaBoard × 1
- AX210 Wi-Fi card × 1
- Ethernet cable × 1
- Power adapter × 1
Optional: - miniDP cable × 1
- Monitor × 1
- Keyboard × 1
Connection Diagram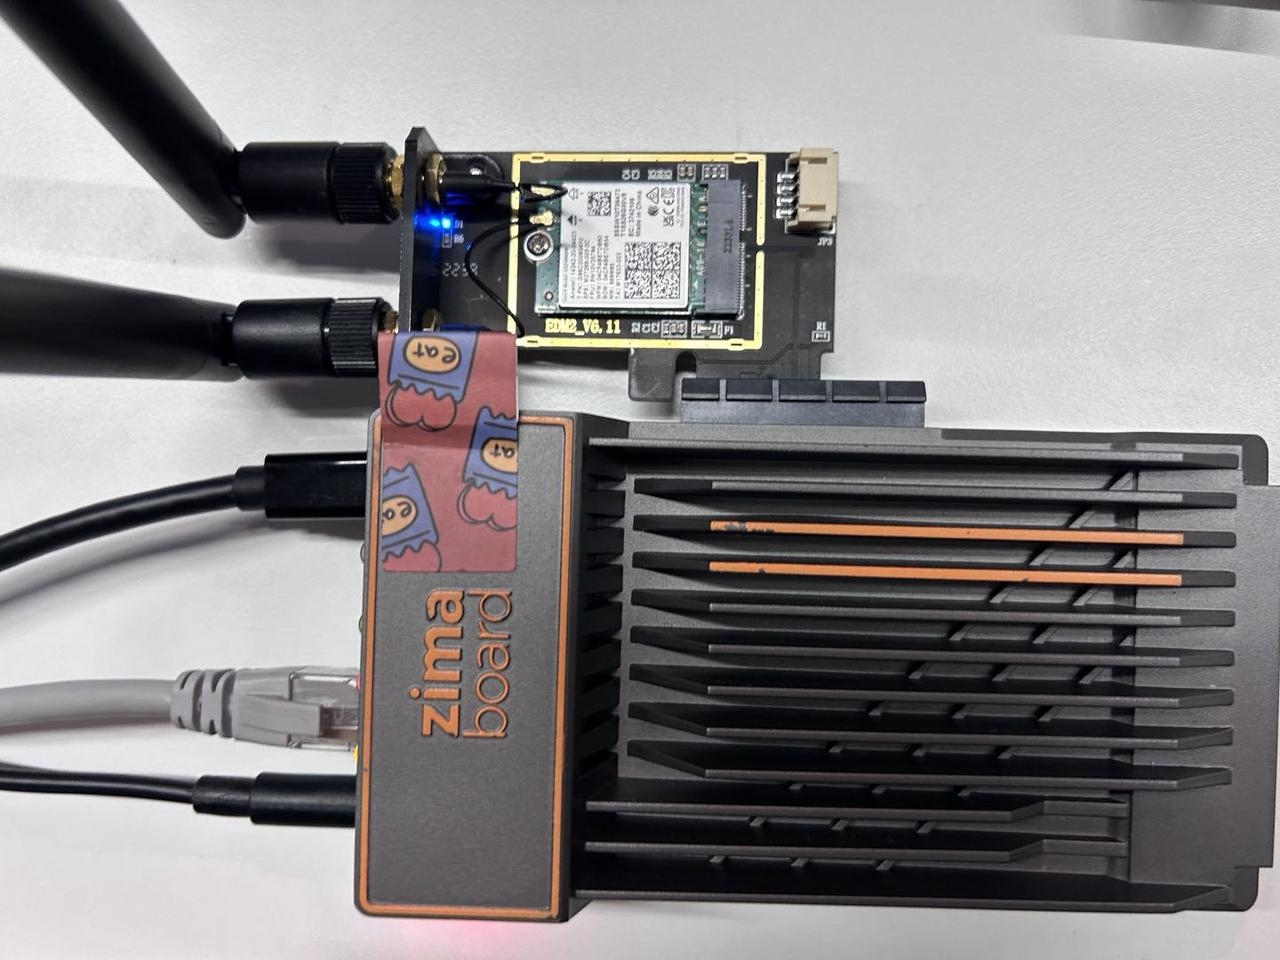
Step 1: Check if the AX210 Wi-Fi card is detected
Access your device via Terminal.
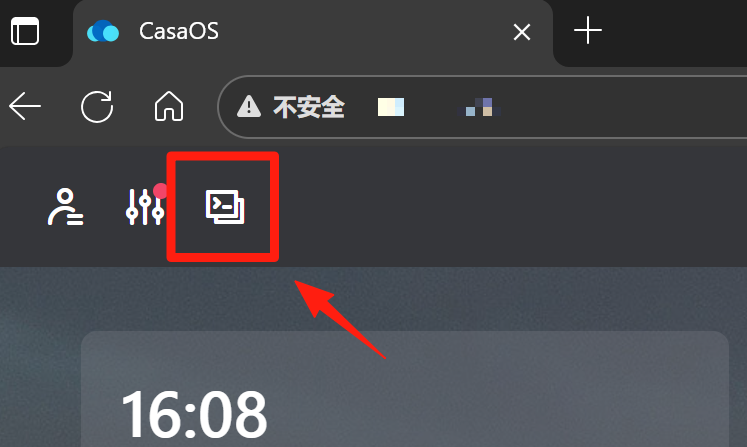
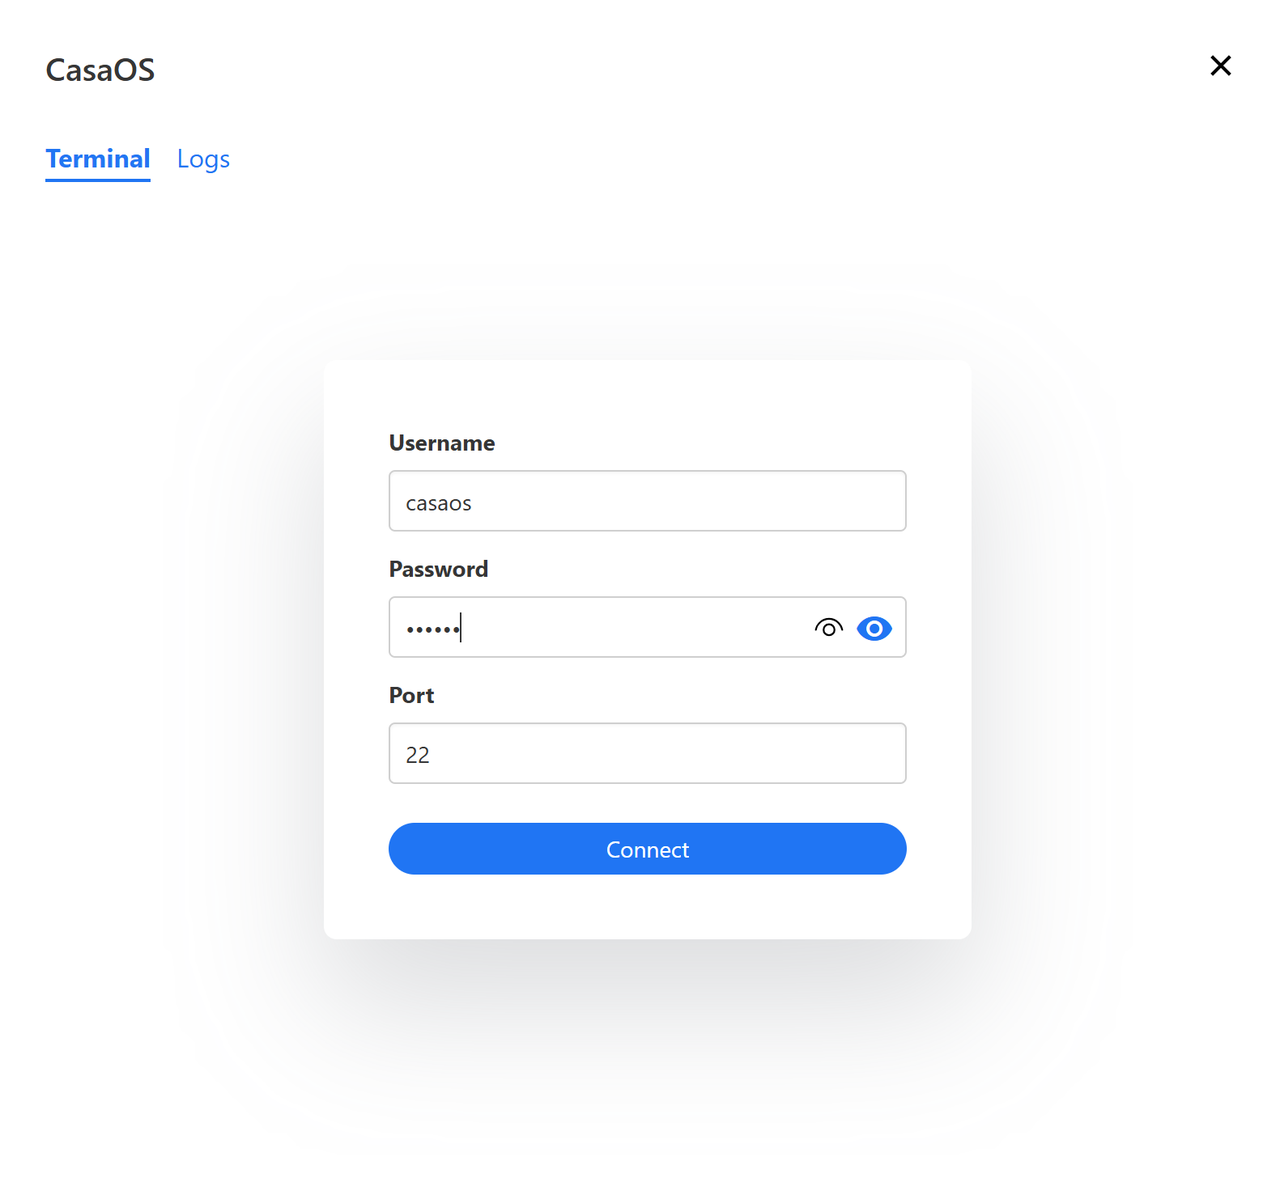
Switch to root mode
su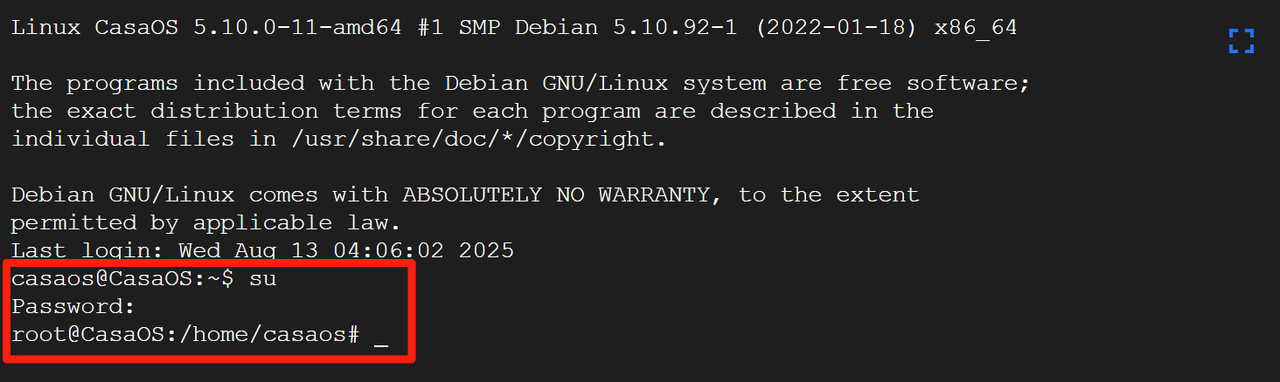
Run the command
lspci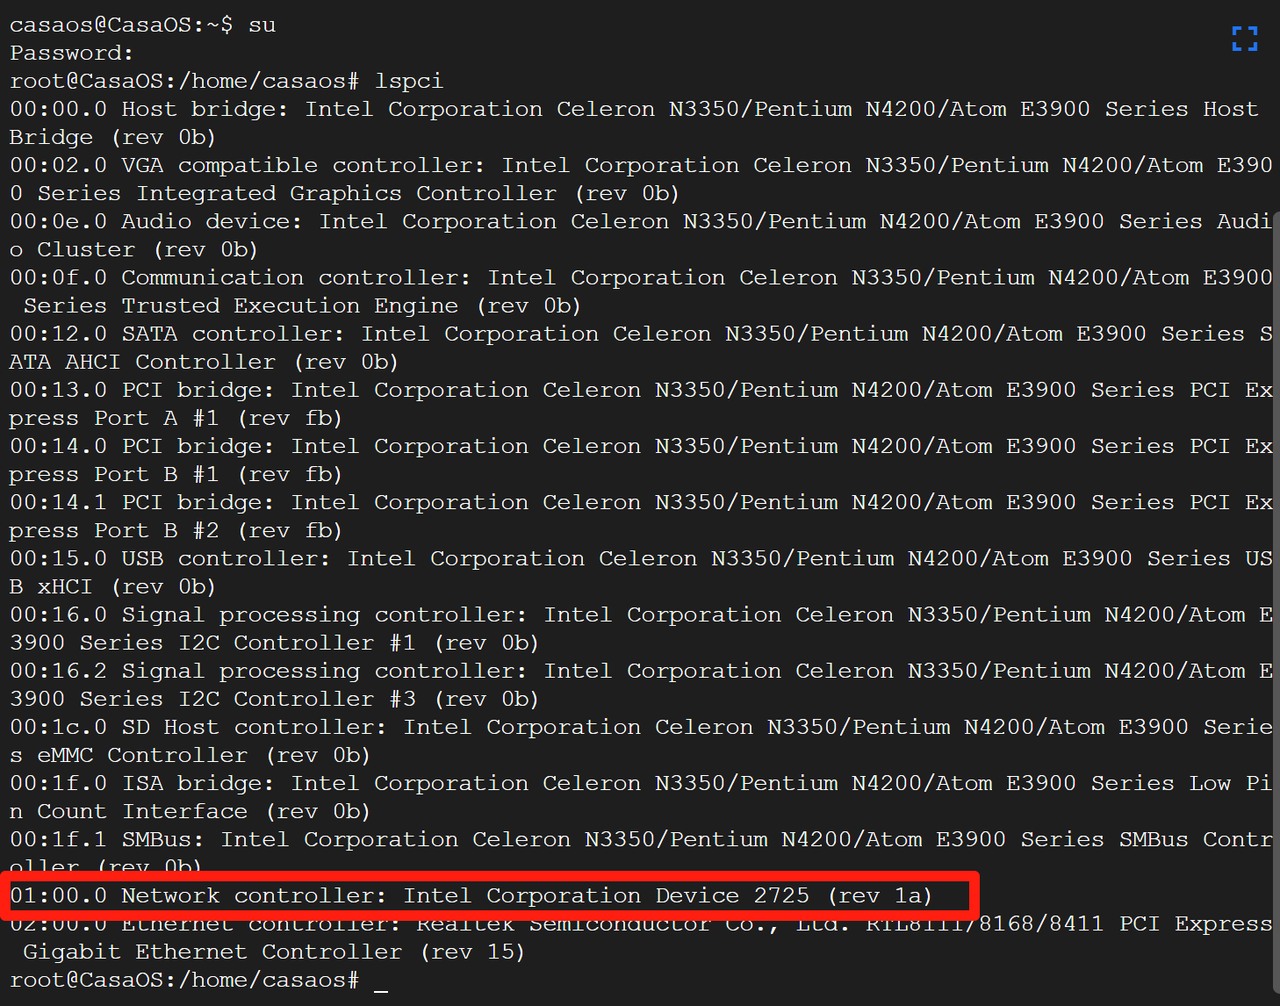
You should see the Intel Device listed, confirming it is connected to the ZimaBoard.
Step 2: Install the AX210 driver
Note:
If you are using CasaOS pre-installed on ZimaBoard or ZimaBlade with kernel version 5.10, you can skip directly to Step 3.
You can also get this version from the provided link.
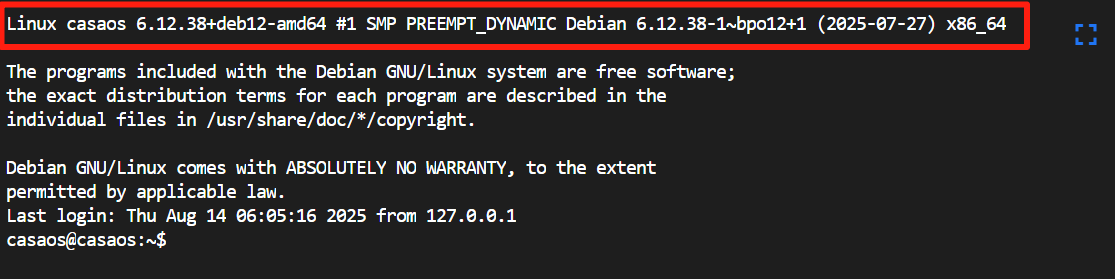
Check your kernel version. If it is below 6.10, it is recommended to upgrade. In this guide, we will use the backports kernel.
Add the backports repository:
echo "deb http://deb.debian.org/debian bookworm-backports main contrib non-free non-free-firmware" | sudo tee -a /etc/apt/sources.list
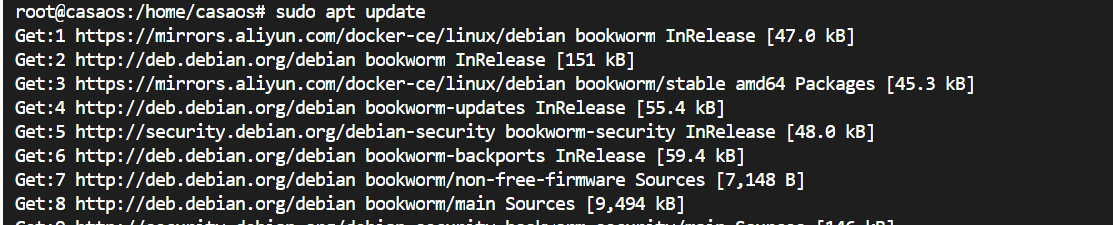
Update package lists:
sudo apt update
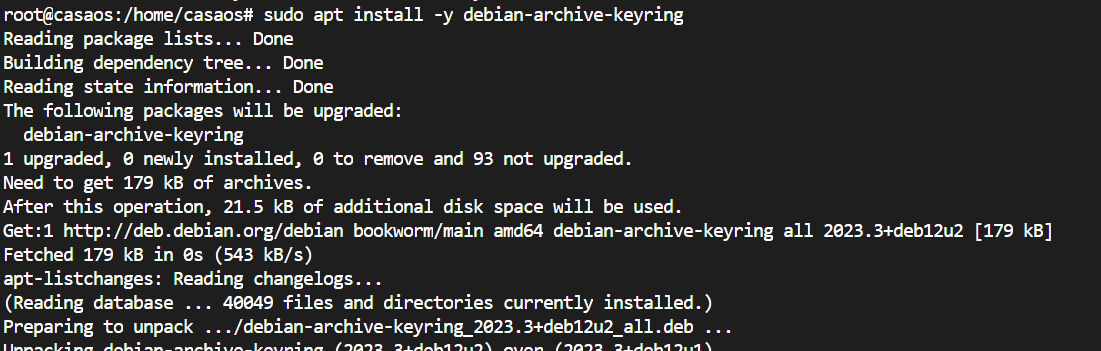
Add the Debian archive keyring:
sudo apt install -y debian-archive-keyring
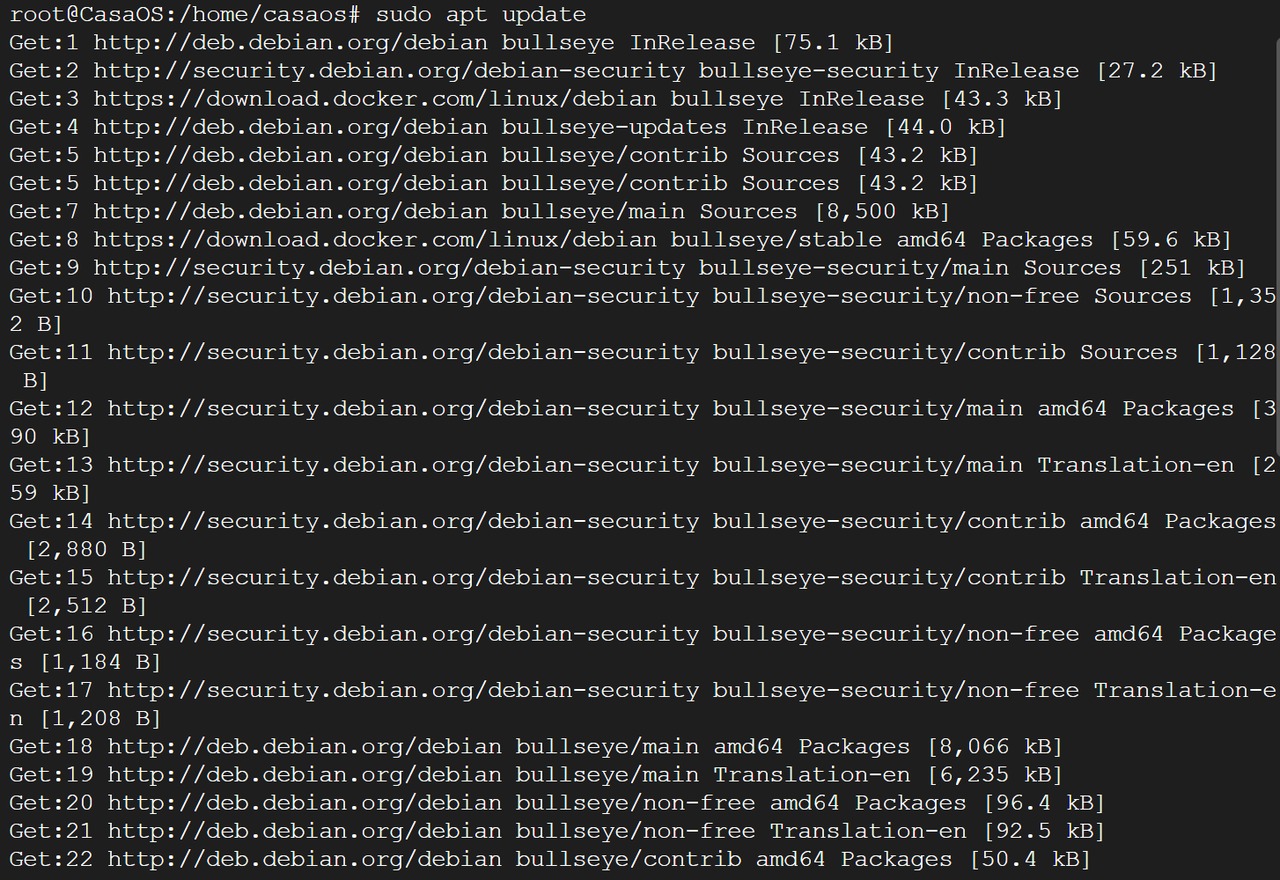
Update package lists again:
sudo apt update
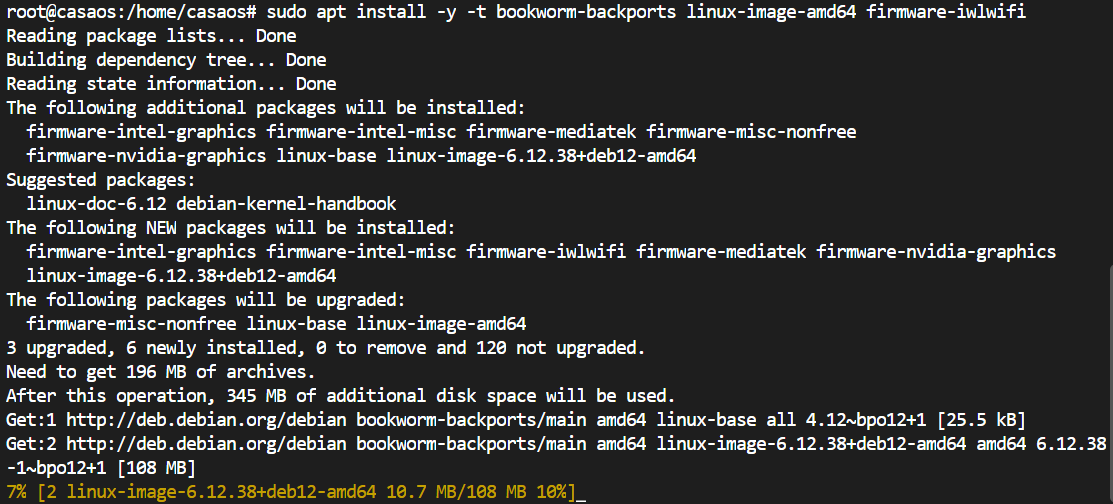
Upgrade the kernel and install firmware:
sudo apt install -y -t bookworm-backports linux-image-amd64 firmware-iwlwifi
Reboot:
sudo reboot
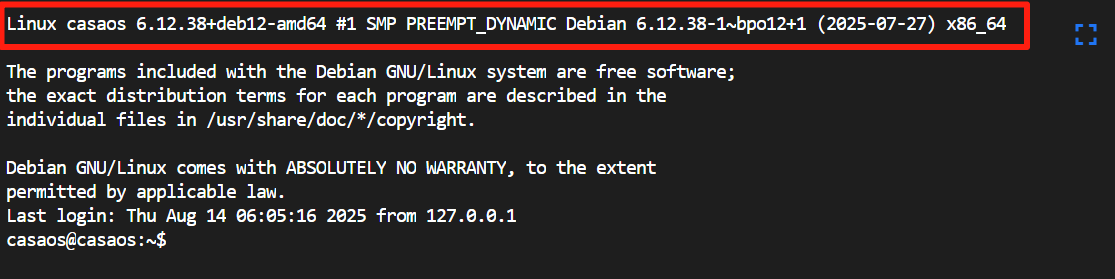
After rebooting, confirm that the kernel version is 6.12 or higher.
Step 3: Connect to Wi-Fi using nmtui
We will use the nmtui tool to connect.
sudo nmtui |
If the system does not recognize the nmtui command, please refer to the Installing nmtui section below for installation instructions.
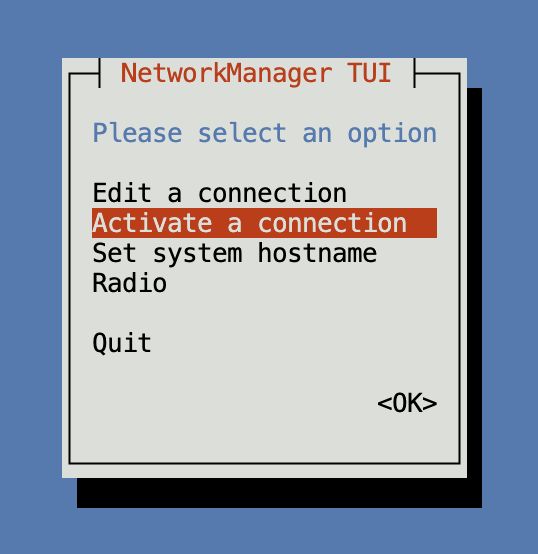
Select Activate a connection.
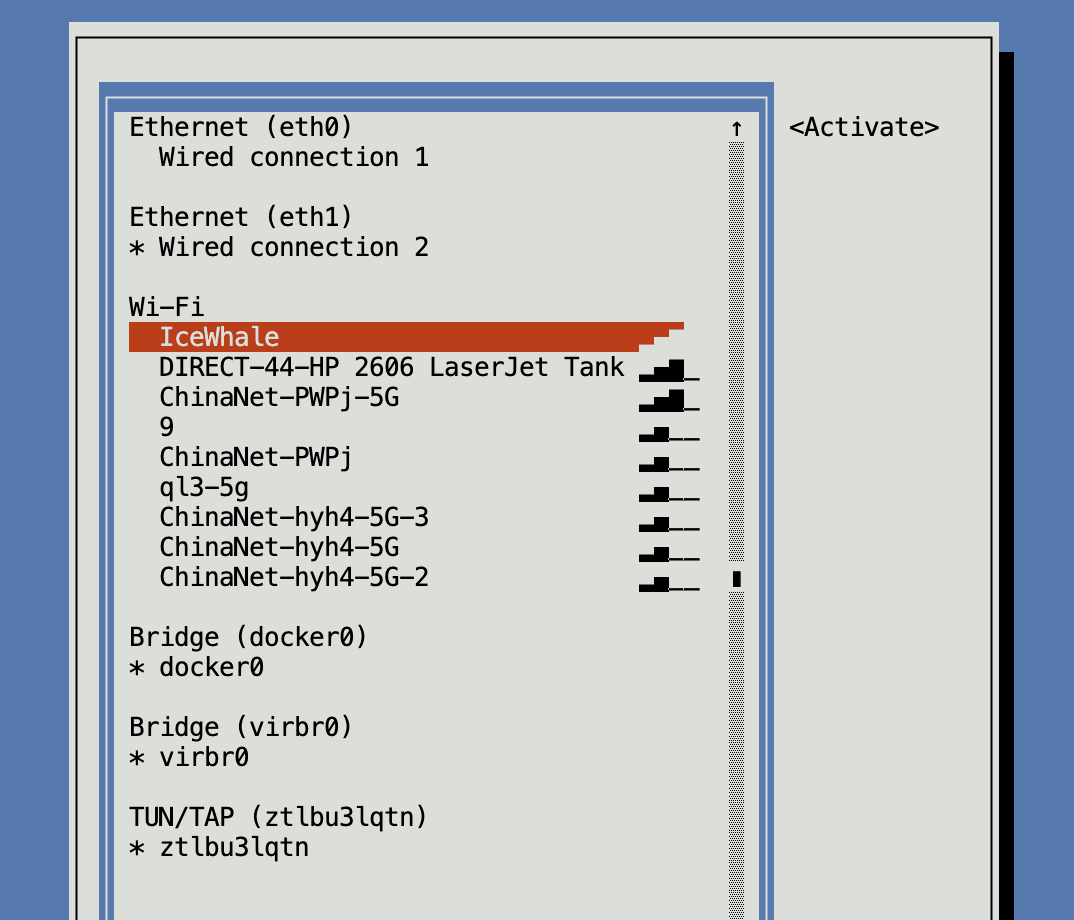
Choose your Wi-Fi network (SSID).
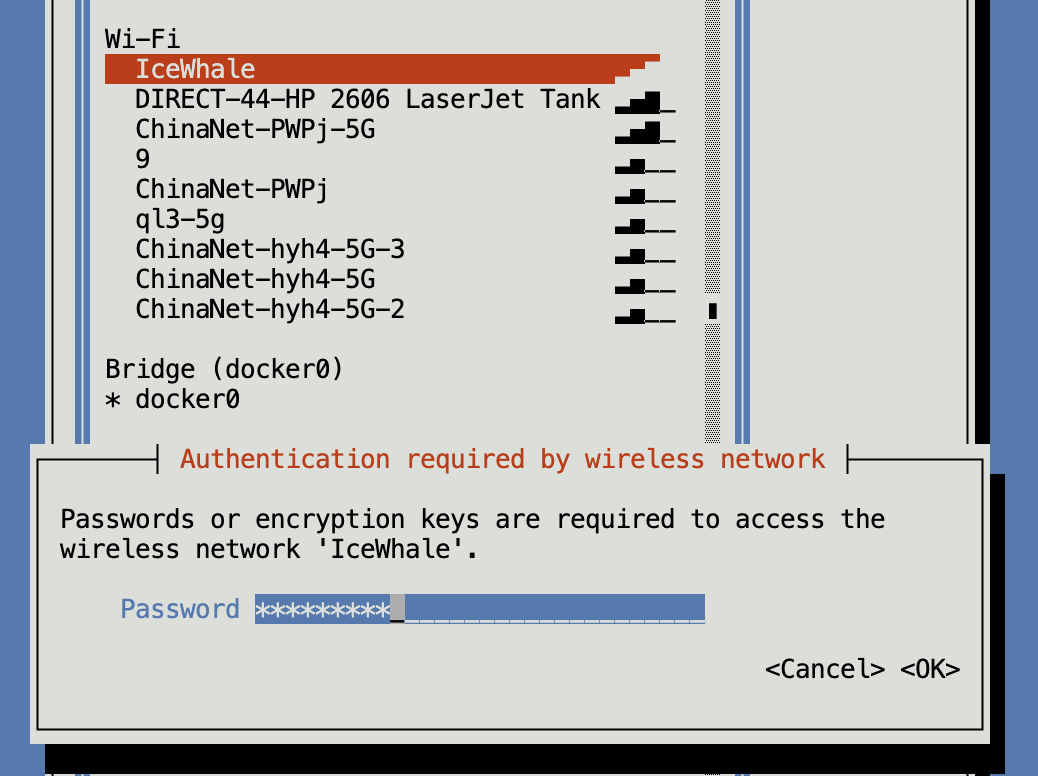
Enter the password and press Enter.
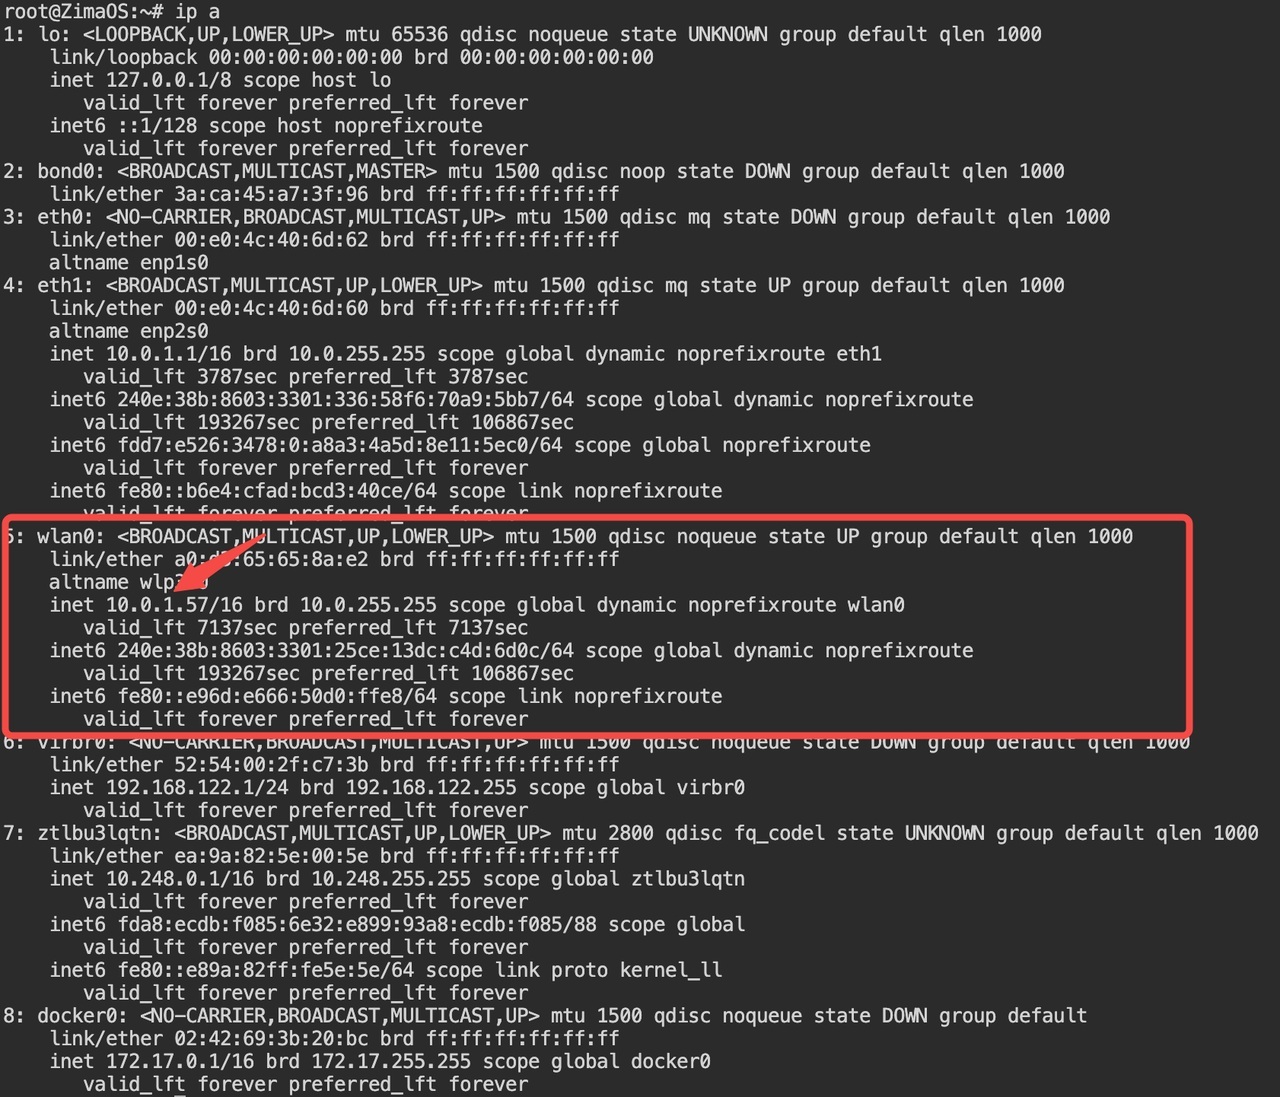
Verify IP address and connectivity
Save & Exit thenmtuitool and usingip ato check the status of your wireless interface:
ip a |
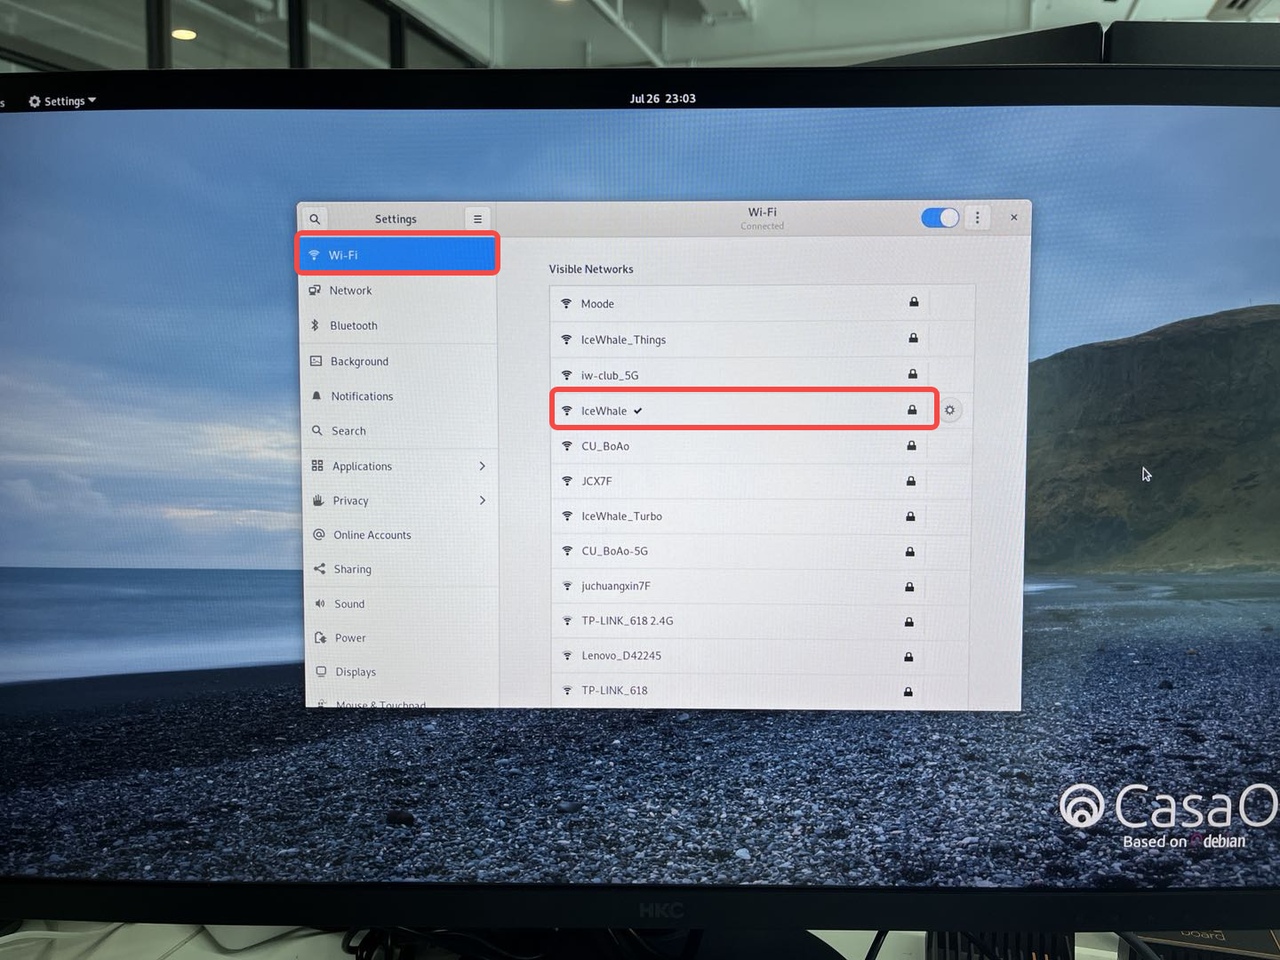
If you are using the GUI version of CasaOS, simply open the Wi-Fi menu and select your desired network.
Compatible Router Operating Systems
- OpenWRT
- You should install iwlwifi, which is the official driver for ax210.
- go to intel [official website](https://www.intel.com/content/www/us/en/support/articles/000005511/wireless.html 383) to download the firmware.
- Unzip the iwlwifi-ty-59.601f3a66.0.tgz and copy the file to the /lib/firmware/
- Use lspci command to check the ax210 path.
- go to the /sys/bus/pci/devices, and you will see the device id.
- enter the dictionary and use pwd command to get the absolute path.
- edit the /etc/config/wireless
config wifi-device 'radio0'
        option type 'mac80211'
        option country 'US'
        option cell_density '0'
        option path 'pci0000:00/0000:00:1d.0/0000:03:00.0'

config wifi-device 'radio1'
        option type 'mac80211'
        option path 'pci0000:00/0000:00:1d.0/0000:03:00.0'
        option band '5g'
        option htmode 'HE80'
        option cell_density '0'
option country 'US' - reboot ! And you will find the driver works well.
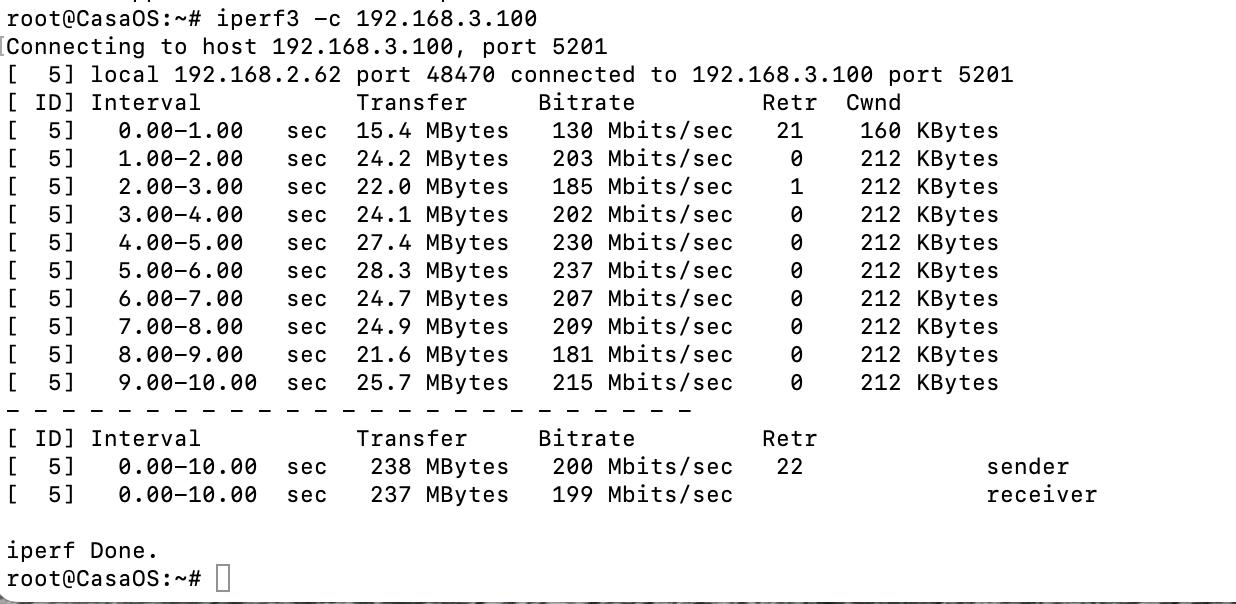
Network Speed Test
AP Mode (2.4 GHz Only)
Install required packages:
sudo apt updatesudo apt install hostapd iwConfigure the wireless network:
Edit/etc/hostapd/hostapd.confinterface=wlp1s0 # Replace according to your network adapter name
driver=nl80211
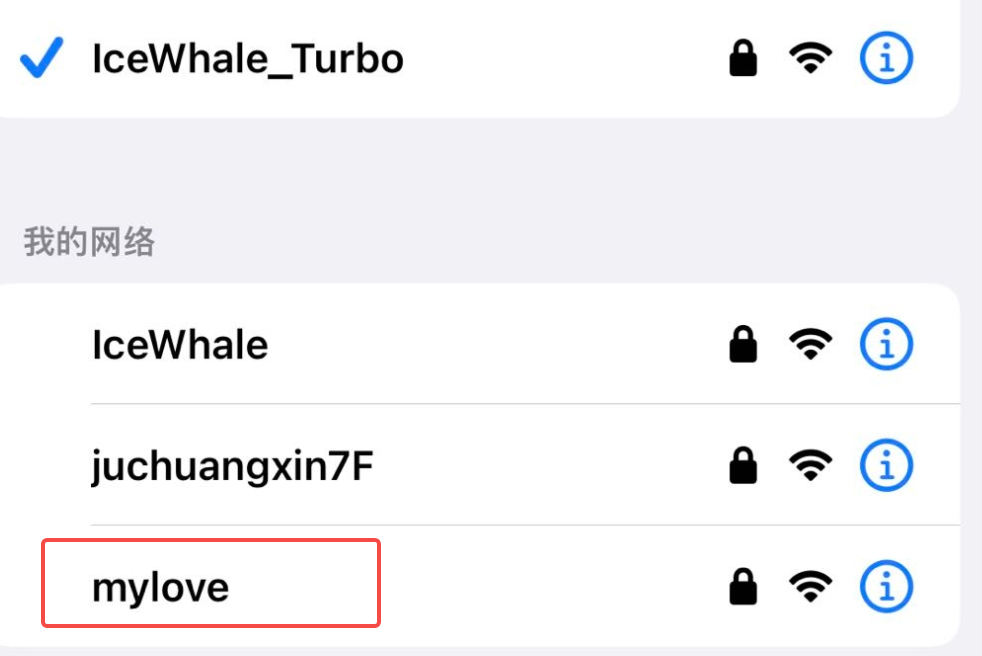
ssid=mylove # Replace "YourSSID" with your desired network name
hw_mode=a
channel=36 # Select your preferred channel
country_code=US
ieee80211ac=1
wmm_enabled=1
auth_algs=1
wpa=2
wpa_key_mgmt=WPA-PSK
rsn_pairwise=CCMP
wpa_passphrase=YourPassphrase # Replace "YourPassphrase" with your Wi-Fi password
logger_stdout=-1
logger_stdout_level=2Start hostapd:
sudo systemctl start hostapd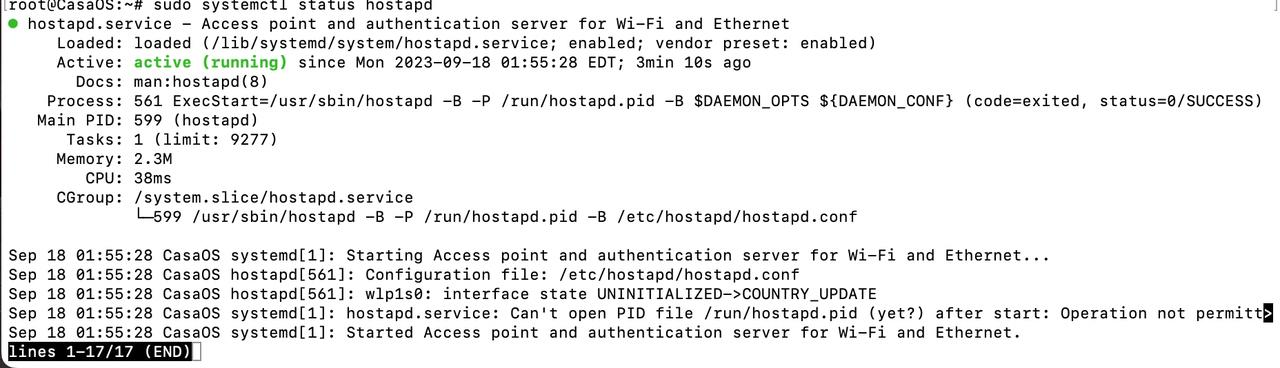
Test your Wi-Fi network by connecting from another device.
Installing nmtui
nmtui is included in the network-manager package:
sudo apt install network-manager |
Want hands-on experience? Get the components you need in our store.