
Setting up a new device should not feel like work. I have done this first boot more times than I can count, so here is the short version — install the client, create an account, and you are in.
Before You Start
Your Zima device needs to be powered on and connected to the same network as the computer you are using for setup. If you have not installed ZimaOS yet, see Install ZimaOS first.
Install ZimaClient
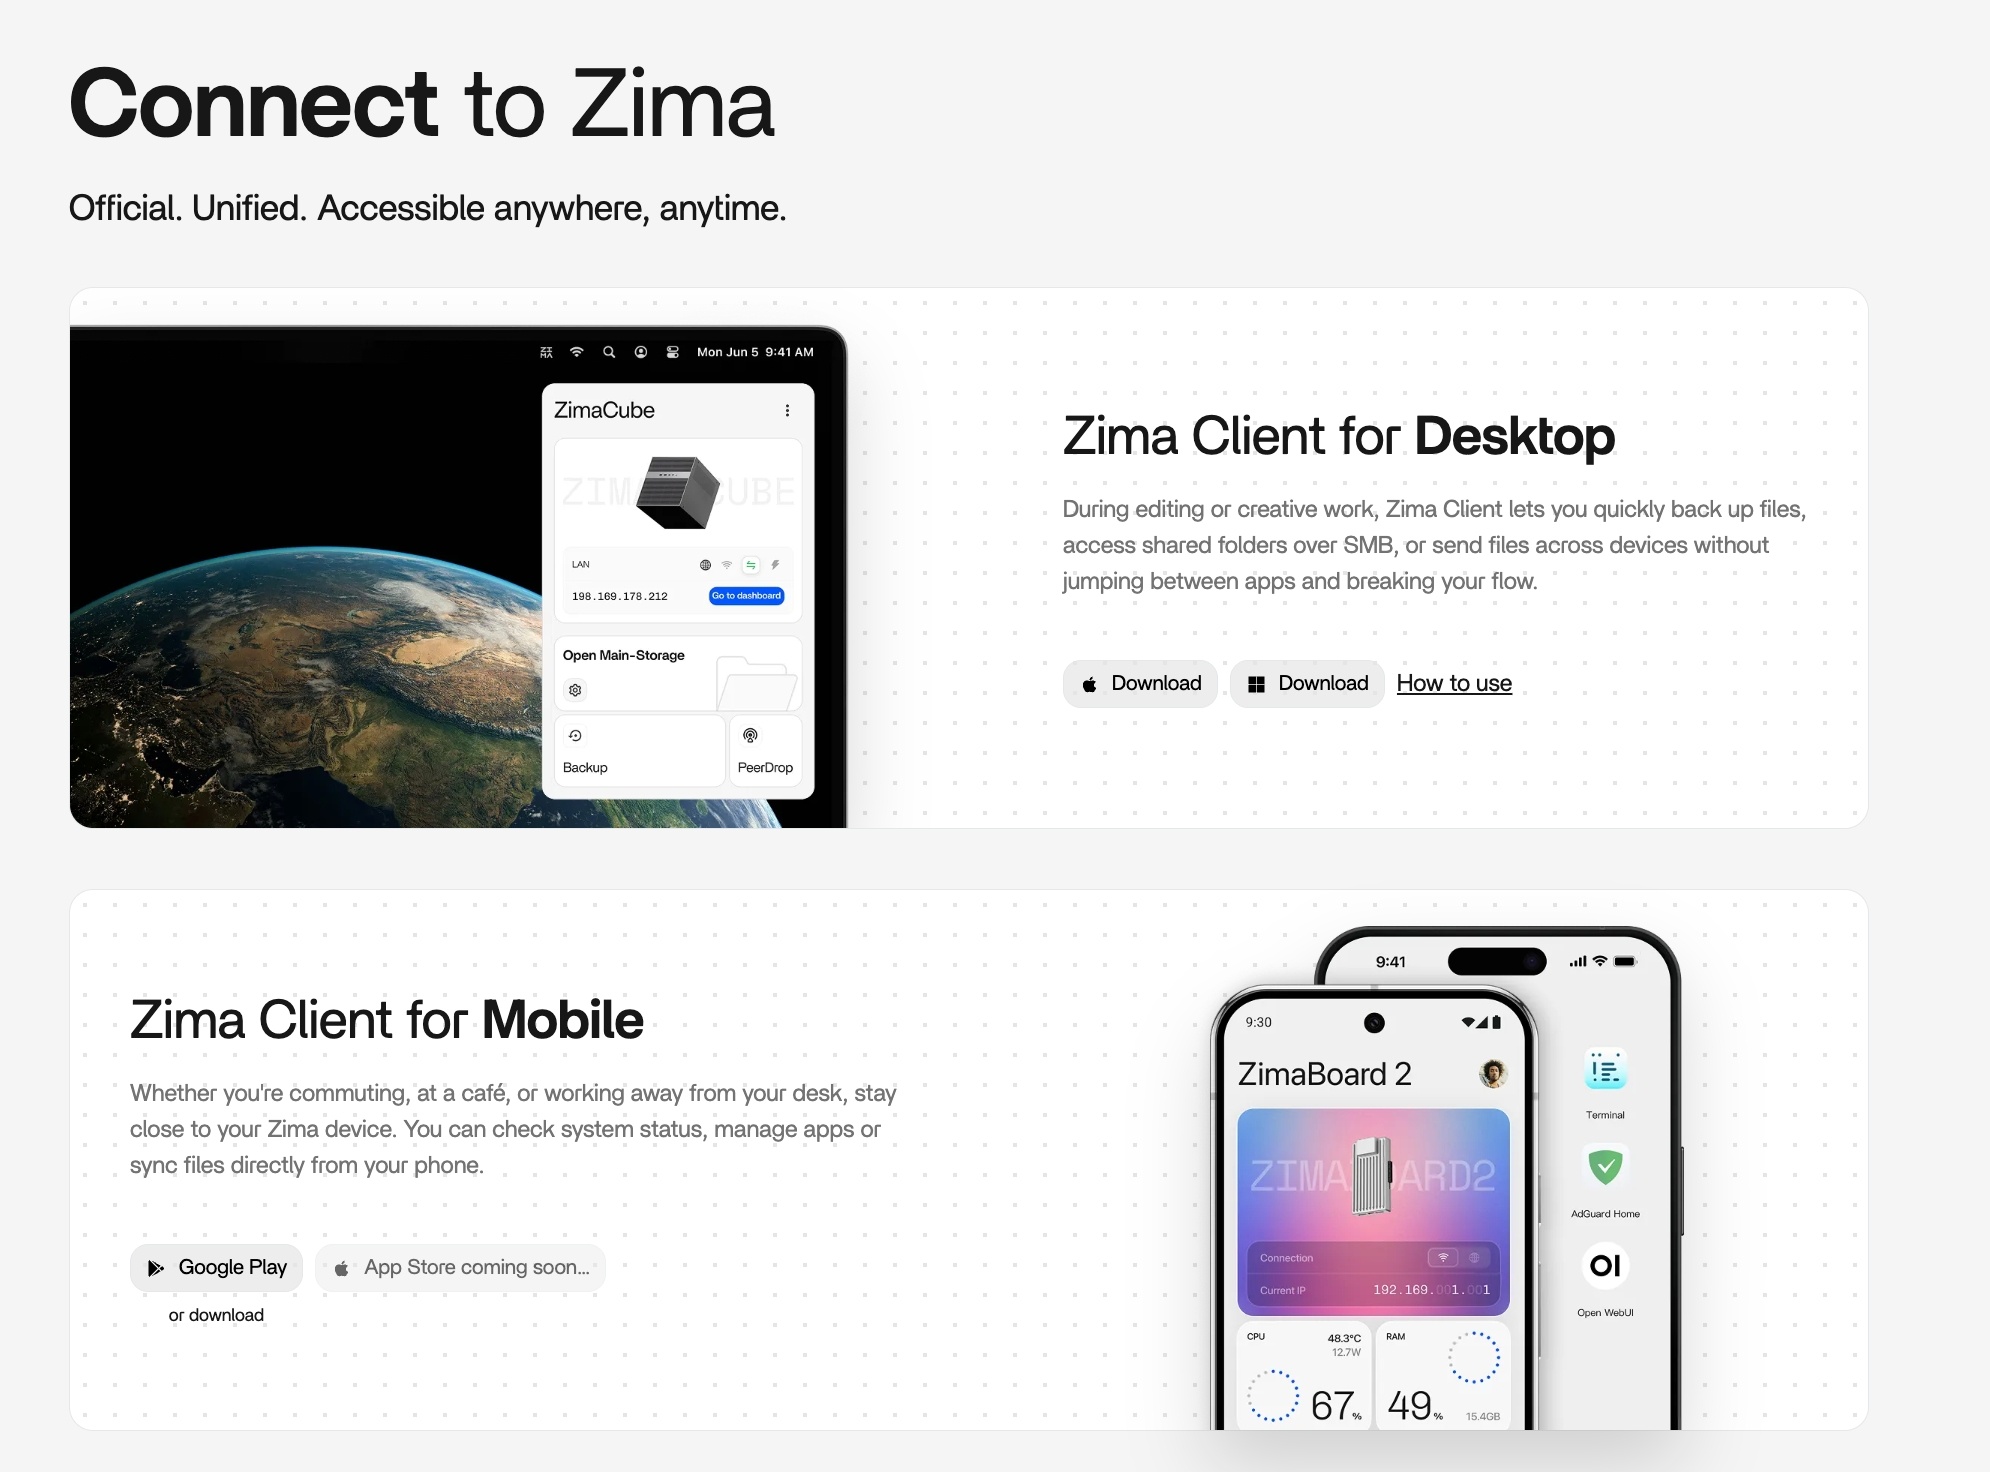
ZimaClient connects your computer or phone to your Zima device. It automatically finds your device on the network and sets up remote access.
Desktop — Download for Windows or macOS. Install and open the app — it scans your network and shows available devices.
Mobile — Get ZimaClient for iOS from the App Store, or Android from Google Play. The mobile app lets you check system status, manage apps, and sync files from your phone.
Log In and Set Up
Once ZimaClient finds your device, click to connect. You will see the ZimaOS setup screen.
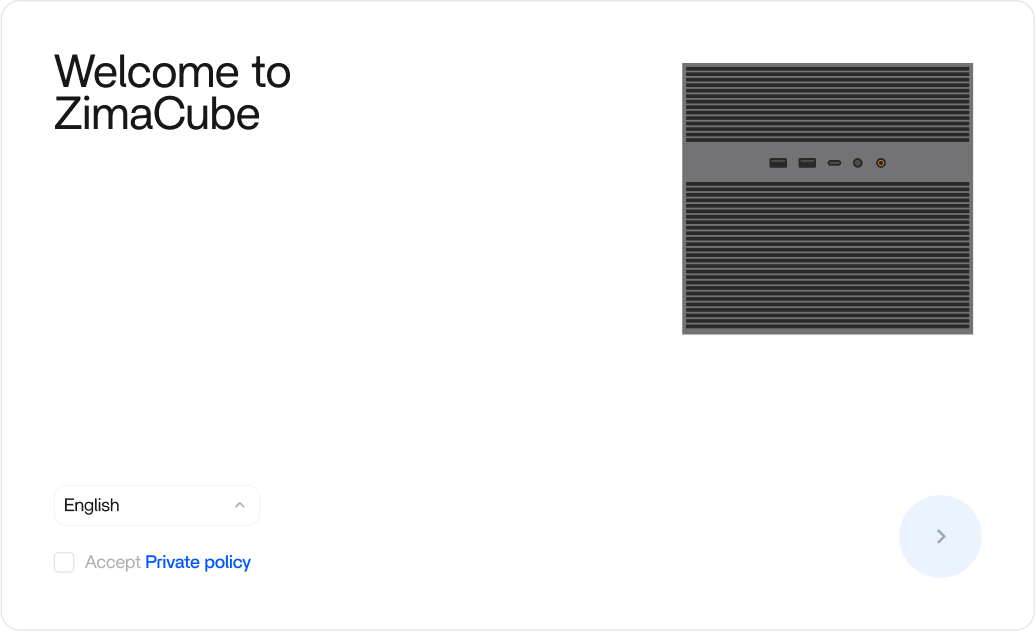
Choose your language. ZimaOS supports English, Chinese, Japanese, and more. The community has helped translate into a growing number of languages.
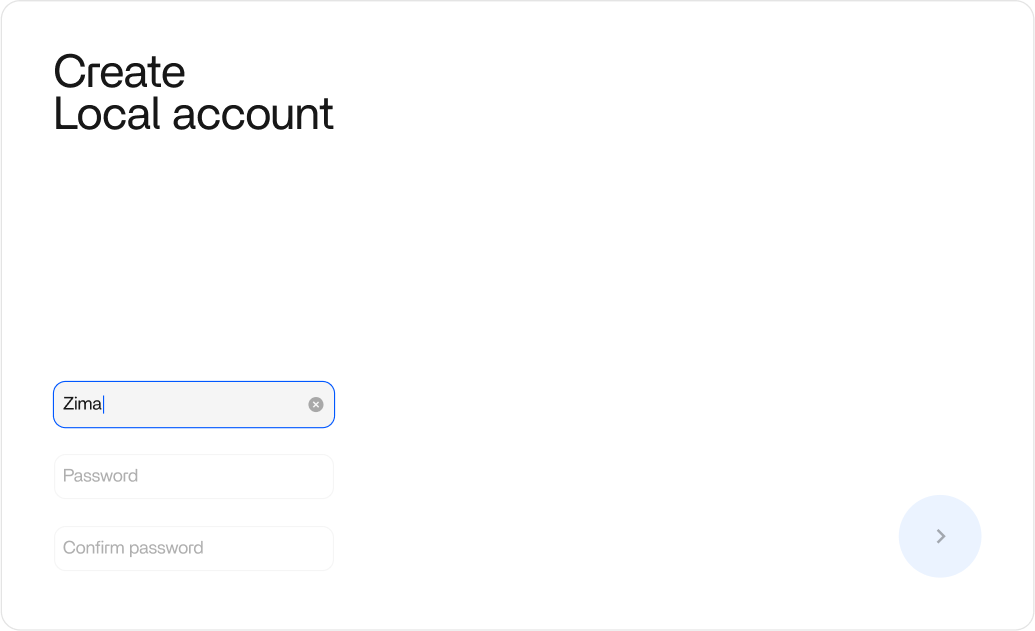
Create your account. The first account you create is the main account with owner and admin privileges. Pick a username and a strong password.
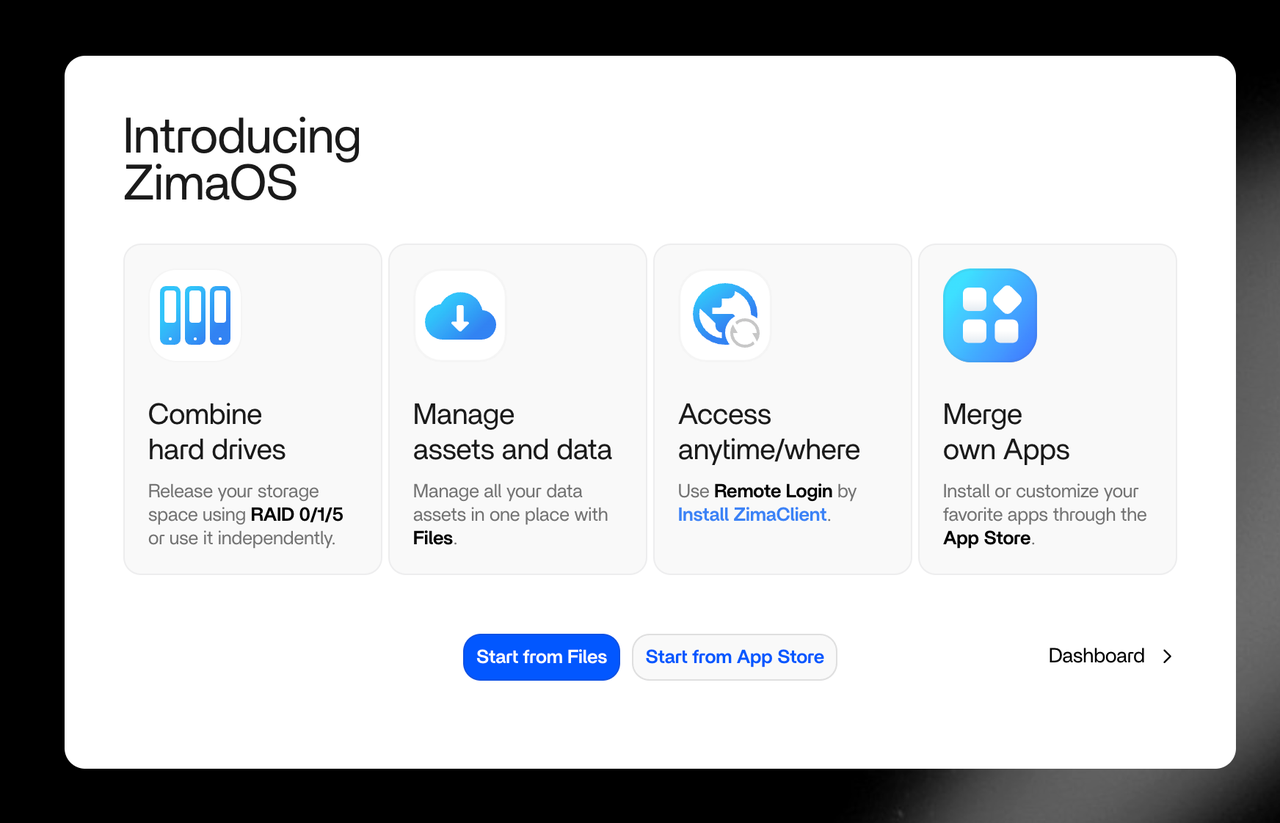
After the account is created, ZimaOS will show a brief overview of the main features. You are now ready to use your device.
What Is Already Set Up
A few things are working right away. You do not need to configure anything for these.
Remote access. Once you connect through ZimaClient the first time, you can reach your device from outside your home. The connection is encrypted and peer-to-peer, with no port forwarding or router configuration needed.
This means you can pull up a file from your NAS while at a coffee shop, check on a download while traveling, or share a folder with someone without uploading it to a third-party service first. It turns your device into a home server that follows you wherever you go. Everything stays under your control. Remote access can be turned off in Settings with one click, so you decide when and how your device is reachable. Your data never passes through a third-party server.
Samba sharing. All storage spaces are shared over your local network by default, protected by your ZimaOS account and password. ZimaClient handles the connection automatically through its P2P link. Once connected, shared folders appear in Finder on a Mac or File Explorer on Windows. You can drag files in and out just like any other folder on your computer.
If you have a team working on the same project, or a family sharing photos and videos, everyone on the network can access the same storage without installing extra software. Permissions are tied to ZimaOS user accounts, so you control who sees what.
Next
- Features Overview — a walkthrough of the ZimaOS dashboard and what it can do
- Download ZimaClient — more detail on installing and using the desktop app
- Remote Access — configure and manage remote connections
Troubleshooting
If ZimaClient does not find your device, check that both are on the same network. You can also connect directly by IP address: look up the device IP in your router’s DHCP client list and enter it in a browser. The setup screen is the same.