
Overview
DeepSeek Harness is natively supported in the ZimaOS App Catalog, and the whole setup takes just a few minutes. See the DeepSeek Harness App Store page for the latest app details.
DeepSeek Harness (dsh) is an open-source AI agent from DeepSeek — think of it as a helpful programmer who lives on your home server. You talk to it in a browser, describe what you want, and it plans and does the work in a folder on your NAS. No programming background is needed: the agent does the technical part for you.
Installed on ZimaOS, it runs 24/7 on your own hardware. You control it from your phone through ZimaClient, and your projects stay on your drives, not in the cloud.
Prerequisites
- A running ZimaOS home server.
- Minimum hardware: a dual-core CPU and at least 2 GB of memory.
- An API key from any AI model provider — DeepSeek, OpenAI (GPT), Anthropic, OpenRouter, or any other third-party provider all work, and so do local inference models on your own hardware (covered in the next tutorial of this series). Grab a key in one minute in the Add a Model Provider section below.
App Catalog
- Find DeepSeek Harness in the ZimaOS App Catalog. Open App Store → search for “DeepSeek Harness”.
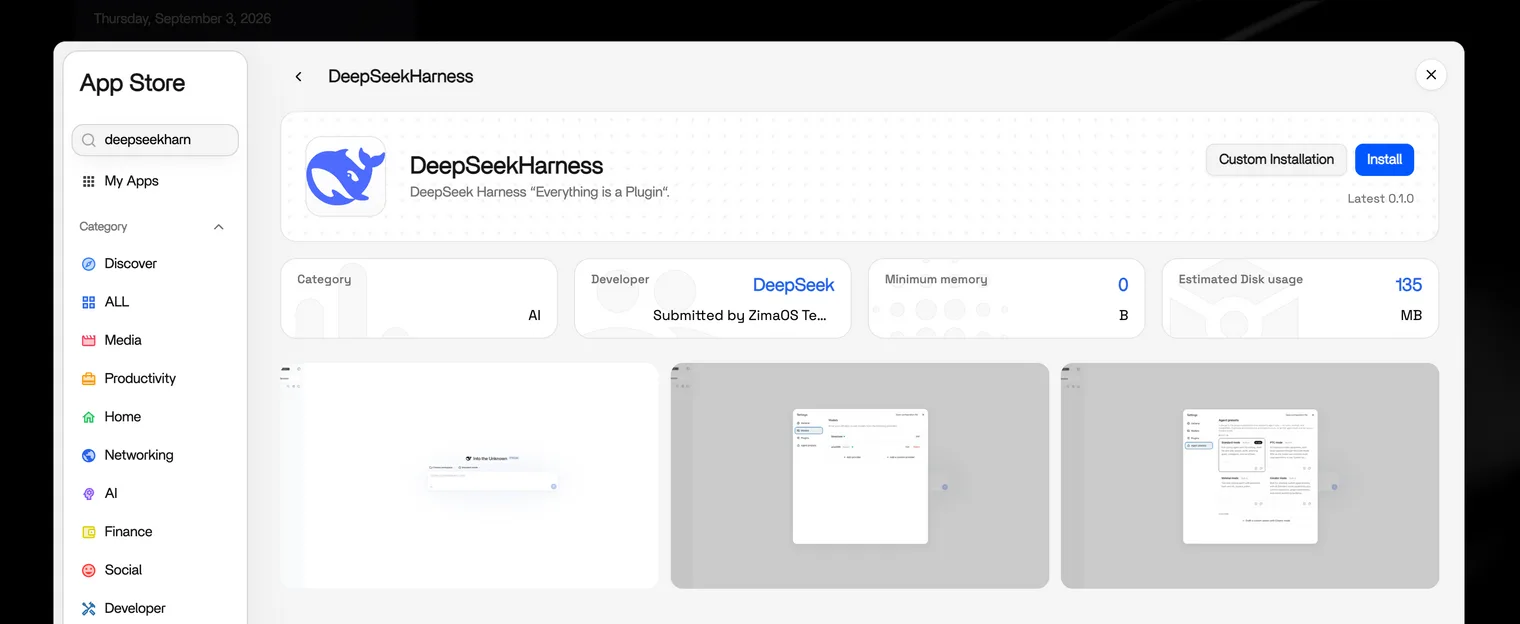
- Click Install and wait a moment.
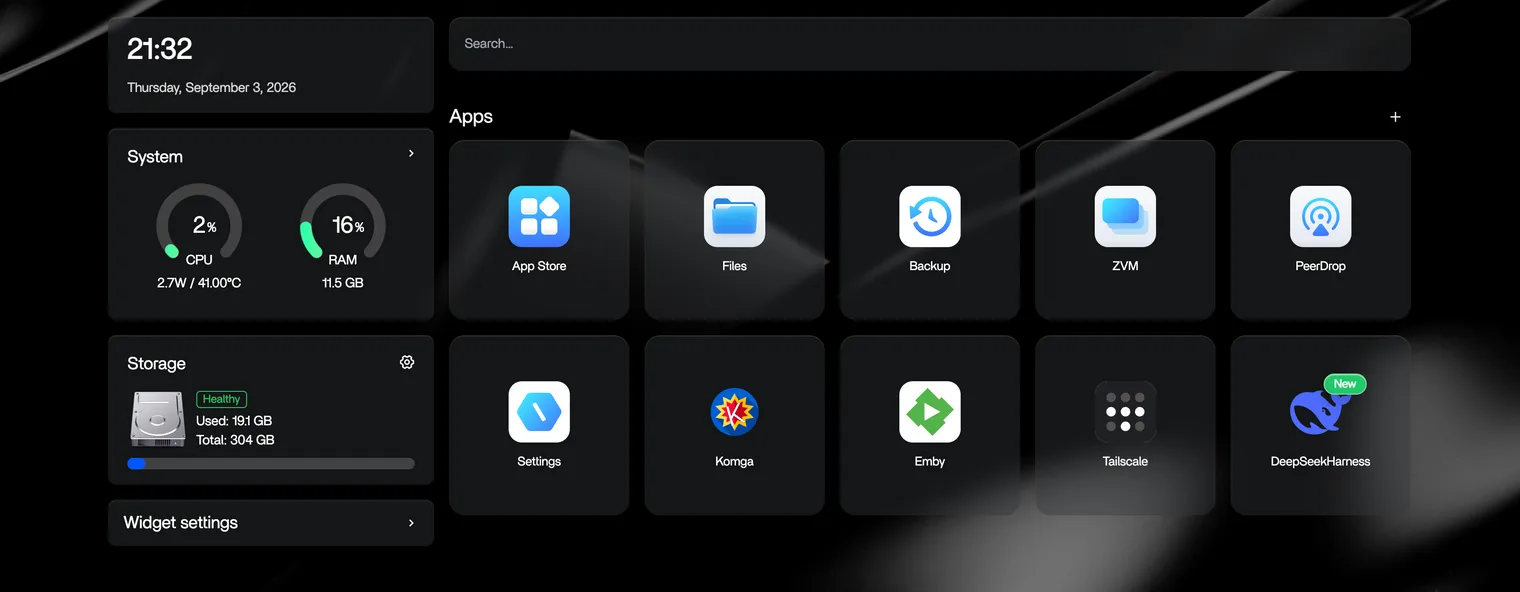
- It’s ready to use!
Authorize a Data Directory
The agent needs a folder on your drives to store its workspaces. Do this right after installing:
On the app card, click the options menu in the upper-right corner to open the container settings.
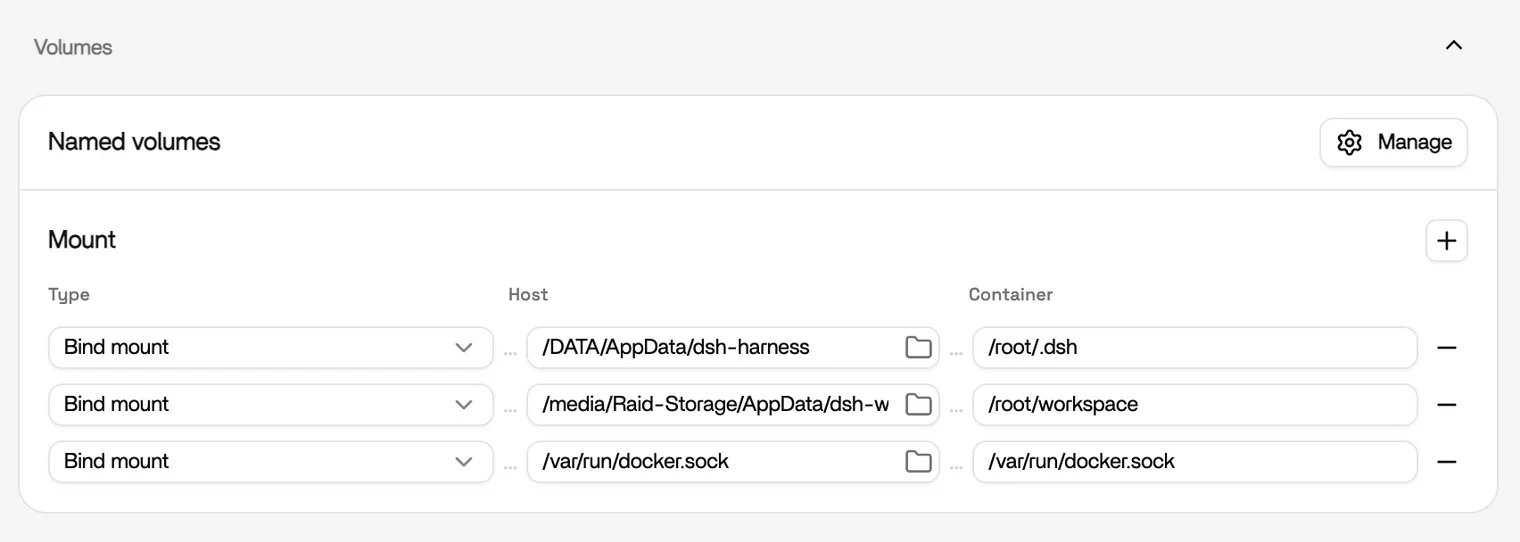
In the Volumes (or path mapping) section, add a volume rule: set the Container Path to
/root/and the Host Path to the folder you want to use for the agent’s data, for example/media/SSD-Storage/DSH.
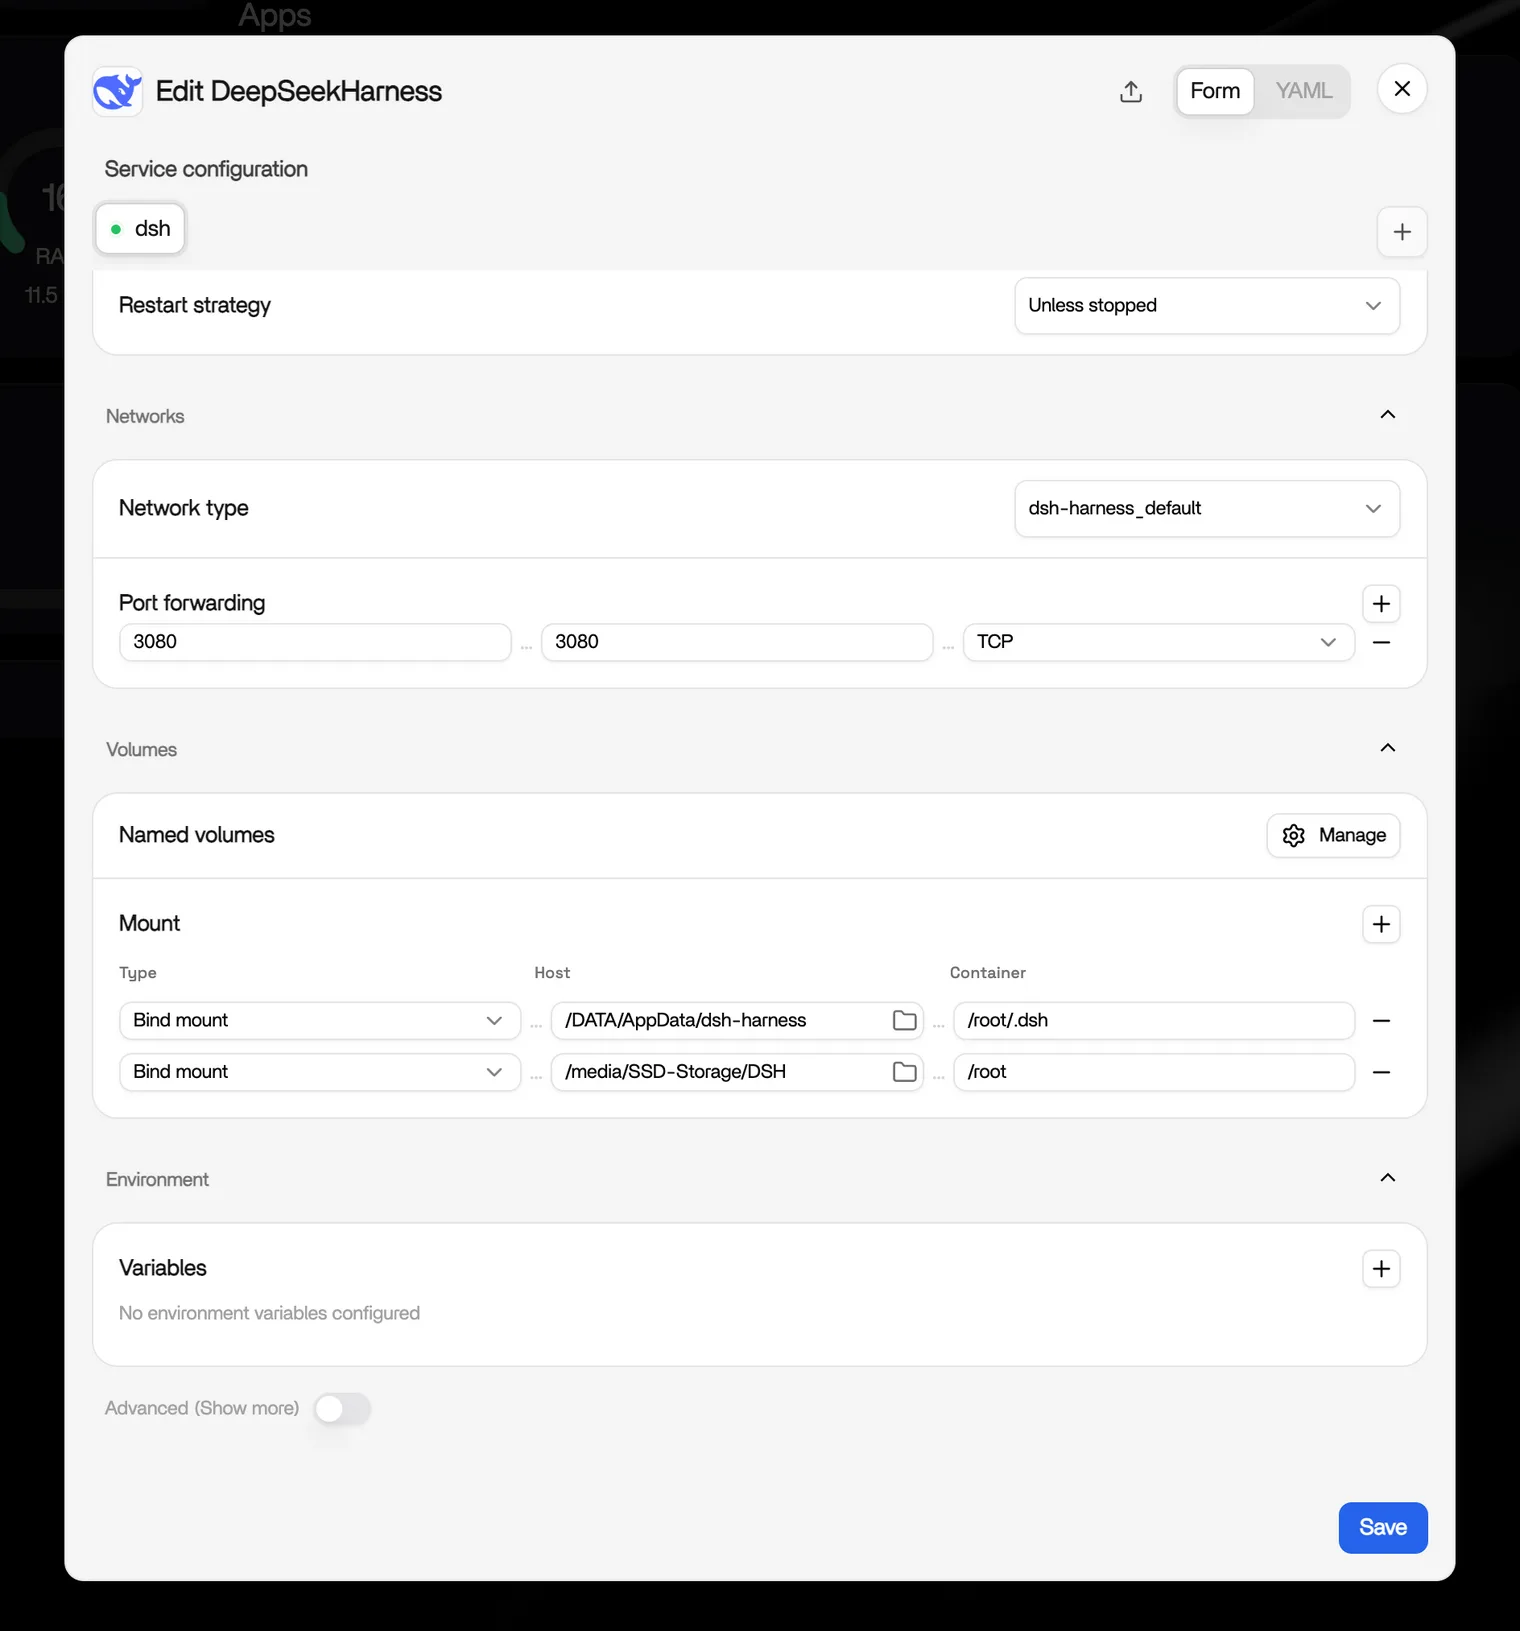
- Restart the container — no need to restart the NAS. Every workspace the agent creates now lands in that folder on your drives.
Create Your First Workspace
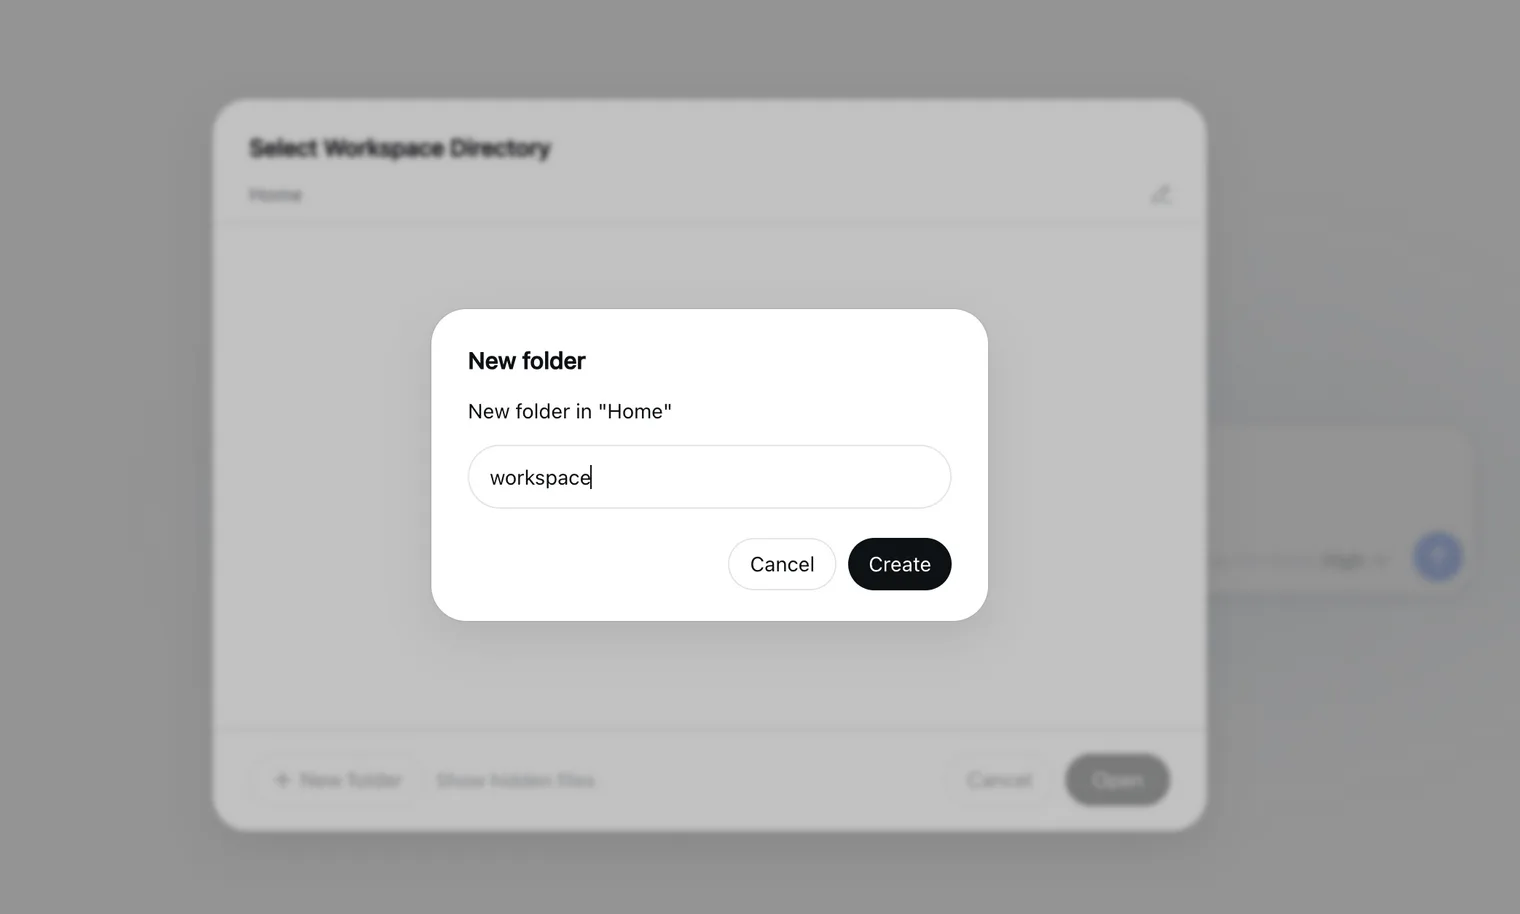
Open DeepSeek Harness from the app card — your browser shows the Web UI. Create your first workspace; thanks to the folder authorization above, everything the agent creates is stored directly on your drives.
Add a Model Provider
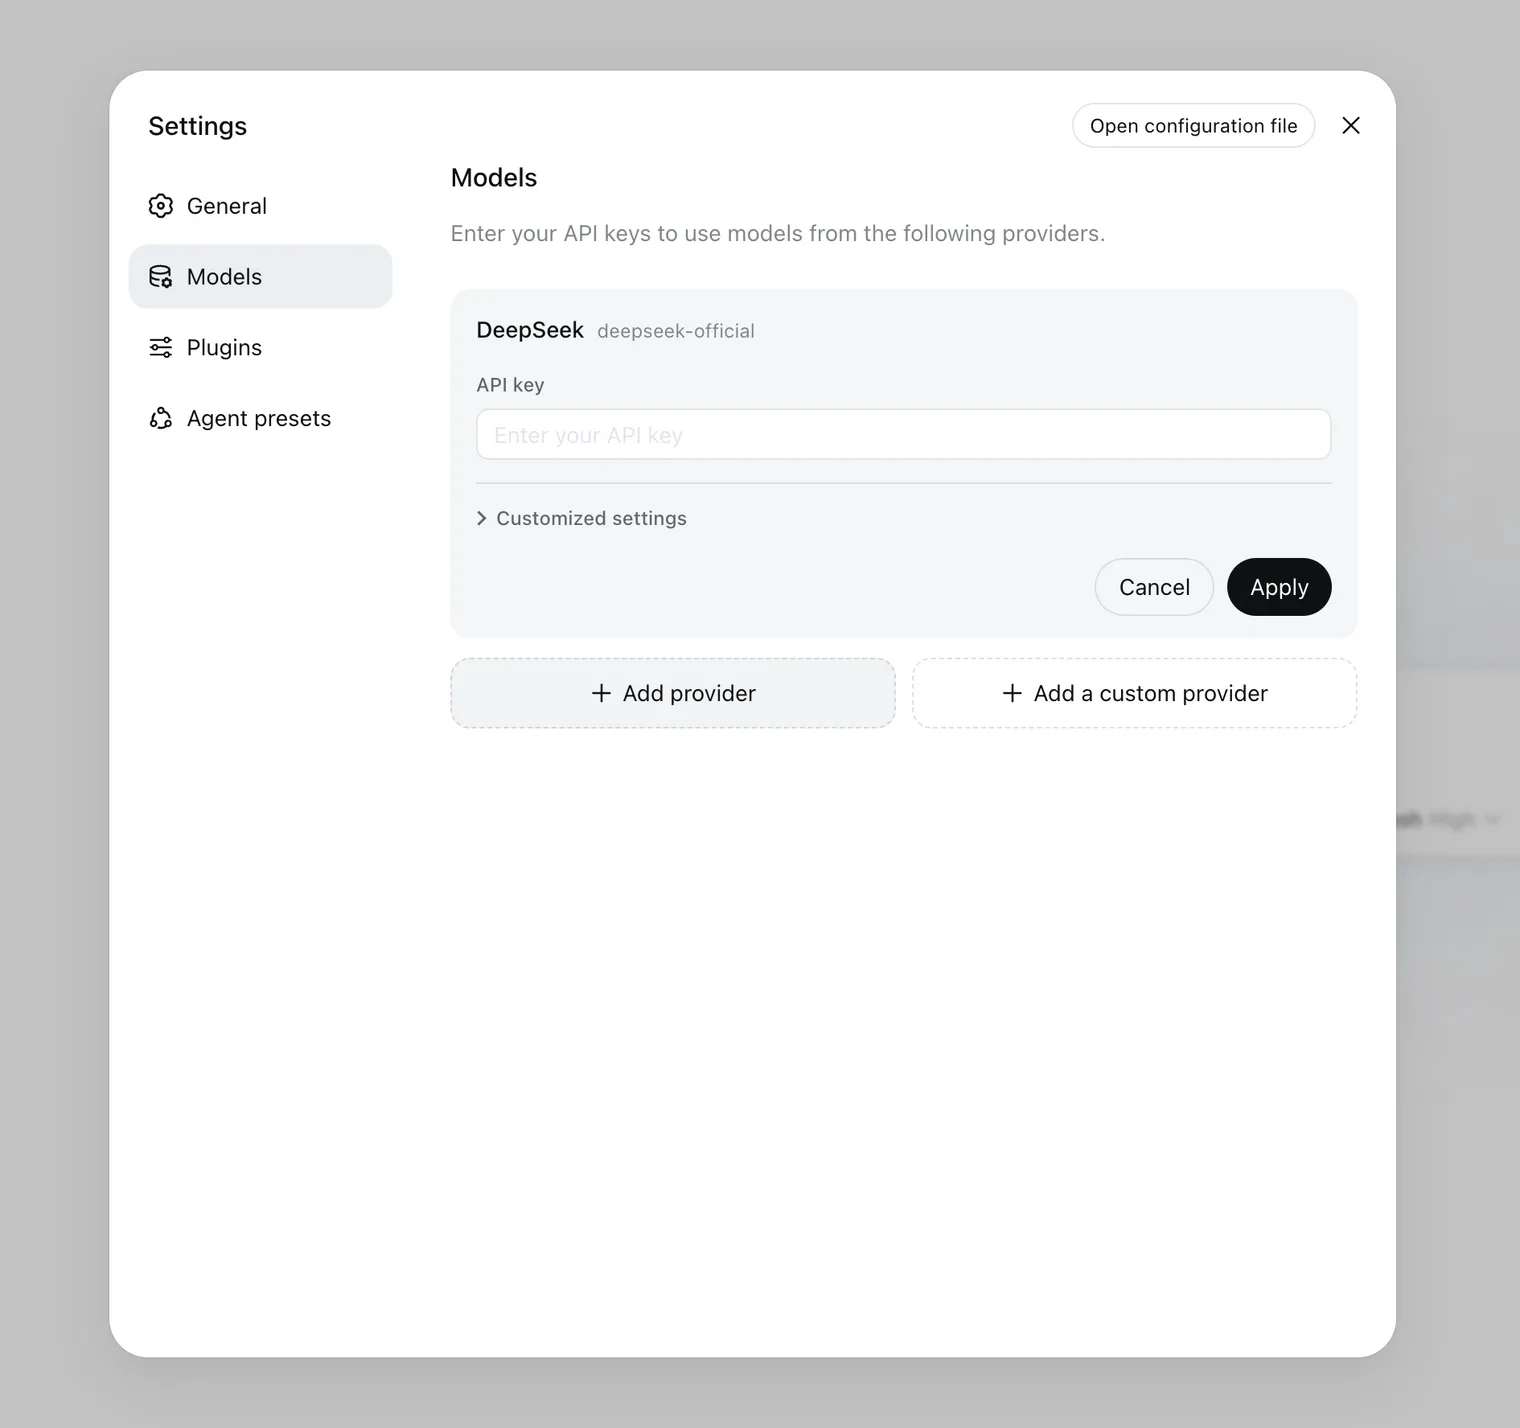
Go to Settings > Models and add a provider, then paste your API key:
- DeepSeek — sign up on the DeepSeek Platform and copy your key
- GPT (OpenAI) — your OpenAI key
- OpenRouter — one key for many models
- A model server on your own hardware — run one in five steps with Local LLM Inference
Your First Task
Now give the agent its first real job. Describe the app you want in plain words — the example below asks for a resource monitor that shows your ZimaOS host’s CPU, memory, disk, and network in real time, running as a container app.
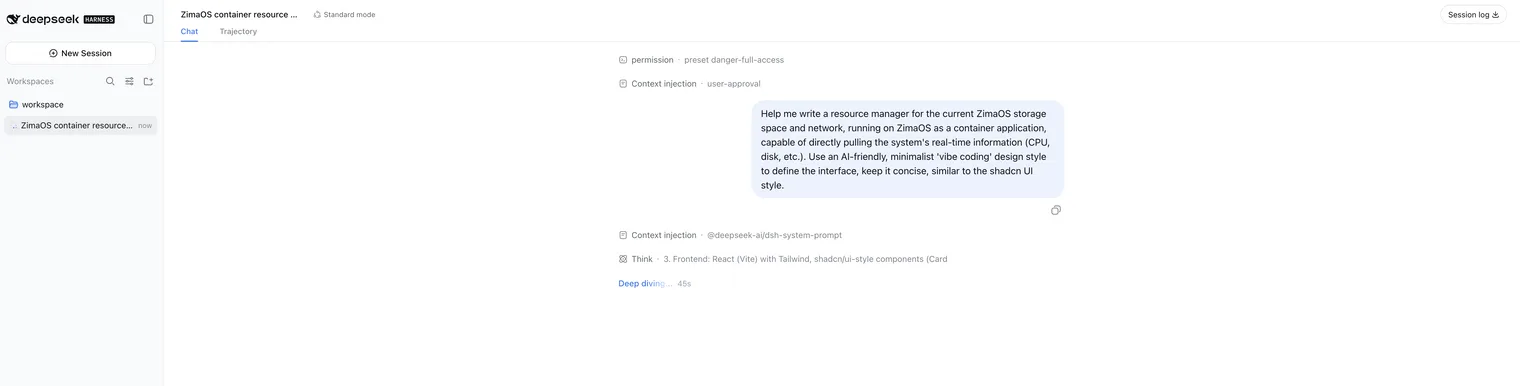
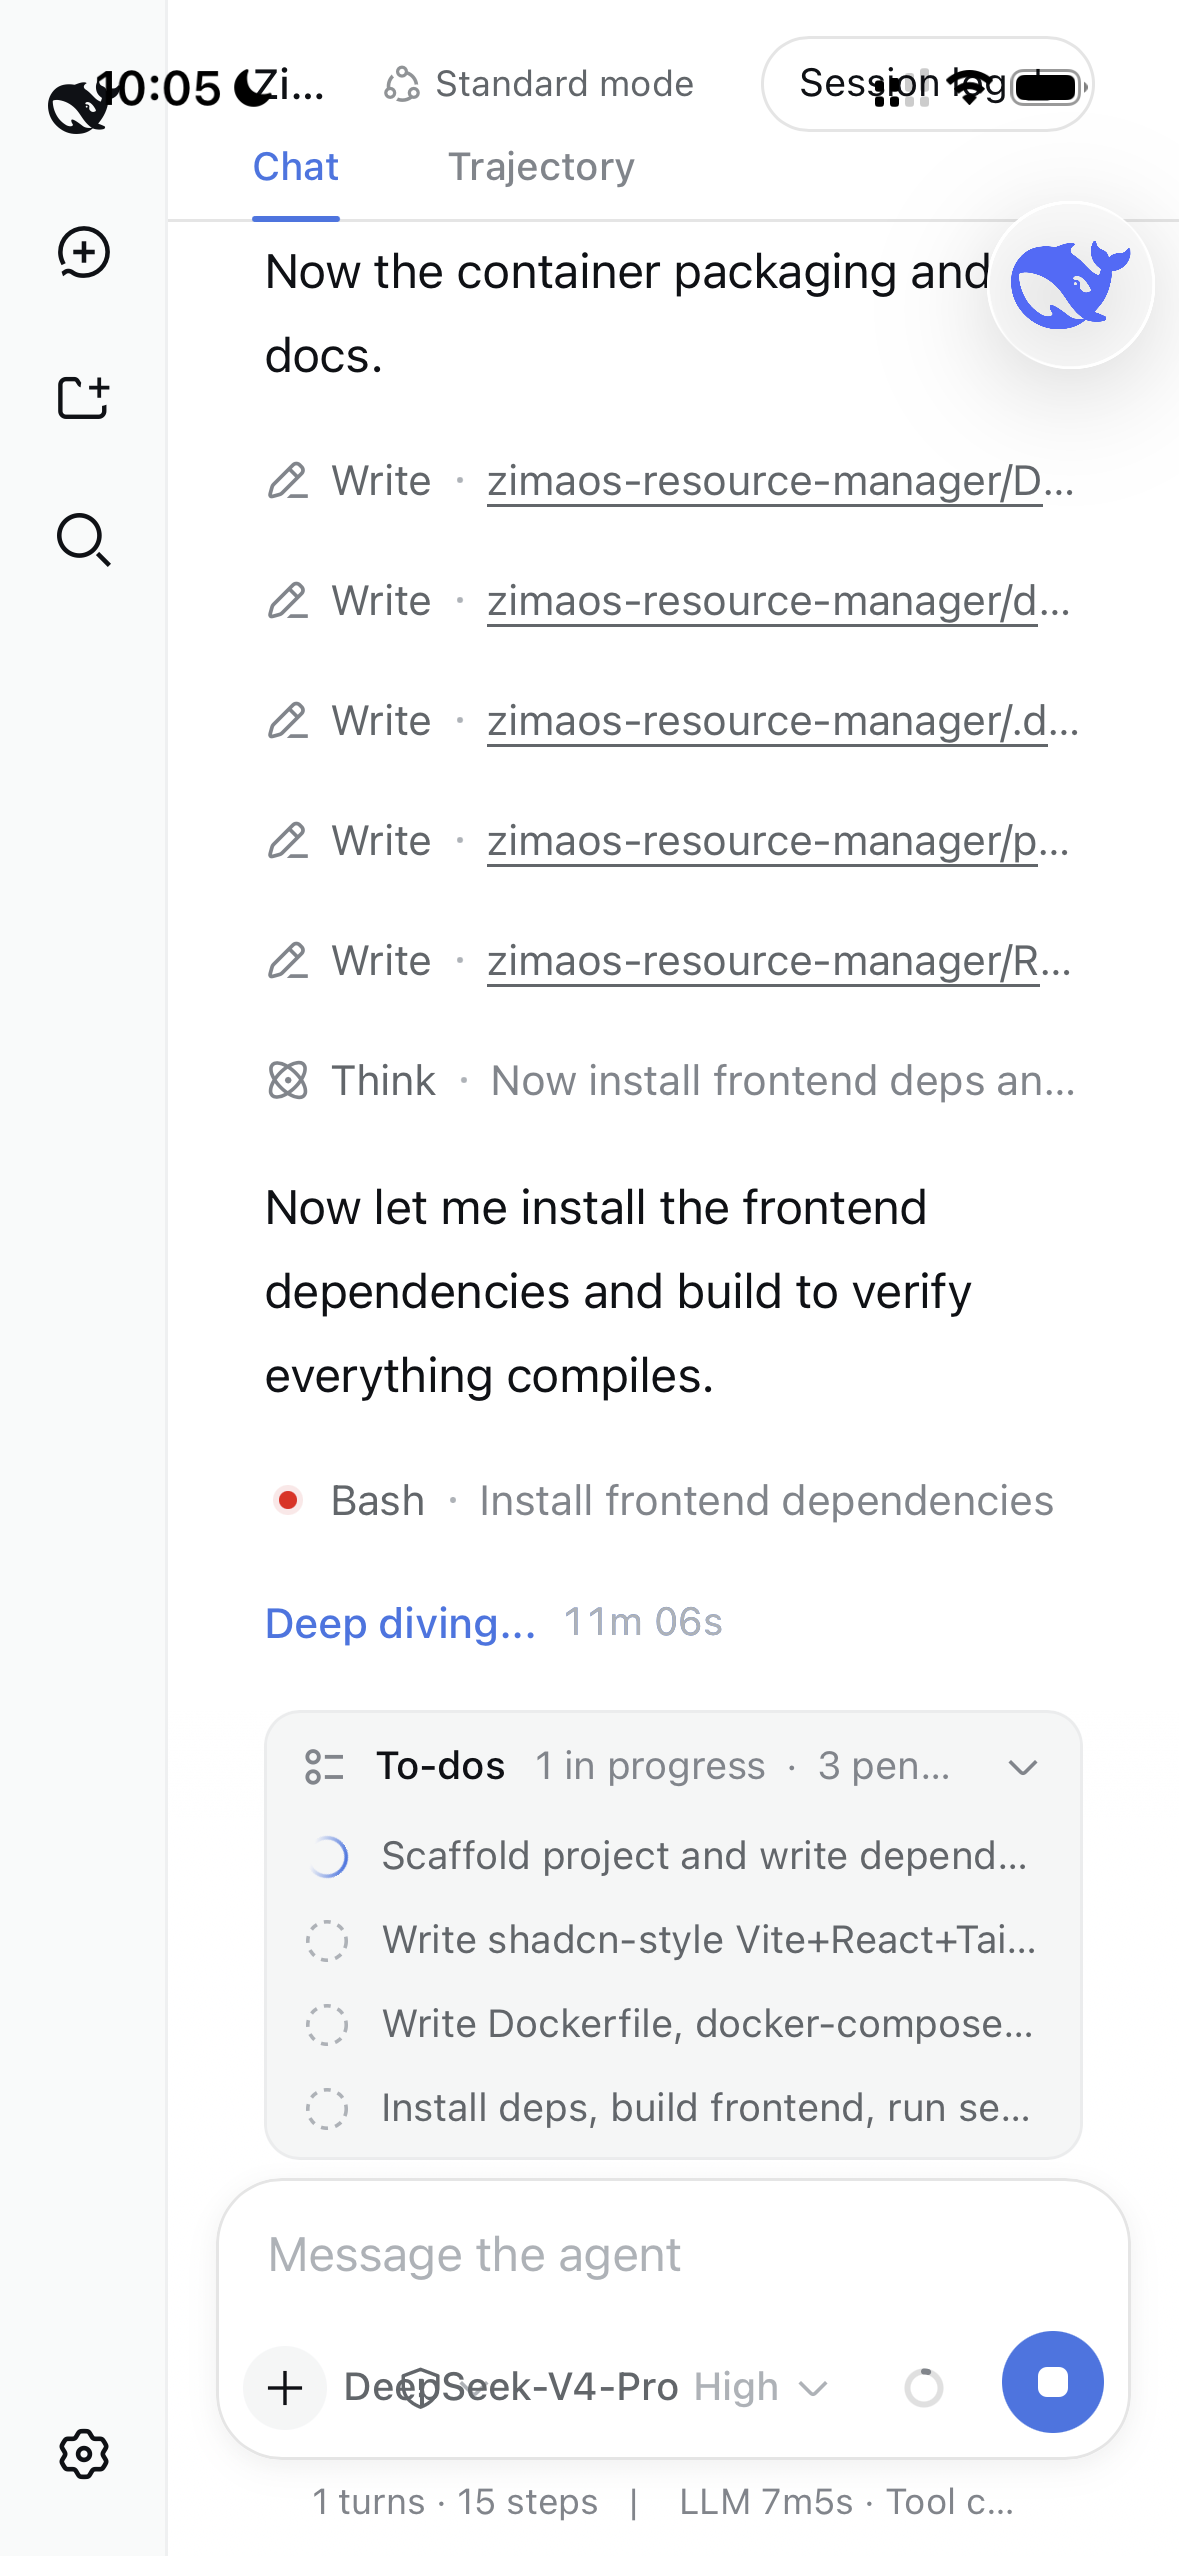
Watch it work: the session shows the plan, the code, and the result — without you writing a single line.


After a few rounds of conversation, the agent turns the idea into a real app — no coding knowledge needed on your side. The result is a system-level resource manager that runs around the clock, keeping an eye on disk health, network security, and container lifecycle on your ZimaOS.
Access DeepSeek Harness via Mobile
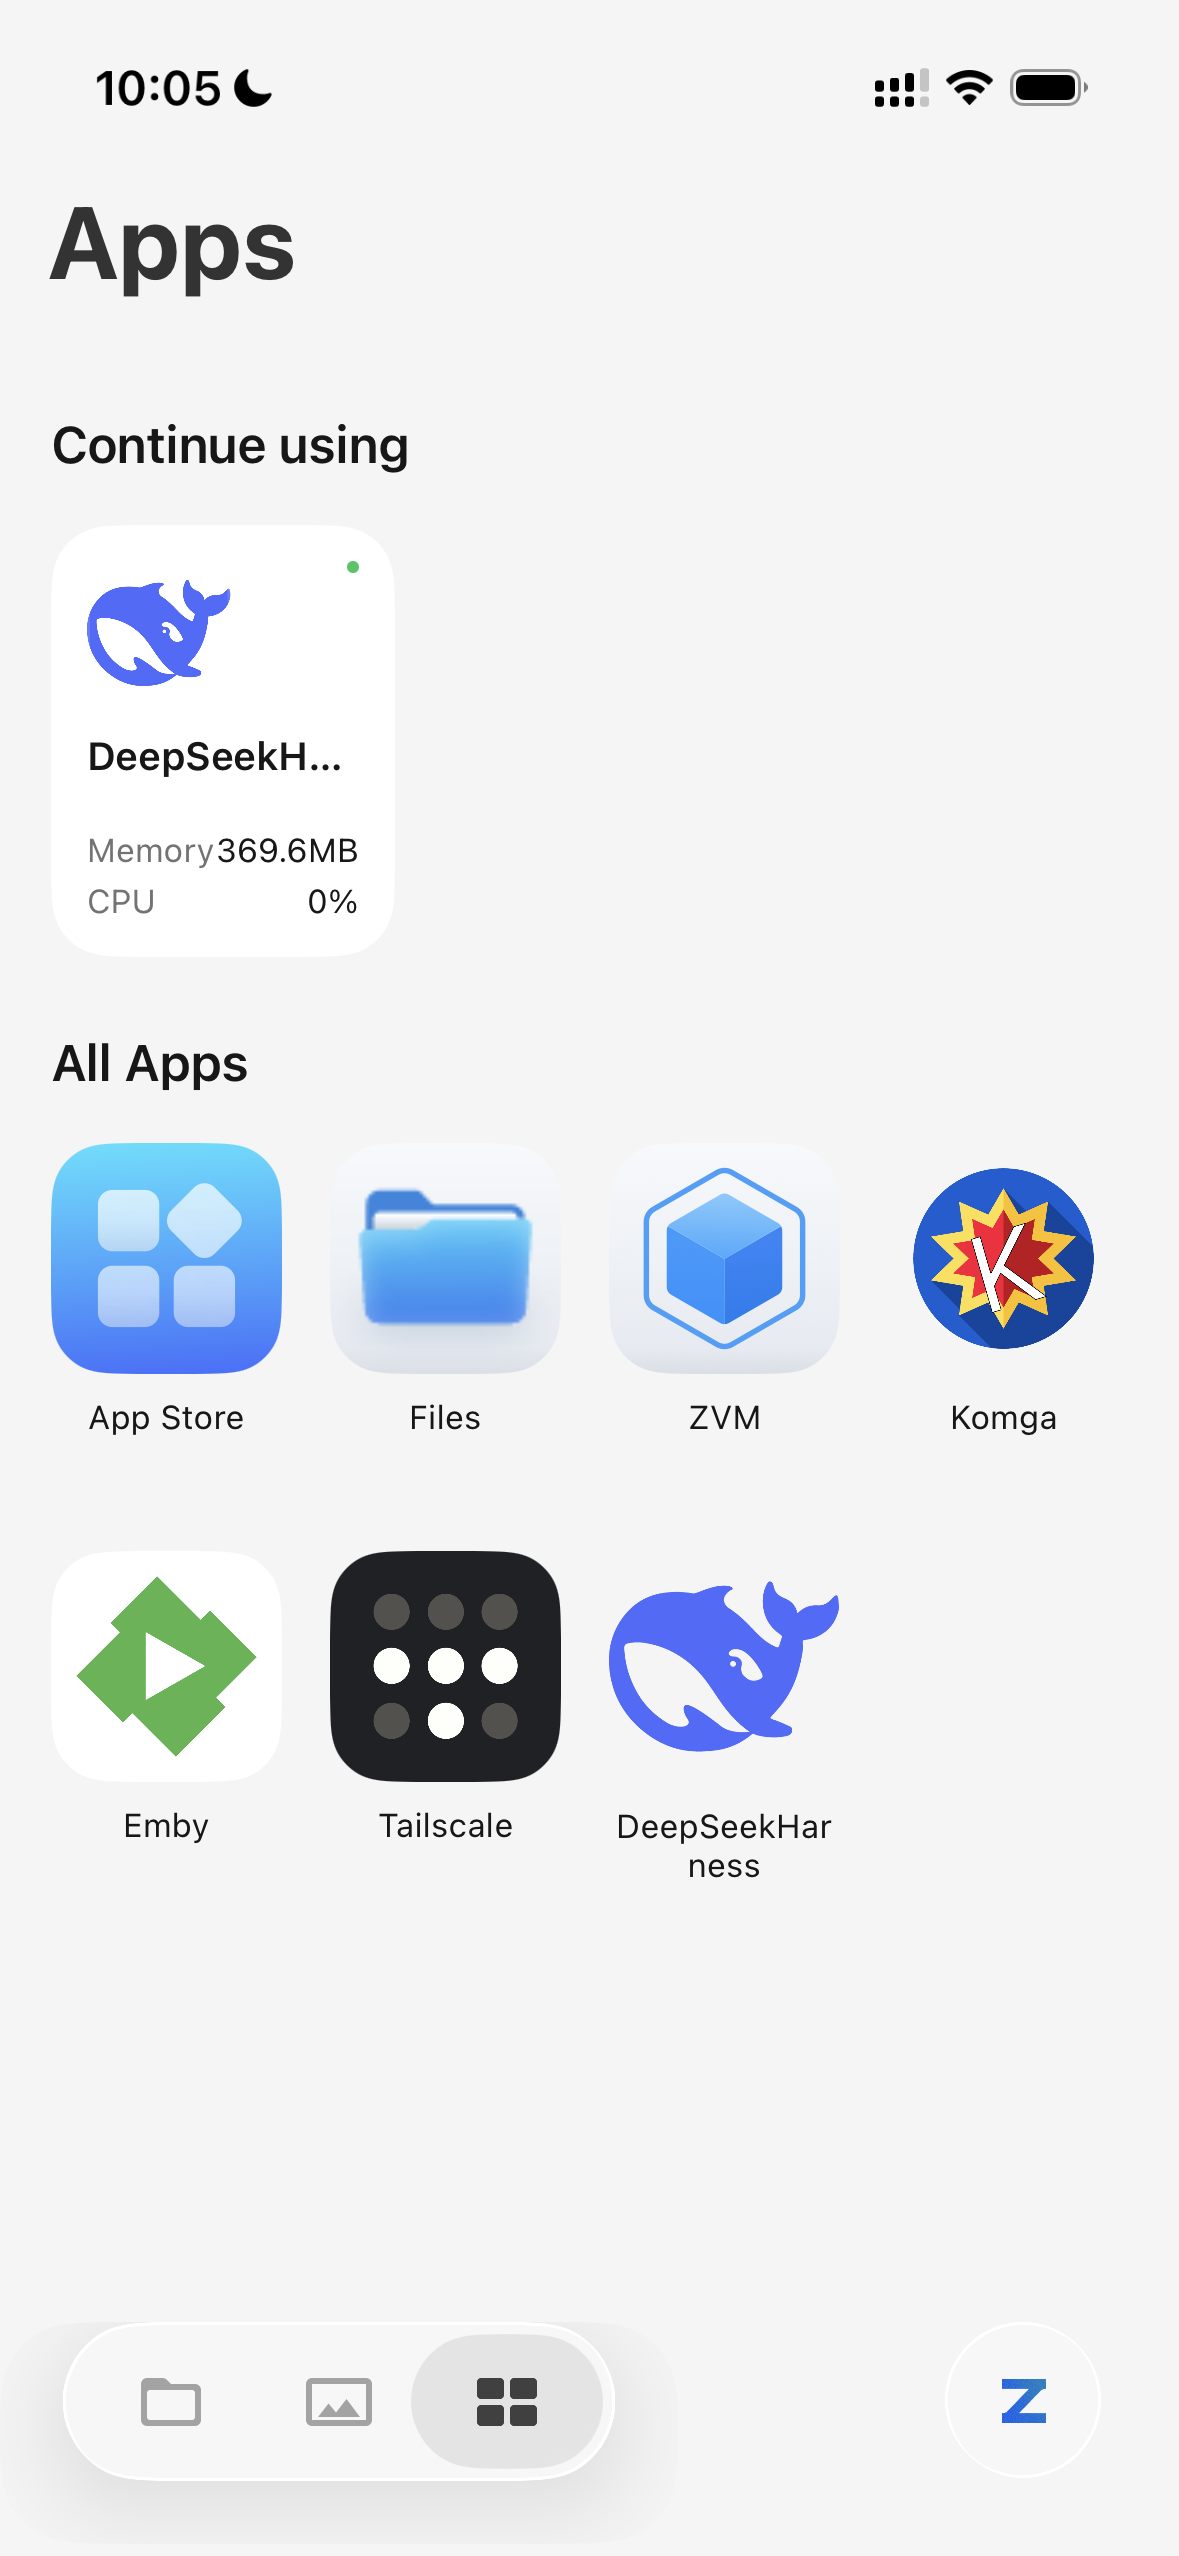
Access DeepSeek Harness via the ZimaClient mobile app — direct P2P connection to your home server, no cloud relay, no VPN setup required. Works from home or on the go.
 |
 |
|---|
With the P2P connection you can check your agent’s work progress and all your hosted services anytime, anywhere — the same Web UI, right on your phone.
Your Home Server Is Now an Agent
That’s the whole setup. Your home server is no longer just a storage box — it’s a physical agent that lives on your own hardware:
- Control from your phone — open the Web UI through ZimaClient anywhere and check sessions, review results, or send a new task. Your agent is one tap away, at home or away.
- Vibe coding without writing code — describe a feature in plain words and let the agent plan and write it in a workspace that lives on your drives, not in the cloud.
- Home automation — give it any task around your home server: sort and organize files, generate reports from your data, automate repetitive work. It runs on the NAS itself, so it keeps working around the clock.
- Diagnose a broken app — when Jellyfin stops streaming or Home Assistant goes dark, paste the symptoms and let the agent read the logs and configuration right on the NAS to find and fix the cause. No more guessing inside a black box.
- Maintain your app stack — the agent reads your Docker Compose files and walks through upgrades, config changes, and migrations with you, so your self-hosted stack stays maintainable for years — not just until the next update.
Usage Notes
- Give it its own hardware. The agent works best as a physical sandbox agent on a dedicated device — keep it away from your main NAS with all your data, so experiments in the sandbox never touch what matters.
- Two levels of authorization. A folder authorization gives the agent data access on ZimaOS. Authorizing the Docker socket is a second, much higher level — it gives the agent system-level container management, close to SSH-level control. Grant each level deliberately, and only grant the socket level when a task truly needs it.
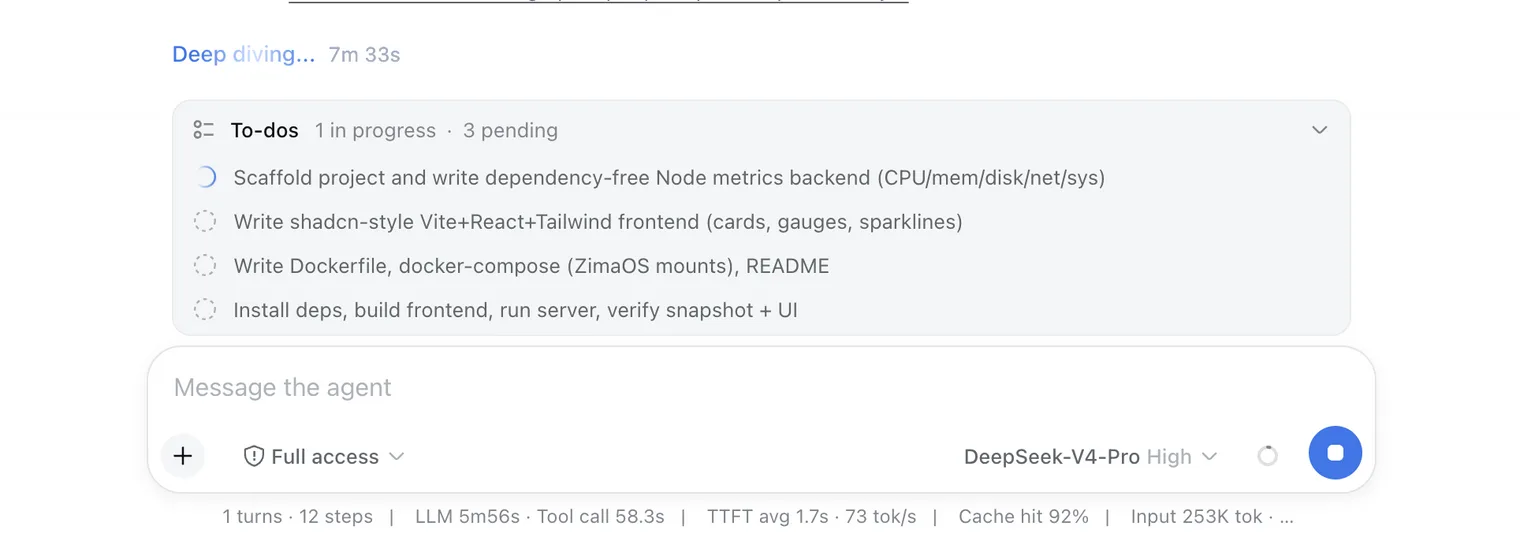
- Set the sandbox permission to full access. Inside dsh, set the sandbox execution permission to full access so the agent can run tasks without asking for approval at every step.
- Everything the agent writes is visible in Files. Thanks to the workspace mapping, all source code the agent writes lands in the authorized folder — browse and check it in ZimaOS Files anytime.
Next Steps
- Local inference: point the provider at a model server on your own hardware and run the agent fully offline — see Local LLM Inference.
- Automating services with dsh: build and run automation services on ZimaOS — see Local AI Agent on ZimaOS.
Reference Links
For further details, consult the official DeepSeek Harness documentation:
- Installation and all deployment paths – installation guide
- Using the Web UI – Web UI guide
- Model providers – providers guide
- Source code – GitHub repository
Further reading on the ZimaSpace Tech AI Hub: