
Overview
Komga is natively supported in the ZimaOS App Catalog and can be installed in just 3 mins. See the Komga App Store page for the latest app details.
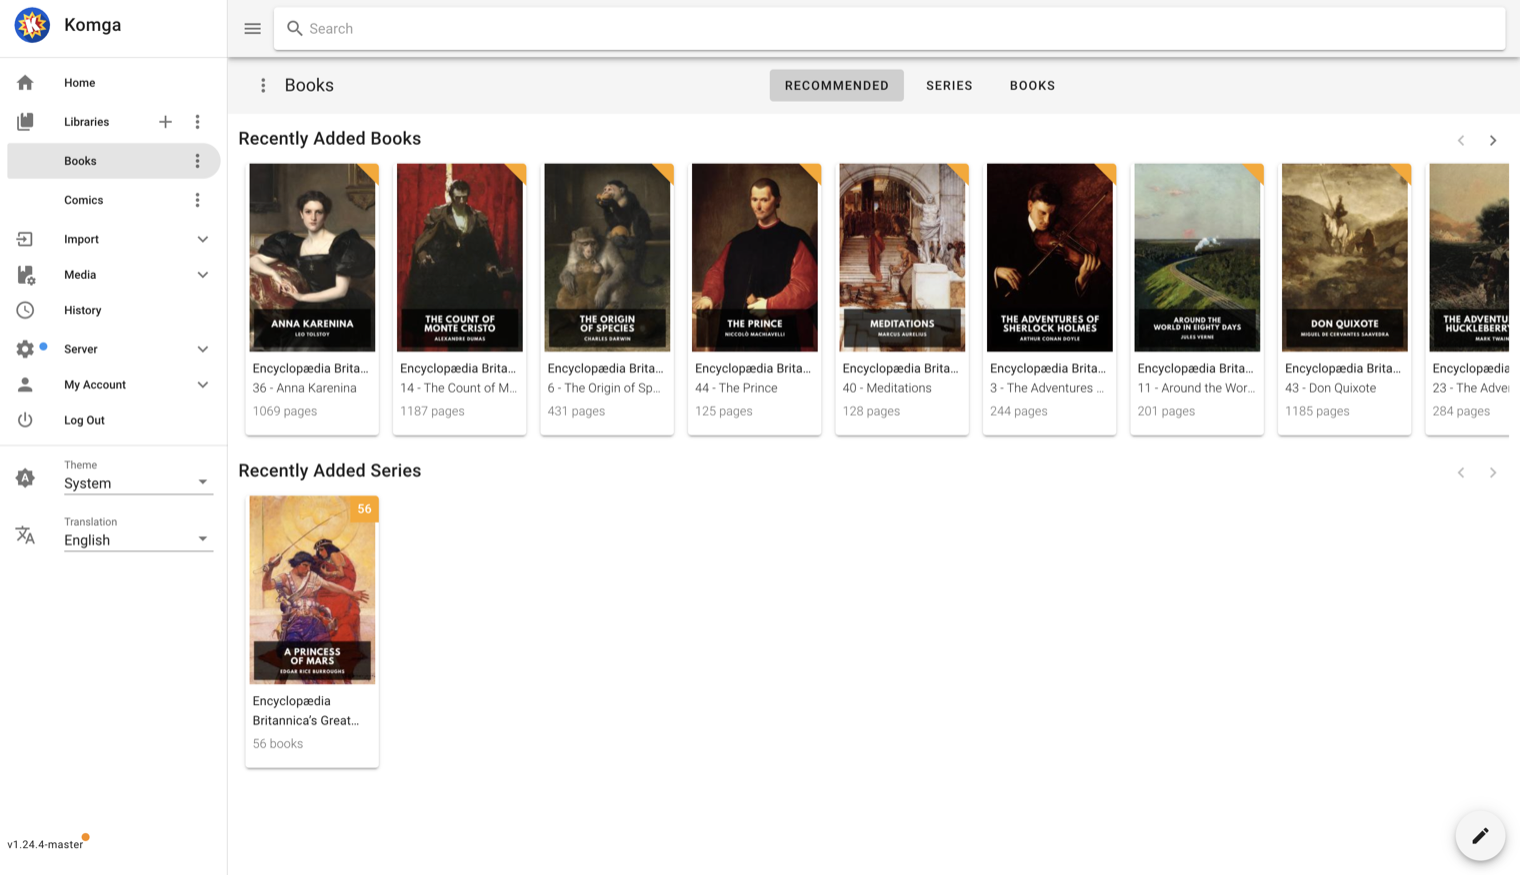
Komga is a free, open-source media server for comics, manga, and e-books. It organizes your PDF and EPUB files into libraries with automatic metadata, offers a clean web reader in any browser, and supports OPDS for third-party reading apps. Installed on ZimaOS, your library stays on your own drives and is available from any device — including your phone through ZimaClient.
Prerequisites
- A running ZimaOS home server.
- Your PDF or EPUB files are stored in a local folder on your ZimaOS home server.
App Catalog
- Find Komga in the ZimaOS App Catalog. Open App Store → search for “Komga”.
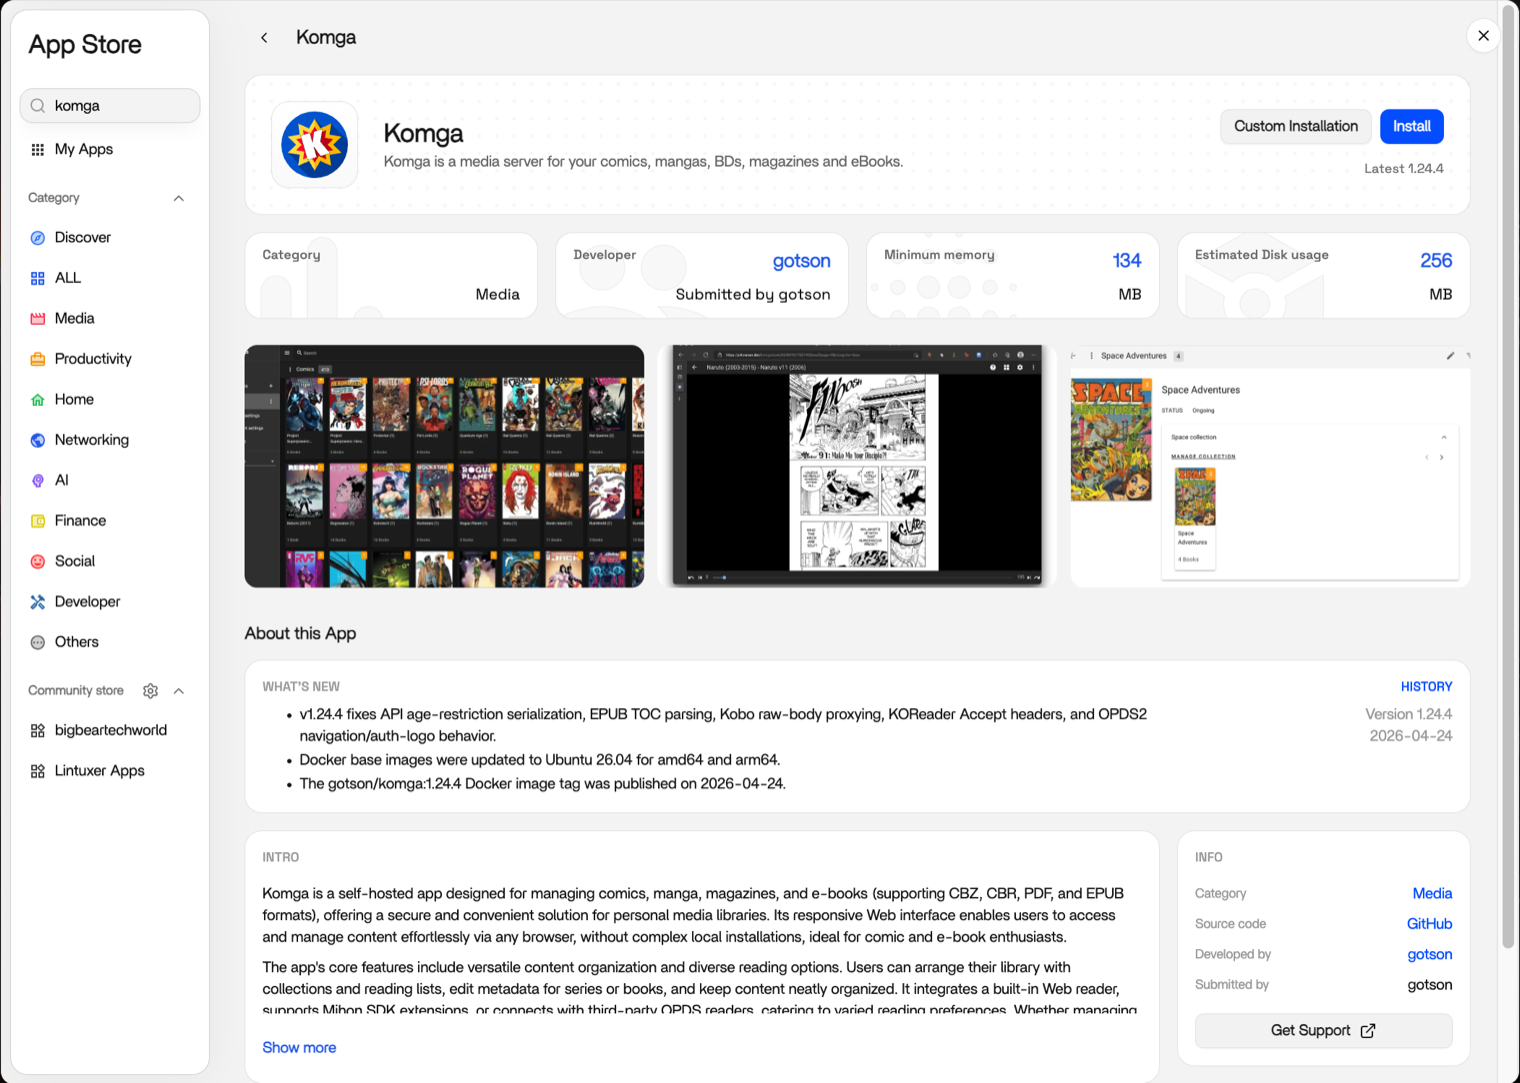
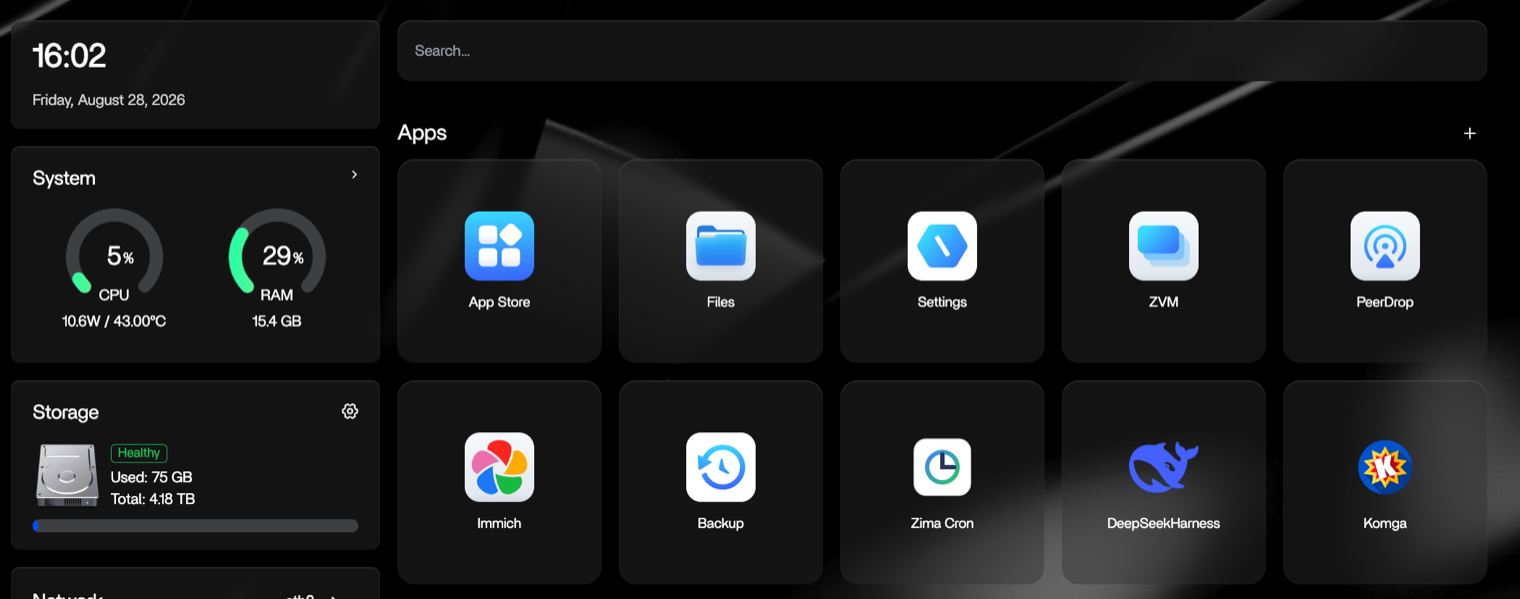
- It’s ready to use!
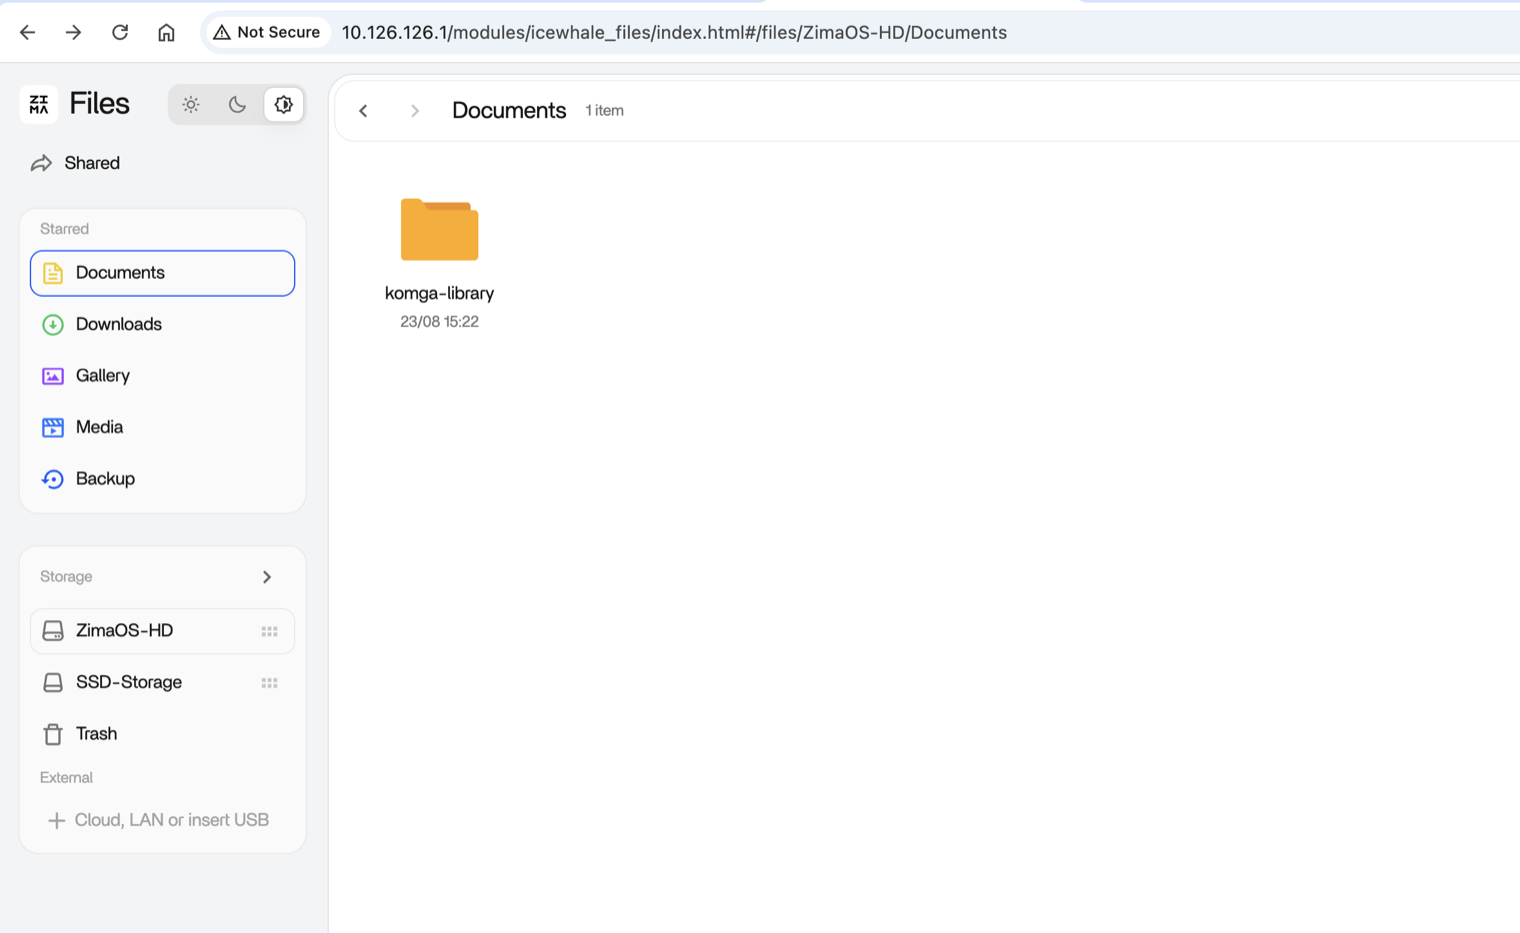
Upload Files via ZimaOS Files
Use ZimaOS Files to upload or copy your PDF or EPUB files directly. Open ZimaOS Files, create a new folder, and then drag and drop your PDF or EPUB files to upload them directly into the directory.
Authorize Komga to Load Data
The following steps are NOT required — you can get started right away with the DEFAULT configuration.
If you want to customize all container settings, you can configure them via the options in the upper-right corner of the app.
ZimaOS supports multiple configuration methods, including form-based editing and YAML secondary editing.
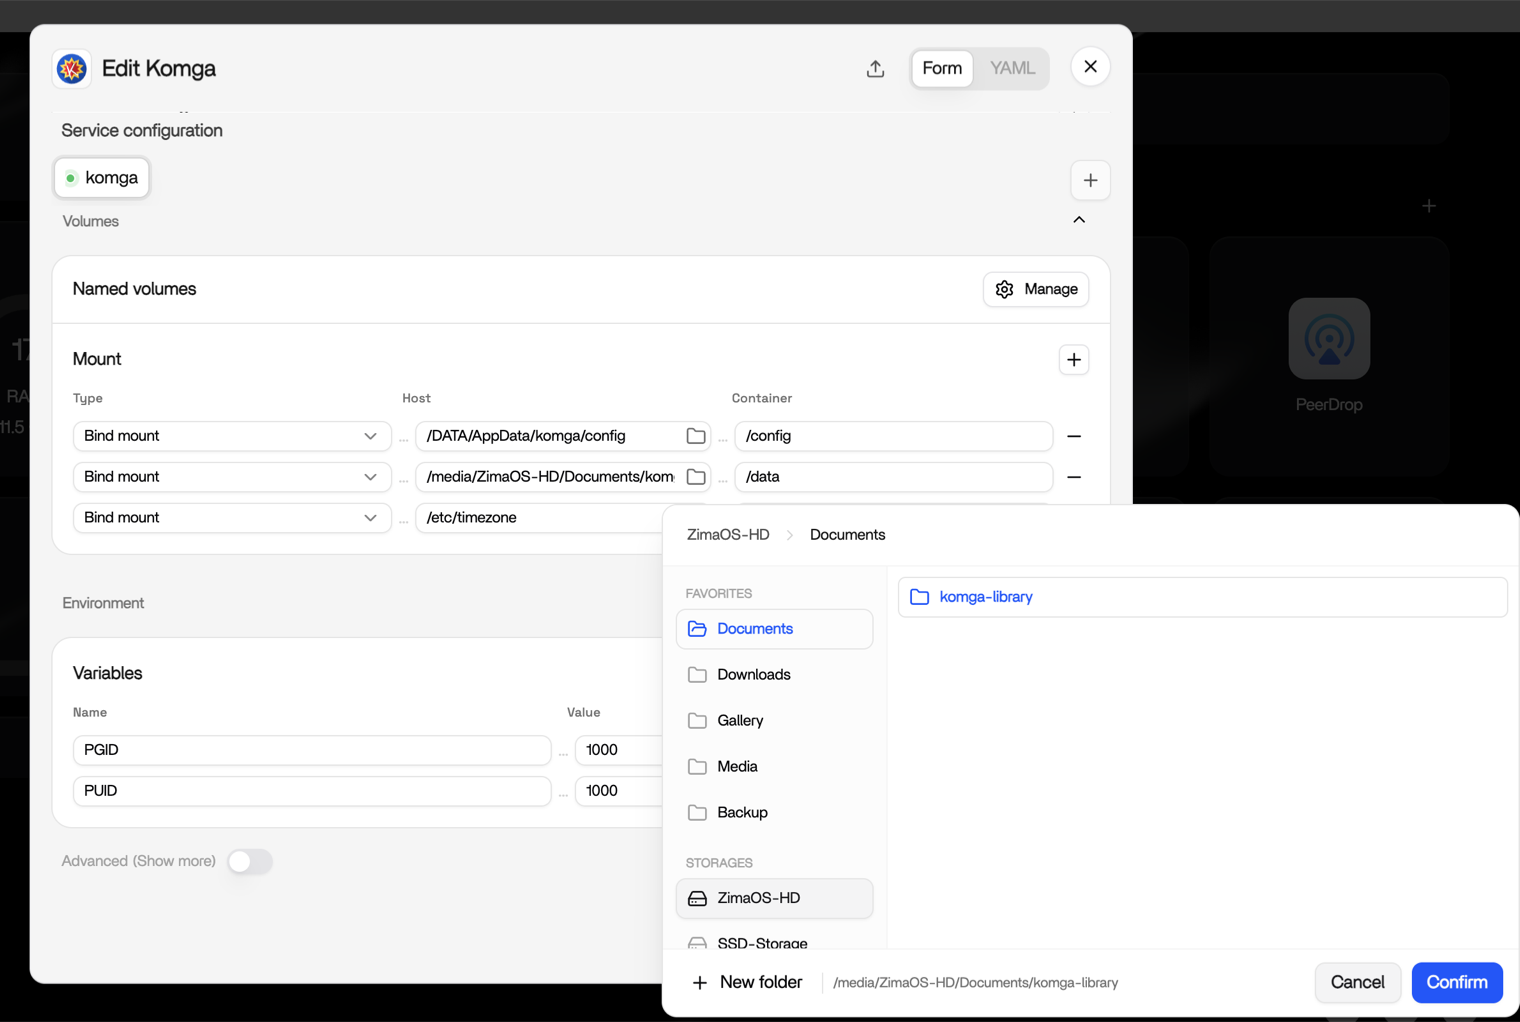
In the ZimaOS configuration form for Komga, navigate to the Volumes (or path mapping) section and add a new volume rule: set the Container Path to /data (the default media directory inside Komga) and the Host Path to the local folder on your ZimaOS device where your comics are stored. See the screenshot below for a filled example.
Add a Library in Komga
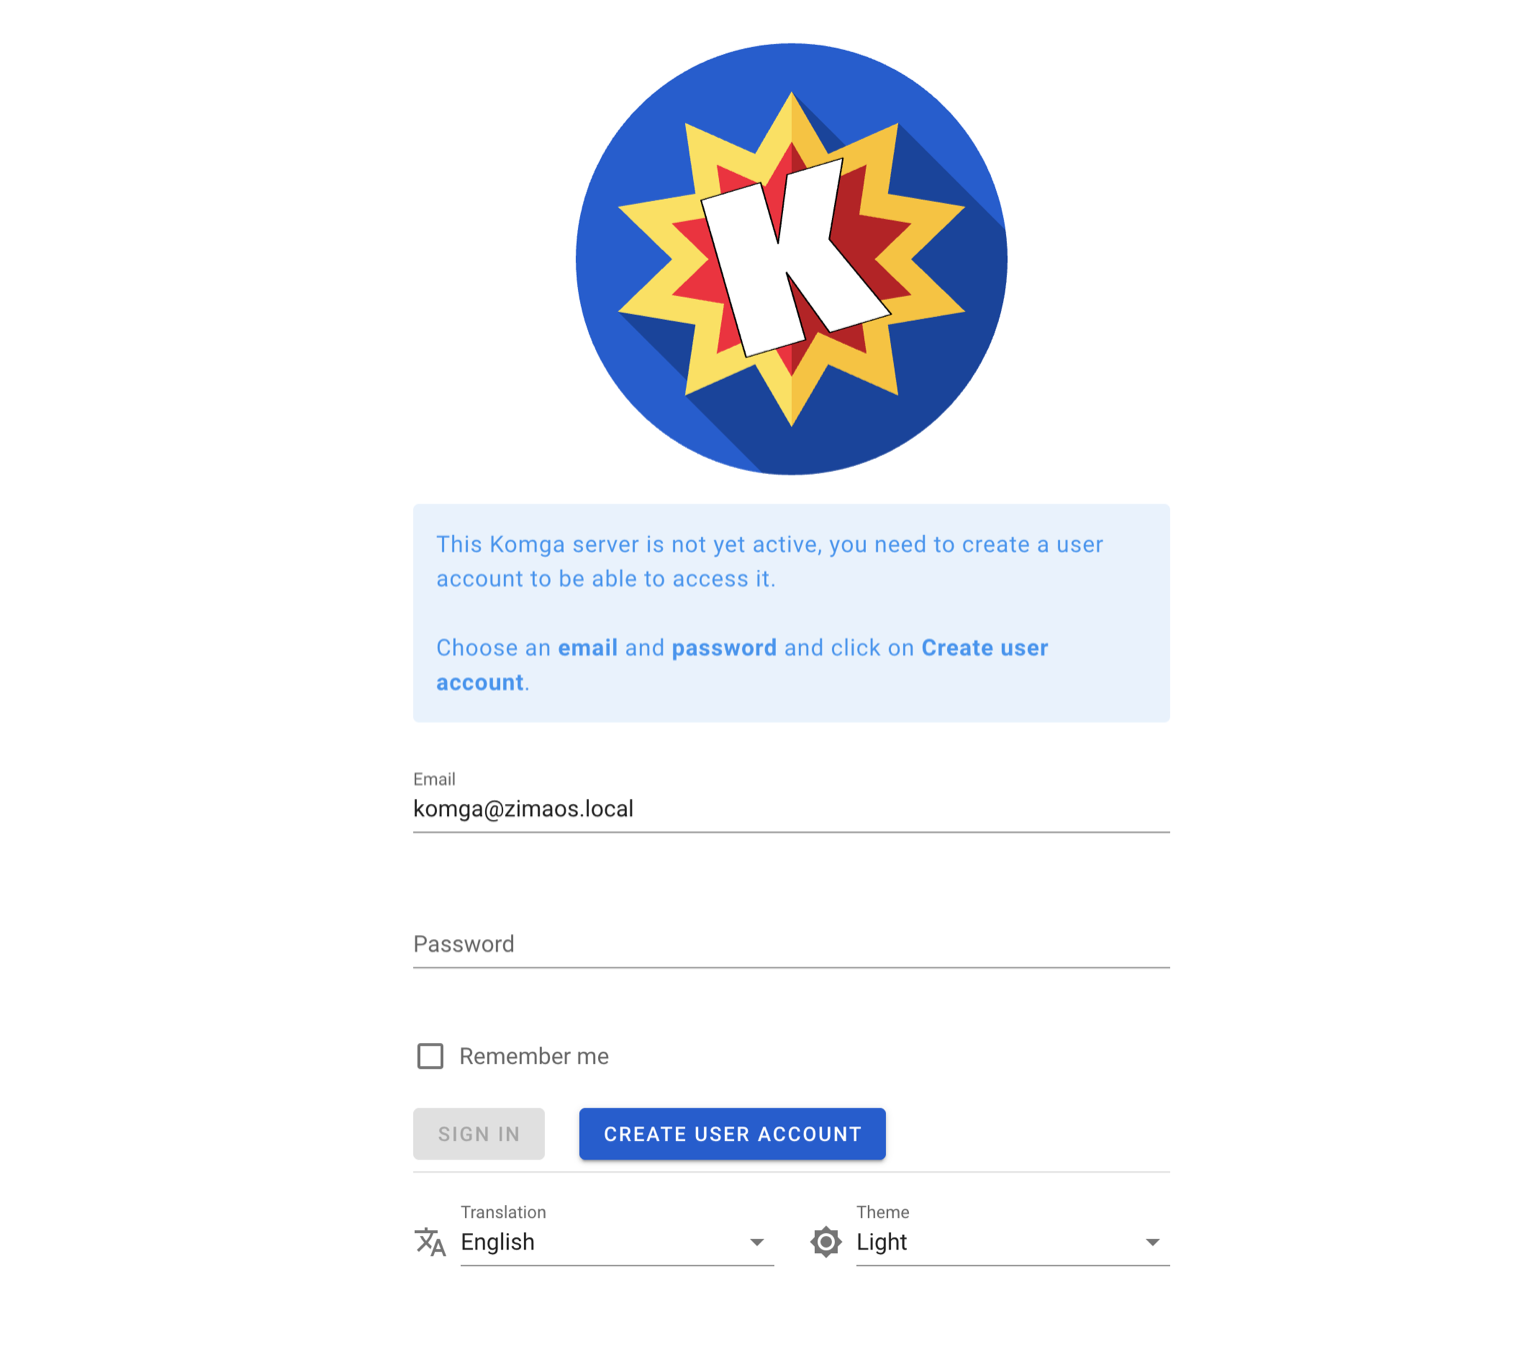
- First visit: Create an admin account.
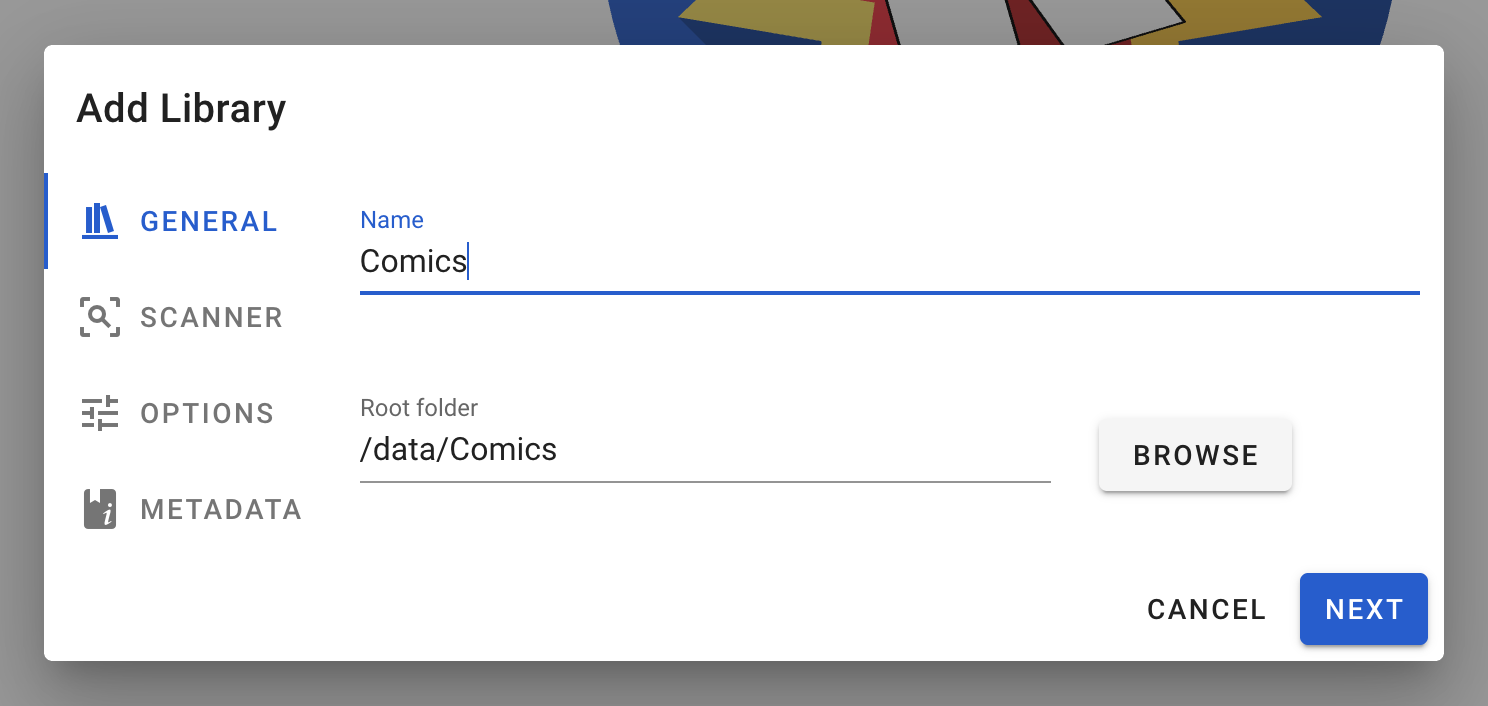
- After logging in, click the “+” button next to Libraries in the sidebar.
- Set the file scan interval.
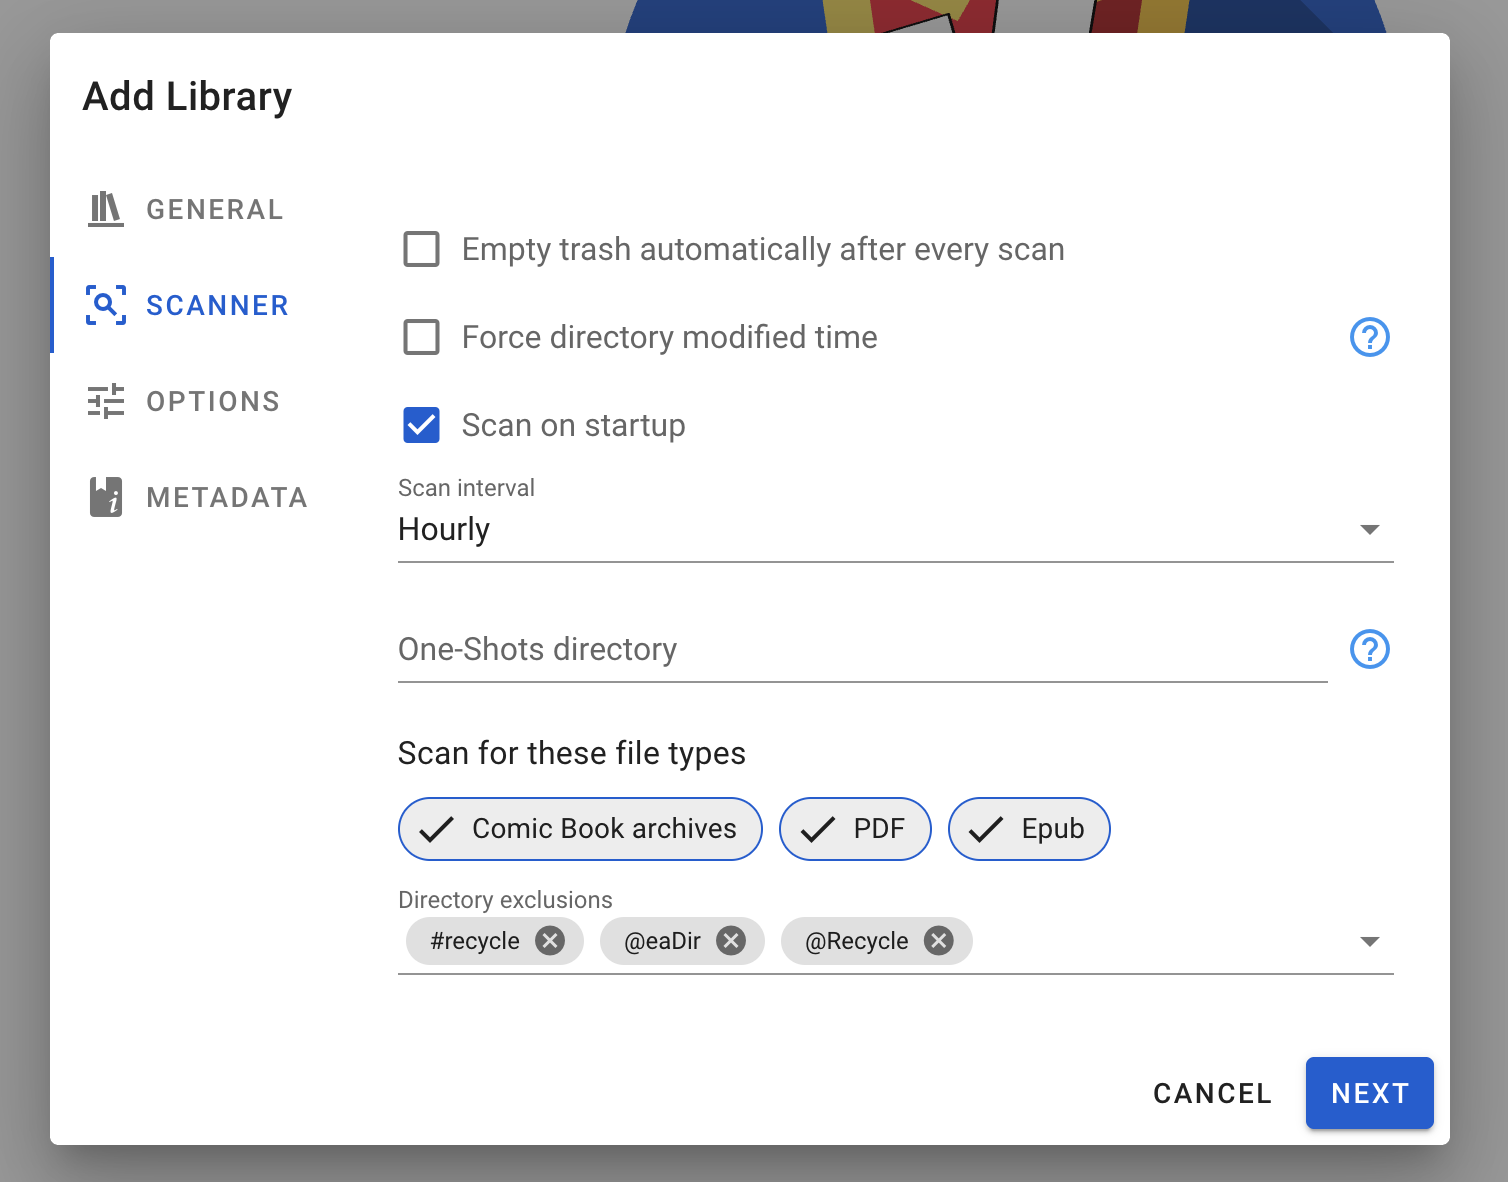
Keep all other tabs at their default settings and proceed.
- Click “Add” to finish.
Komga will automatically scan and import all comics, magazines, or e-books stored in that folder.
Access Komga via Mobile
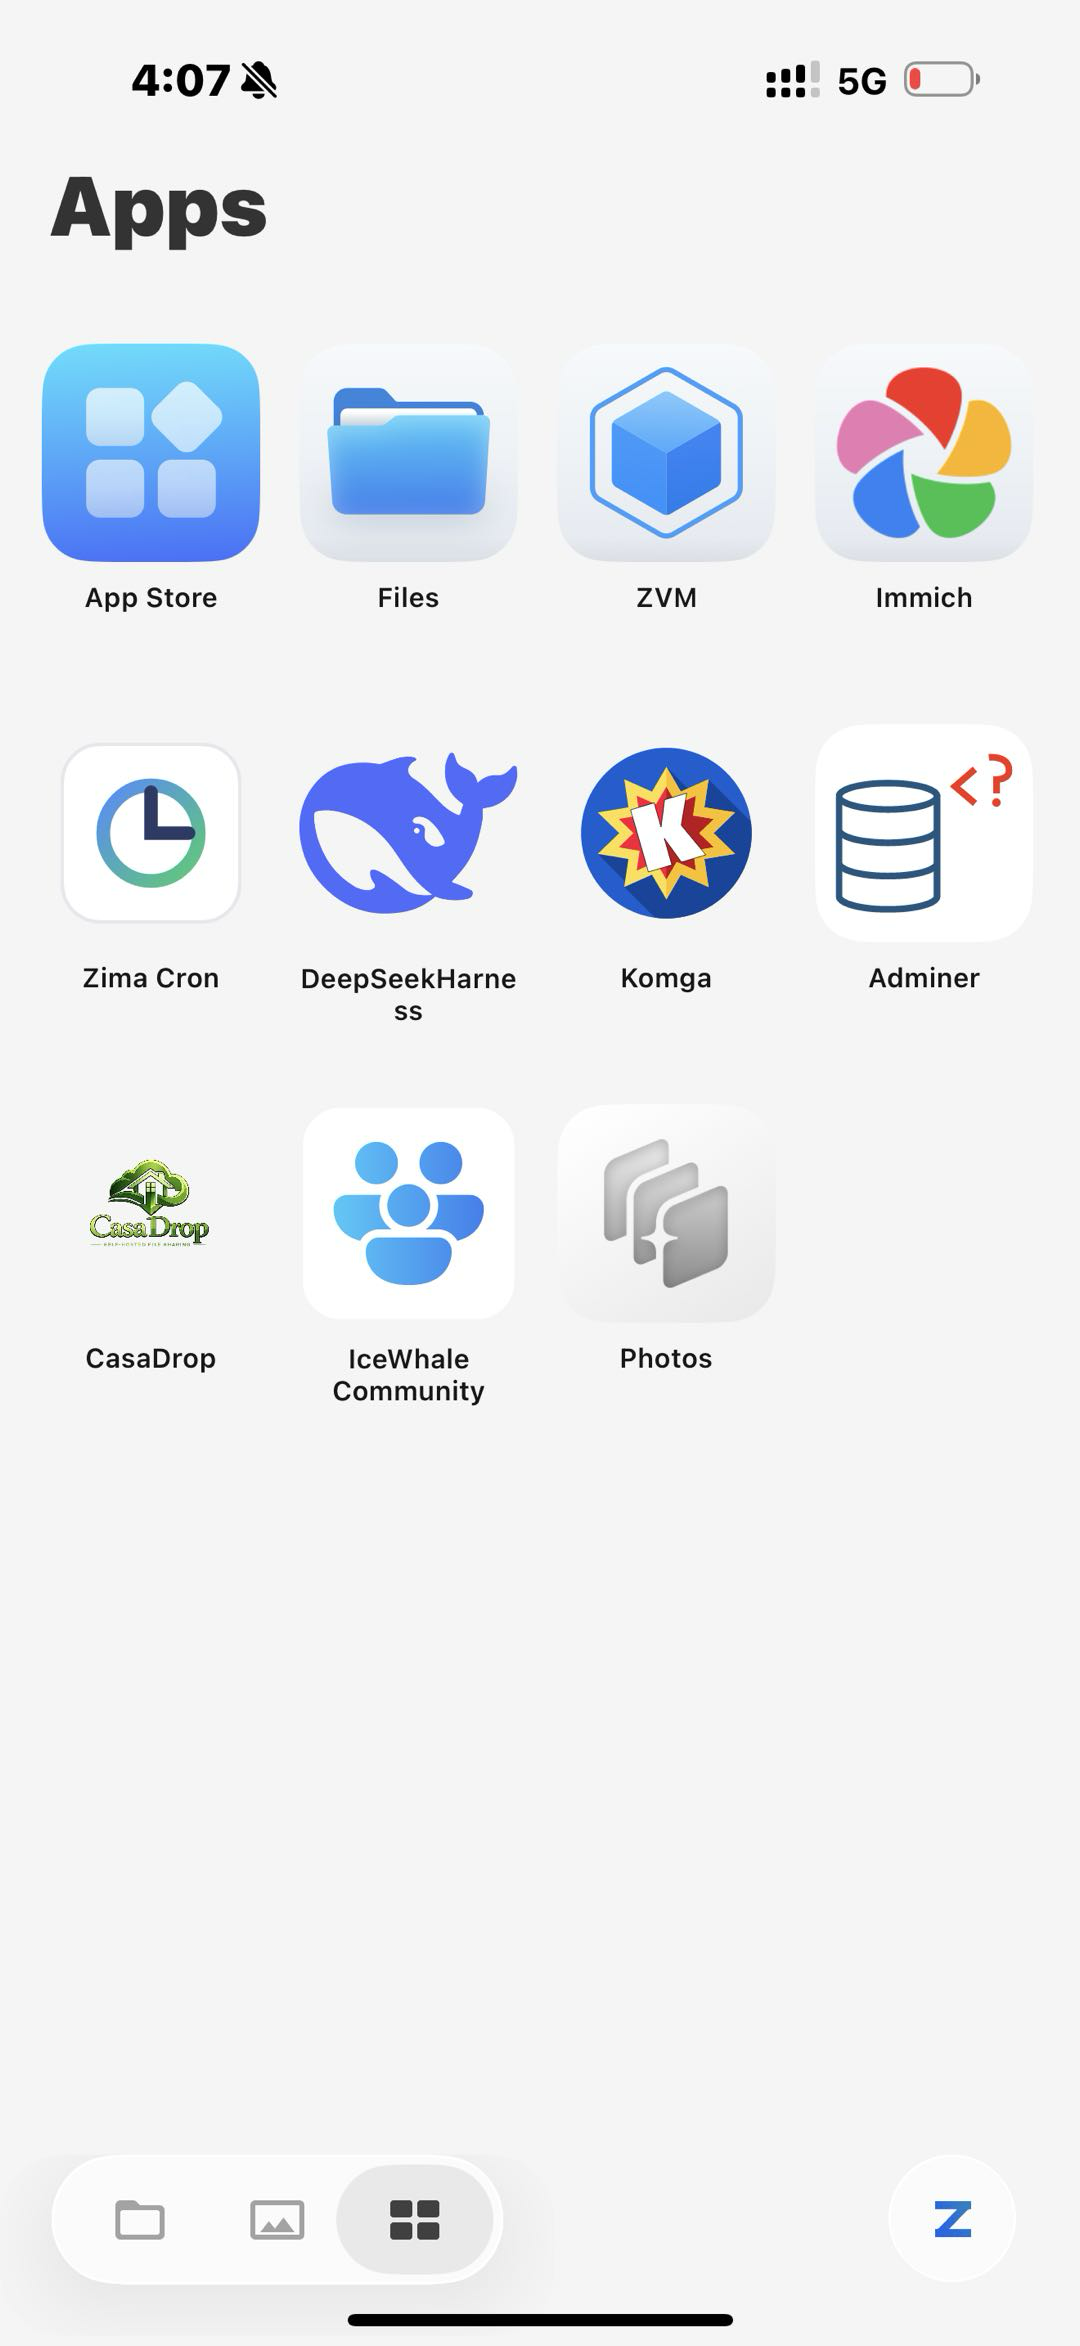
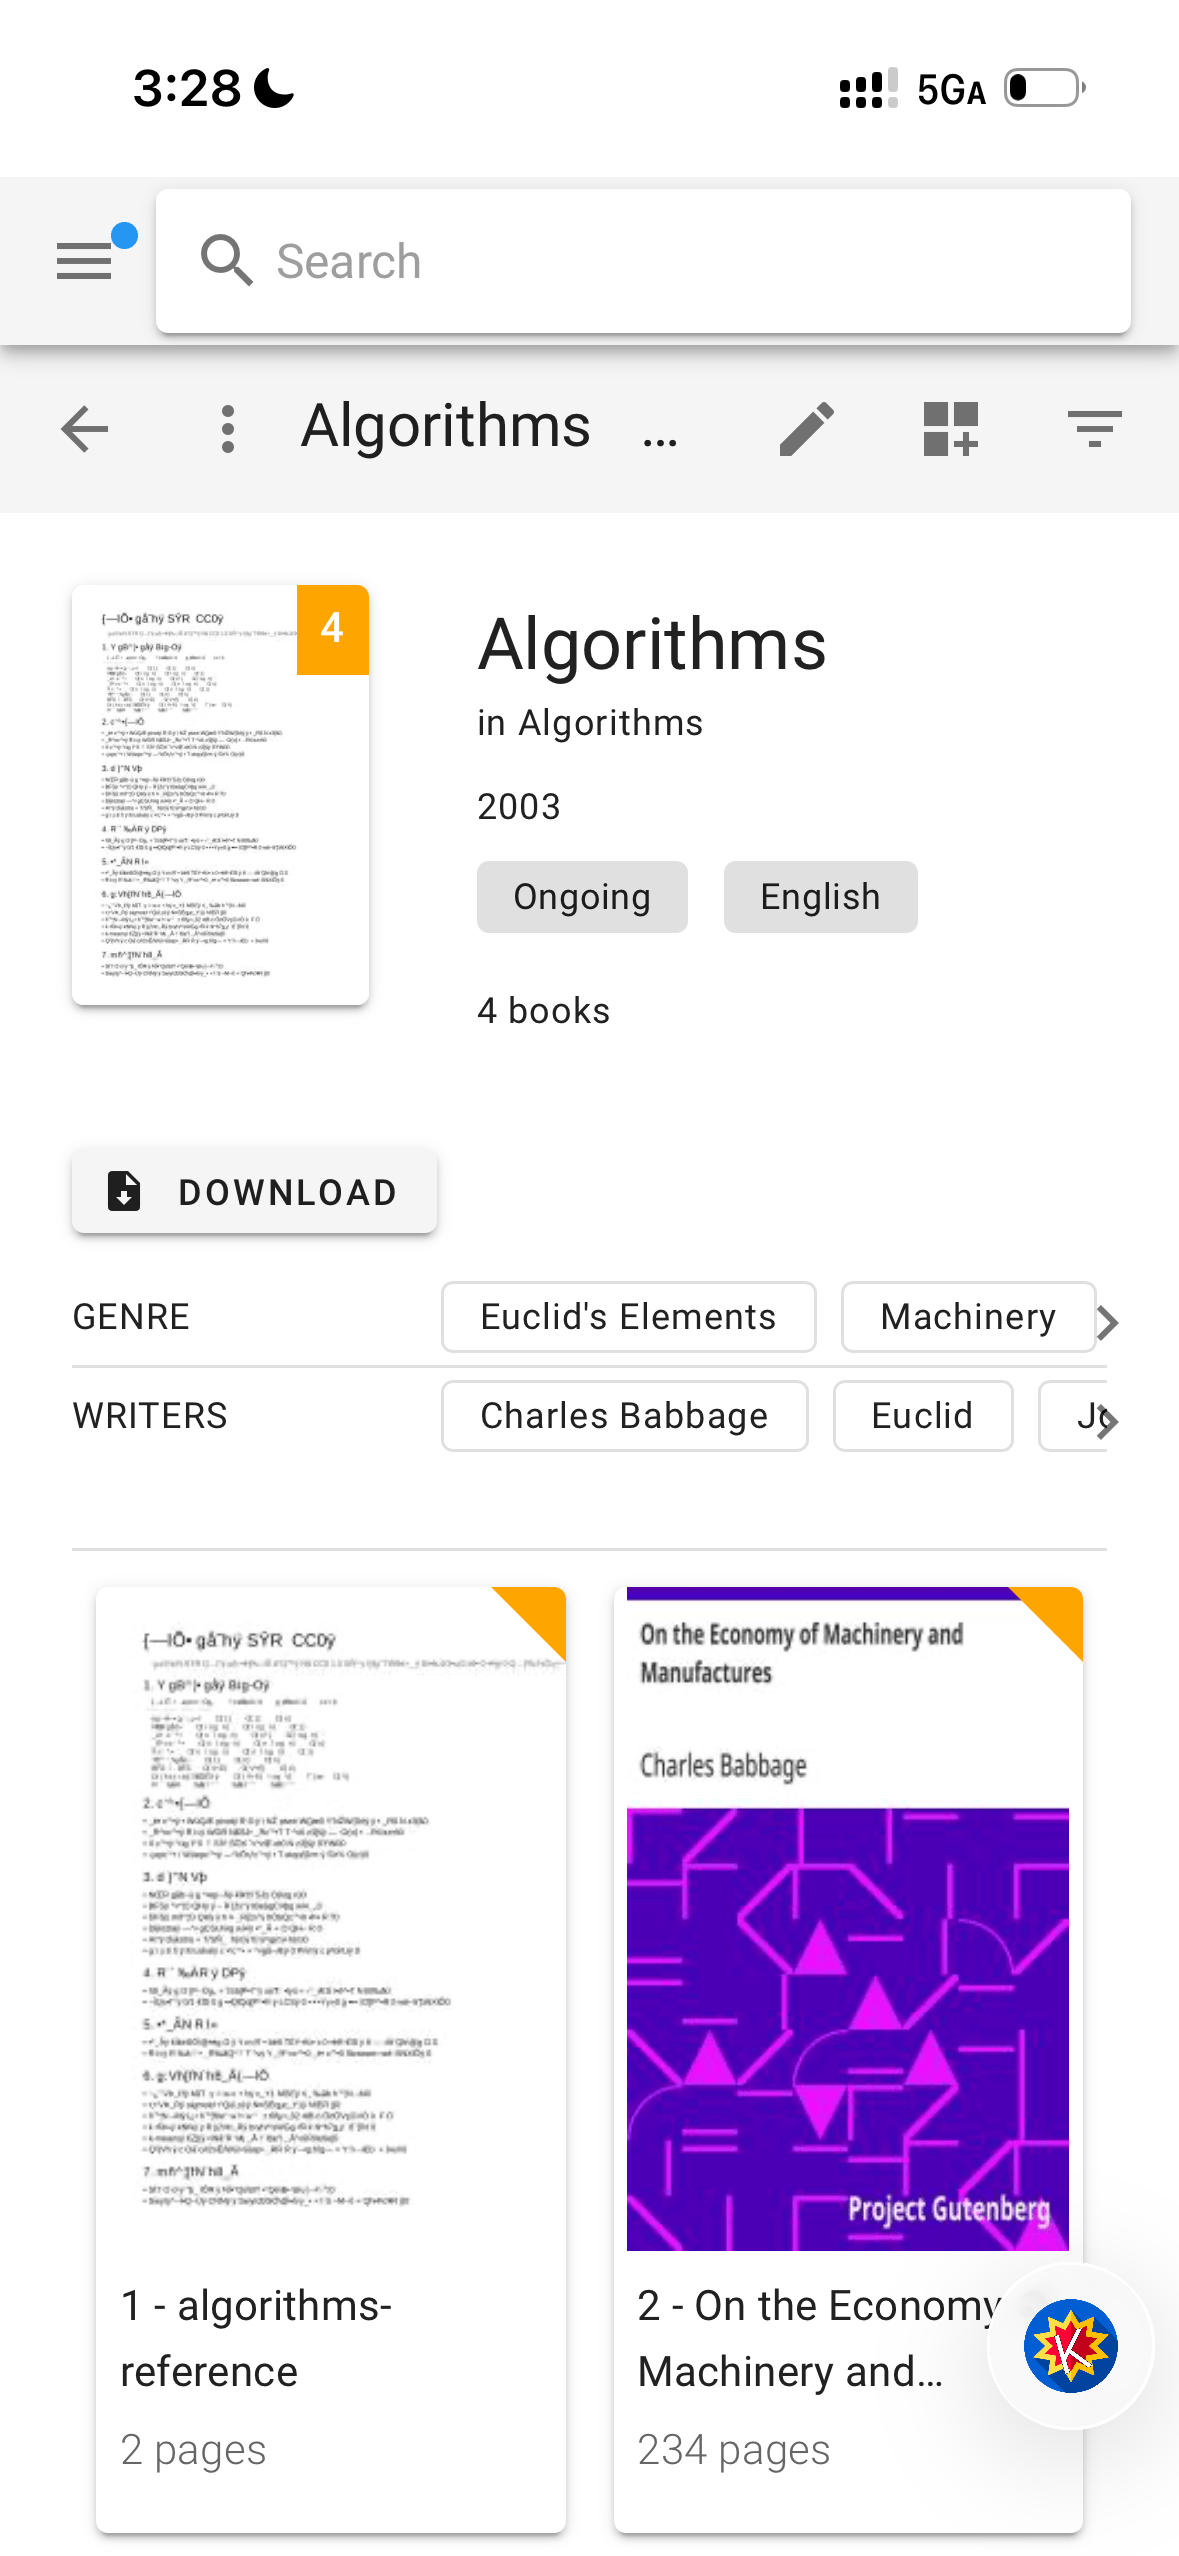
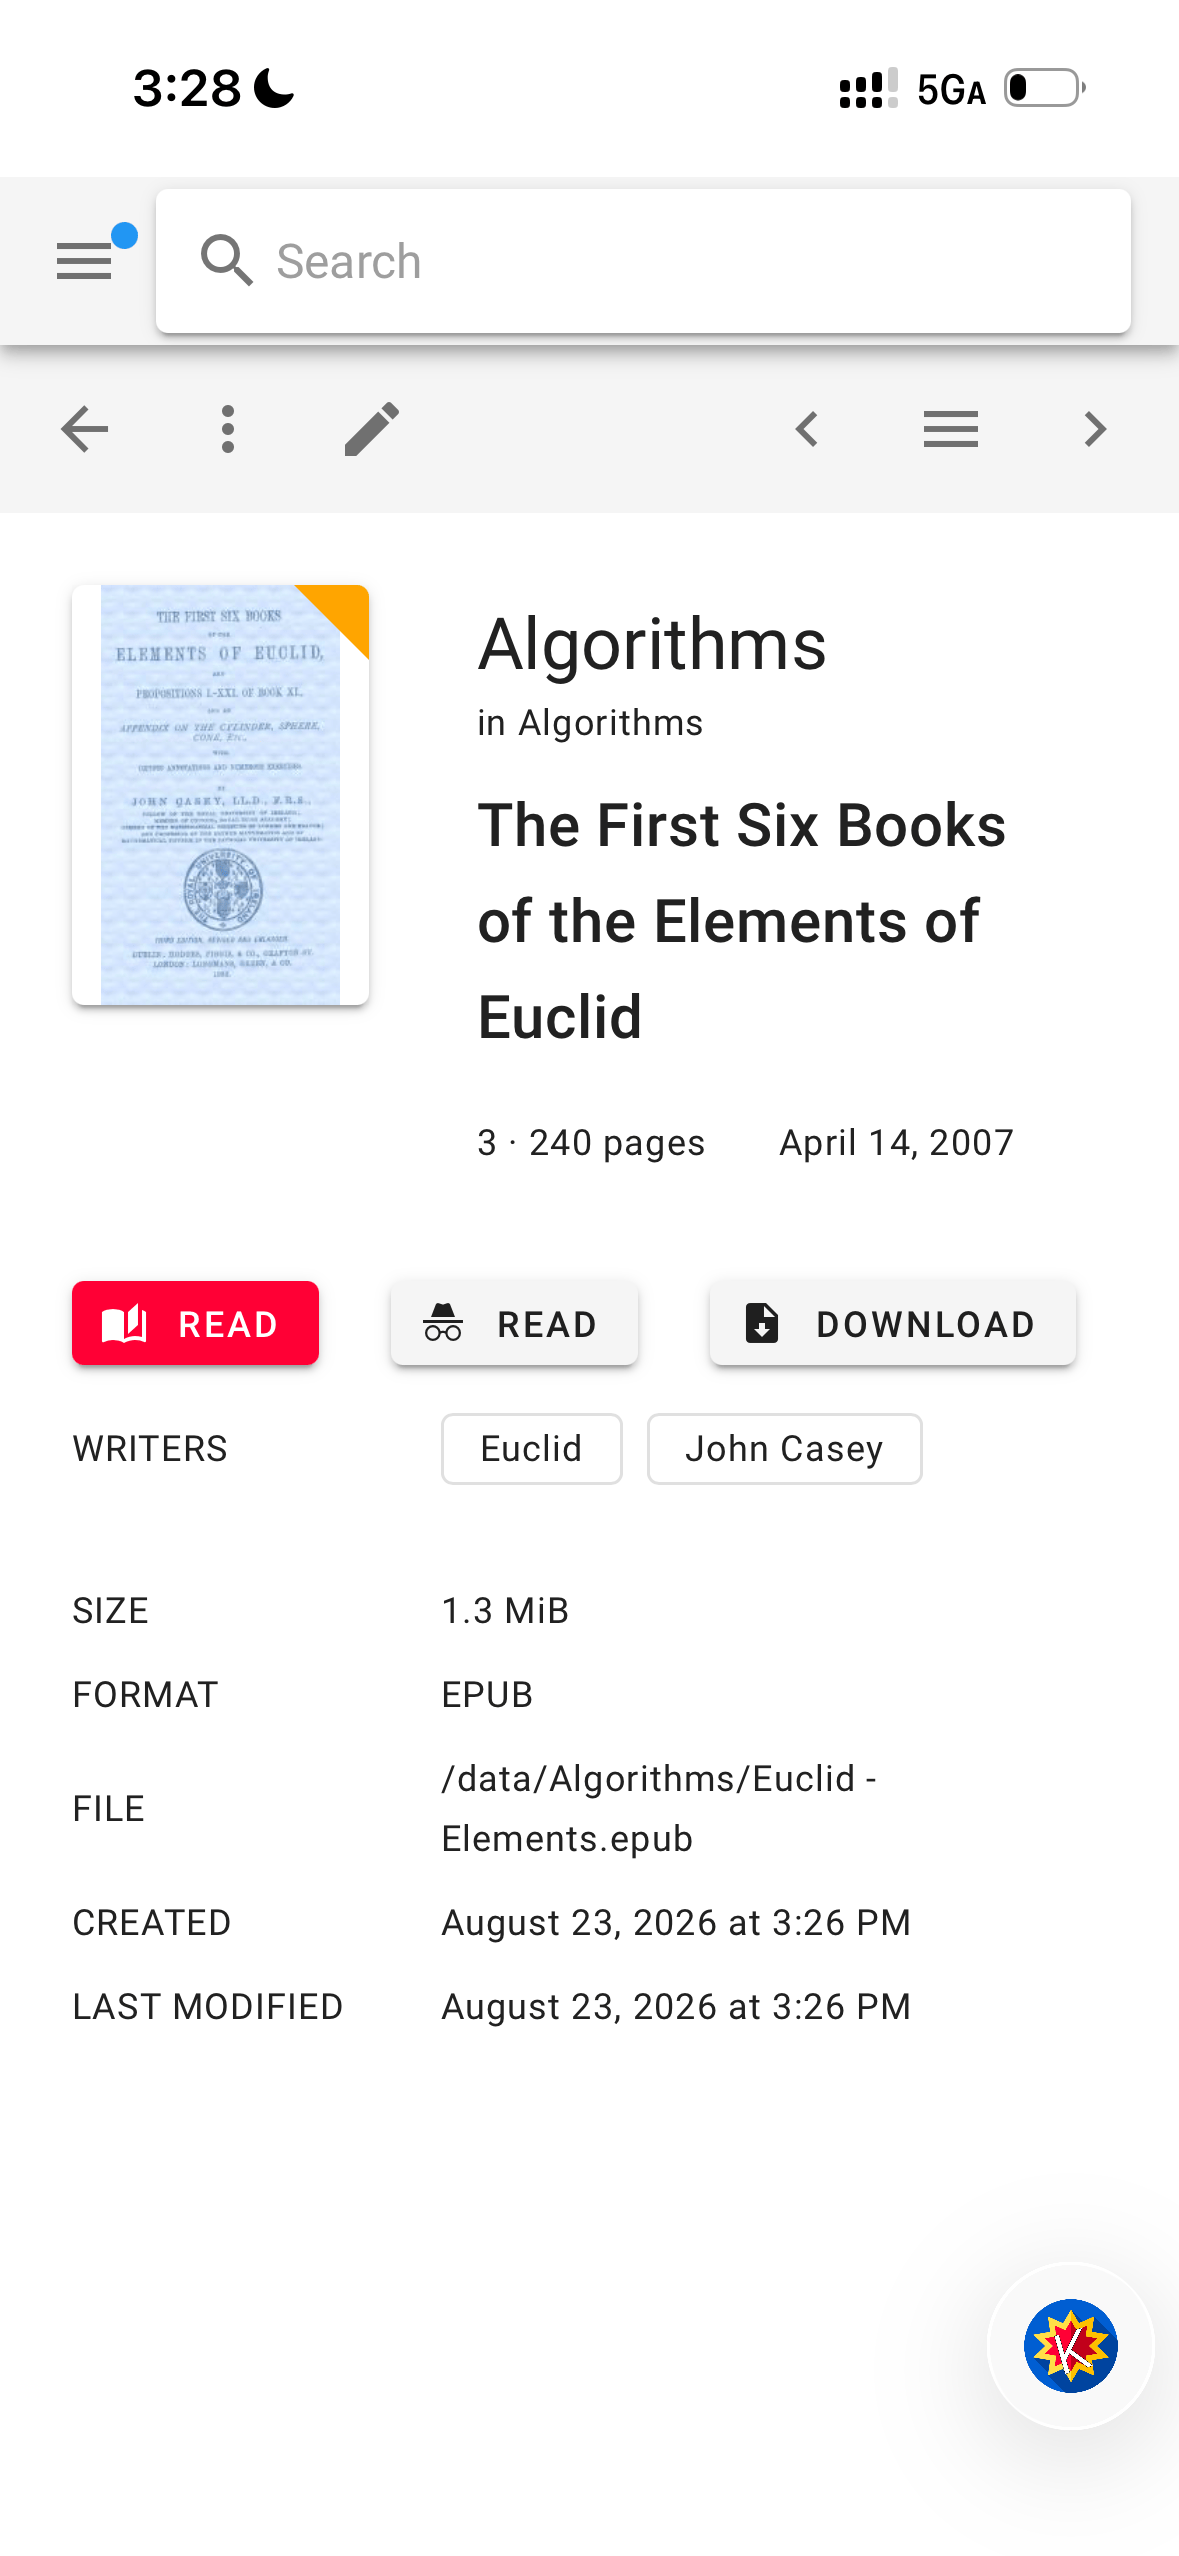
Access Komga via the ZimaClient mobile app — direct P2P connection to your home server, no cloud relay, no VPN setup required. Works from home or on the go.
 |
 |
 |
|---|
Reference Links
For further details, please consult the official Komga documentation:
- Library advanced settings – https://komga.org/docs/guides/libraries/
- Server settings & management – https://komga.org/docs/guides/server-settings/
- Reverse proxy & HTTPS setup – https://komga.org/docs/installation/https/