
Overview
PhotoPrism is natively supported in the ZimaOS App Catalog. See the PhotoPrism App Store page for the latest app details.
PhotoPrism is a self-hosted, AI-powered photo gallery — it keeps your photos private on your own ZimaOS device while still giving you the automatic tagging, smart search, and albums you’d expect from a cloud service. No subscription, no storage limits, and no one scanning your memories.
Why PhotoPrism?
- Your photos stay yours — everything lives on your own ZimaOS drive, not in someone else’s cloud.
- AI does the organizing — faces, places, and objects are tagged automatically, so you find any photo by searching instead of scrolling.
- Free & unlimited — no subscription, capacity is limited only by your disk, and your originals are never compressed.
- No lock-in — your photos are plain files in
/DATA/Gallery, so you can back up or migrate them anytime.
Prerequisites
- A running ZimaOS installation.
- A free port for the web UI (default: 2342).
App Catalog
- Find PhotoPrism in the ZimaOS App Catalog. Open App Store → search for “PhotoPrism” → click Install.
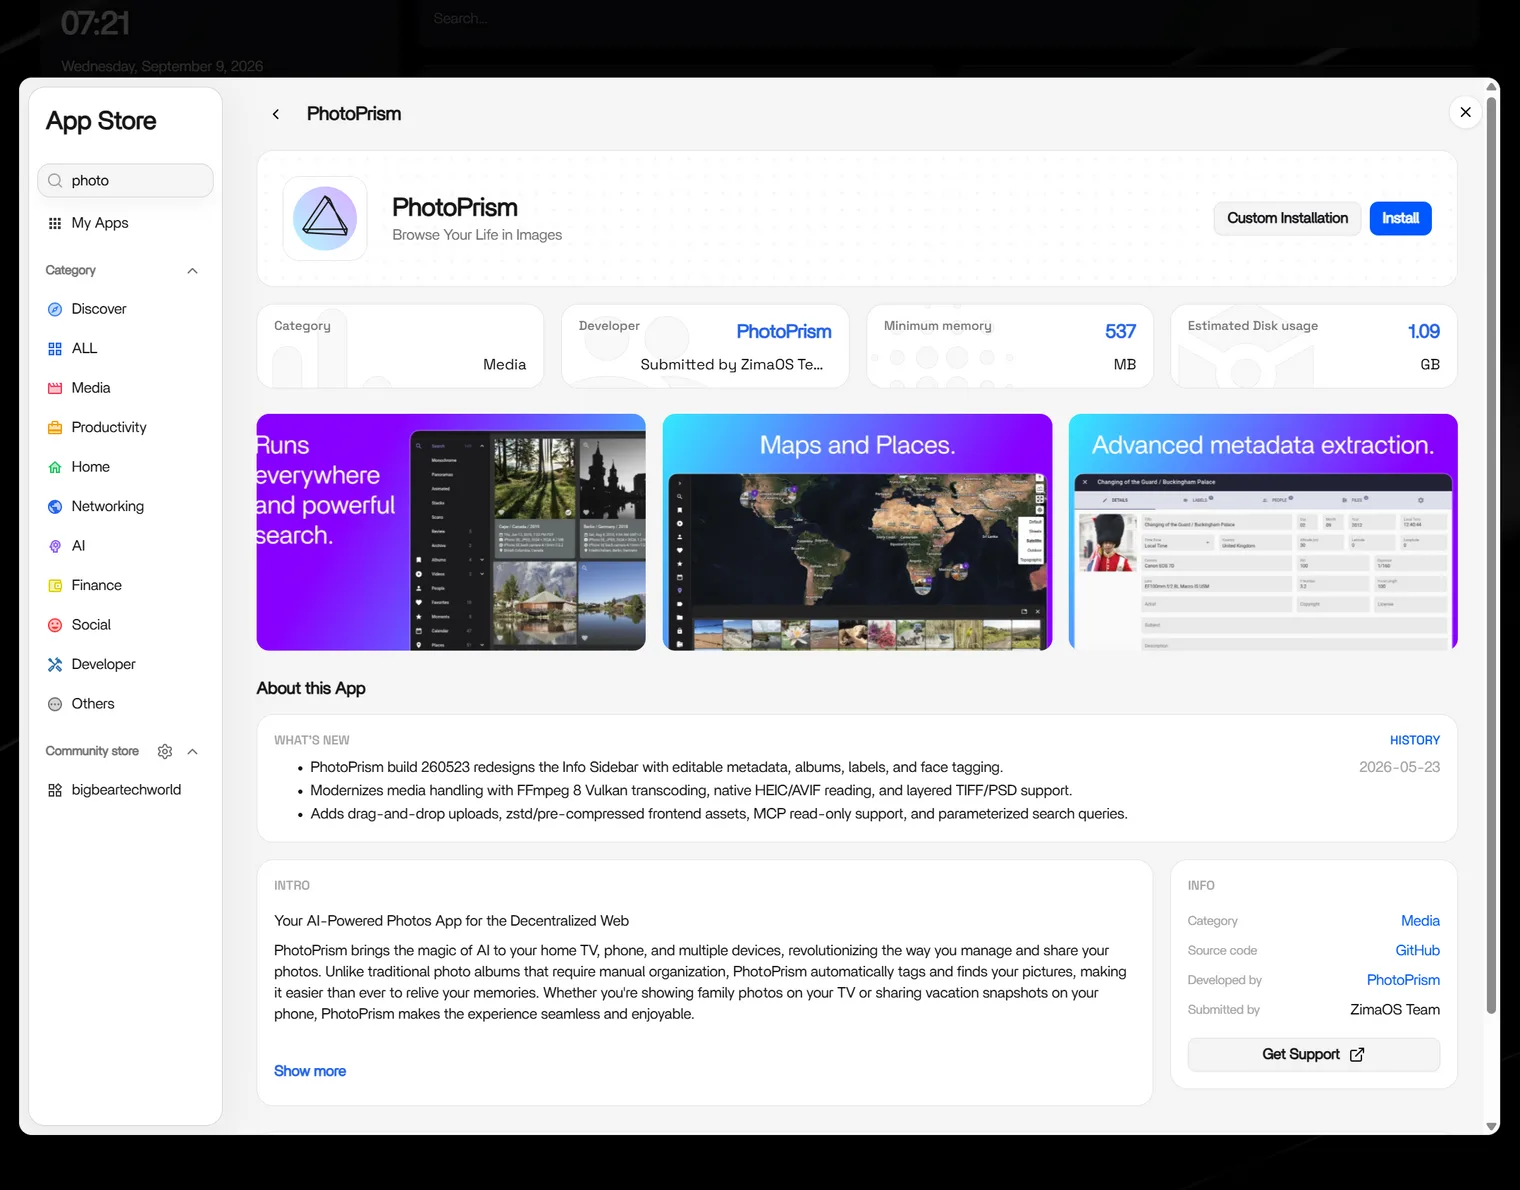
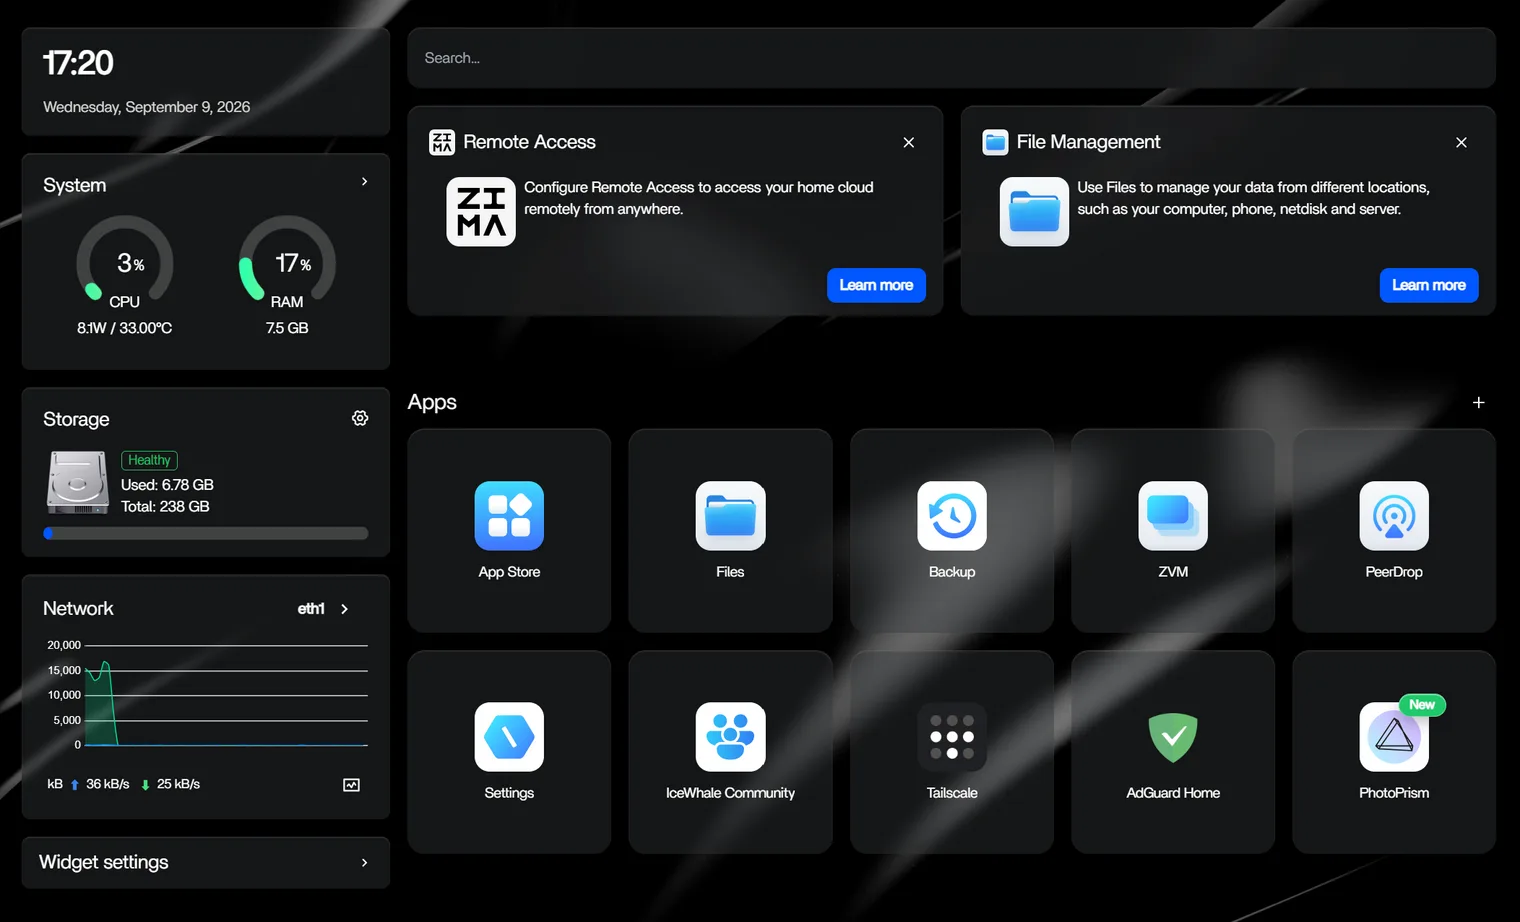
- It’s ready to use!
Configuration
The following steps are NOT required — you can get started right away with the DEFAULT configuration.
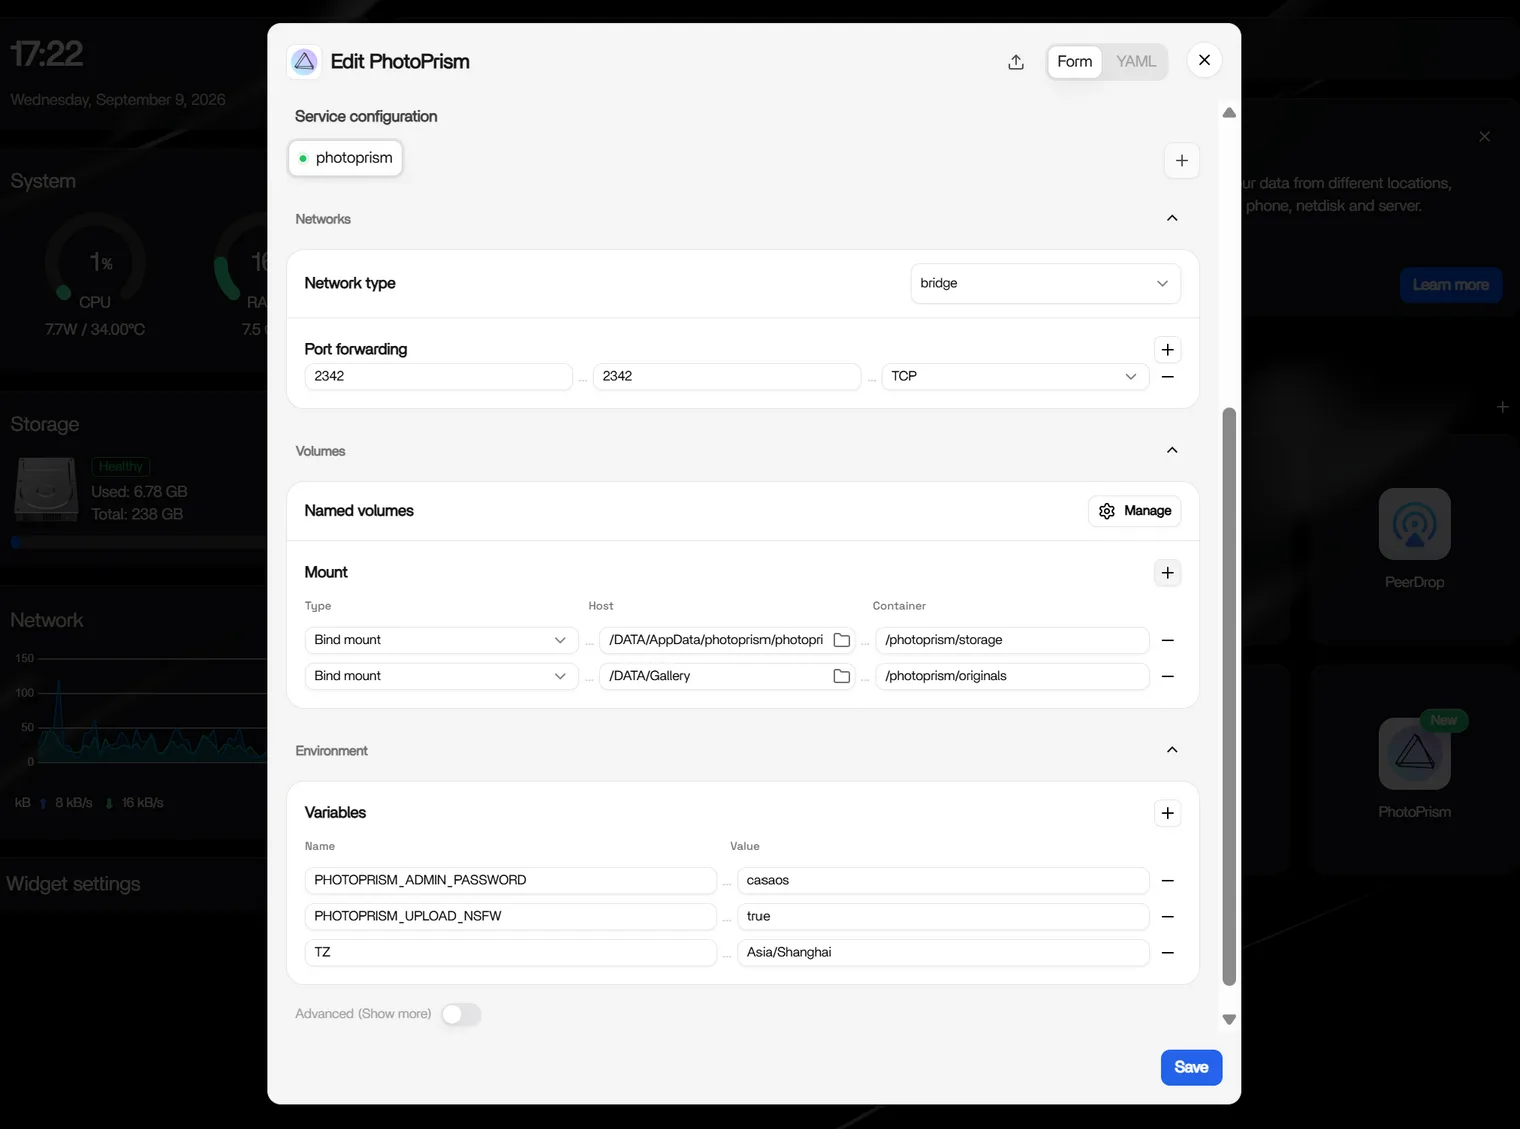
ZimaOS supports multiple configuration methods, including form-based editing and YAML secondary editing. The main settings you may want to adjust:
- Volumes — where your photos and PhotoPrism’s data are stored. Your photo library lives in
/DATA/Galleryon ZimaOS (mounted to/photoprism/originals), and the database, index, cache, and thumbnails are stored in/DATA/AppData/photoprism/storage(mounted to/photoprism/storage). Keep the storage folder outside the originals folder. - Port — the external port you use to access the web UI (default: 2342).
First-time setup
After installation, click the PhotoPrism icon. A pop-up shows the default account and password — use the username and password shown there to log in.
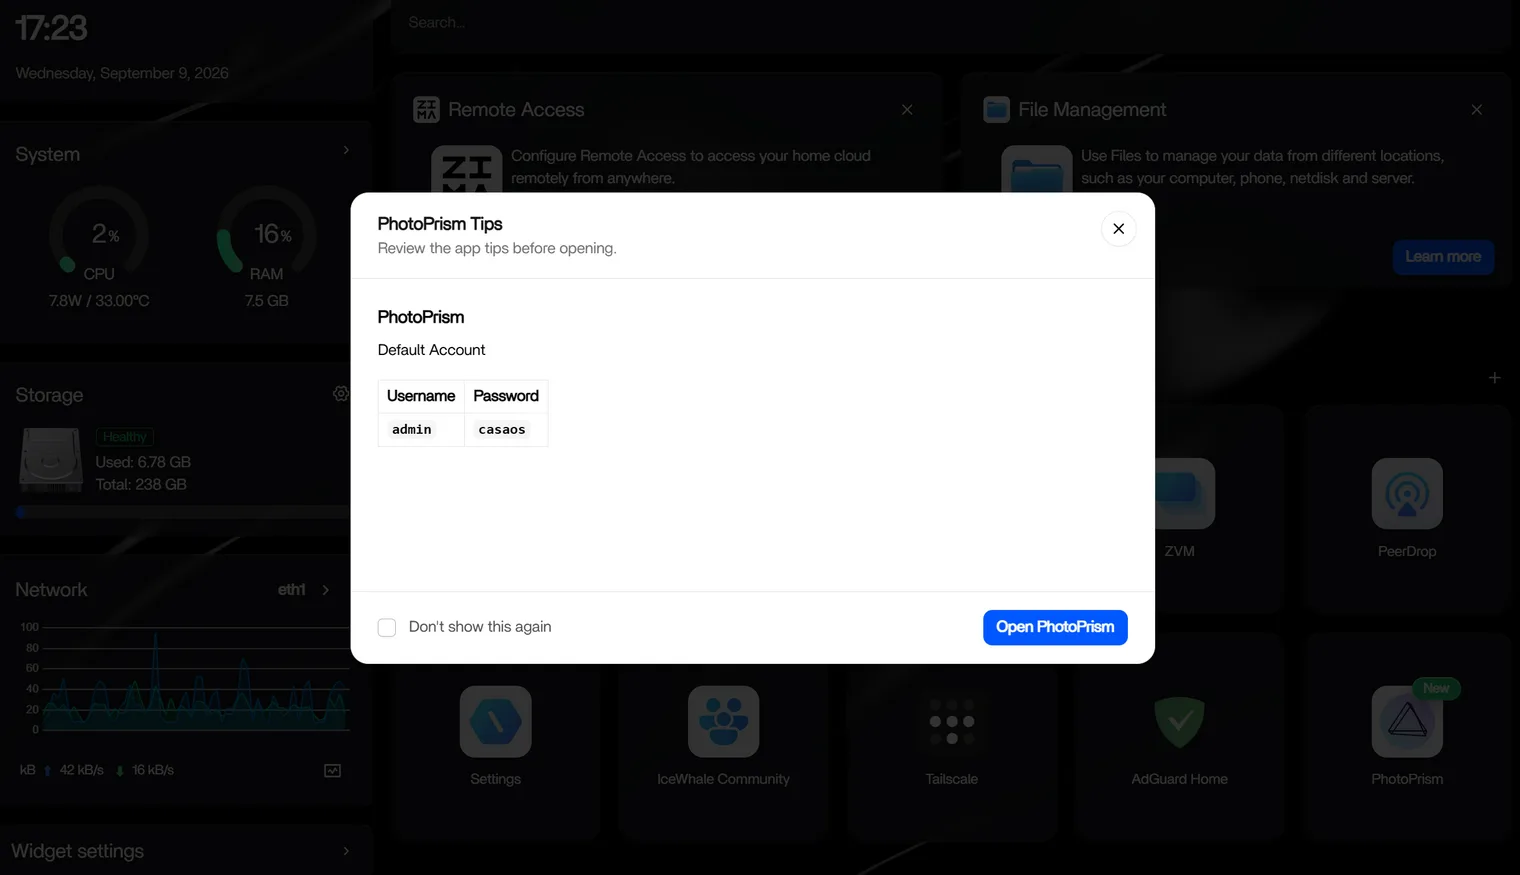
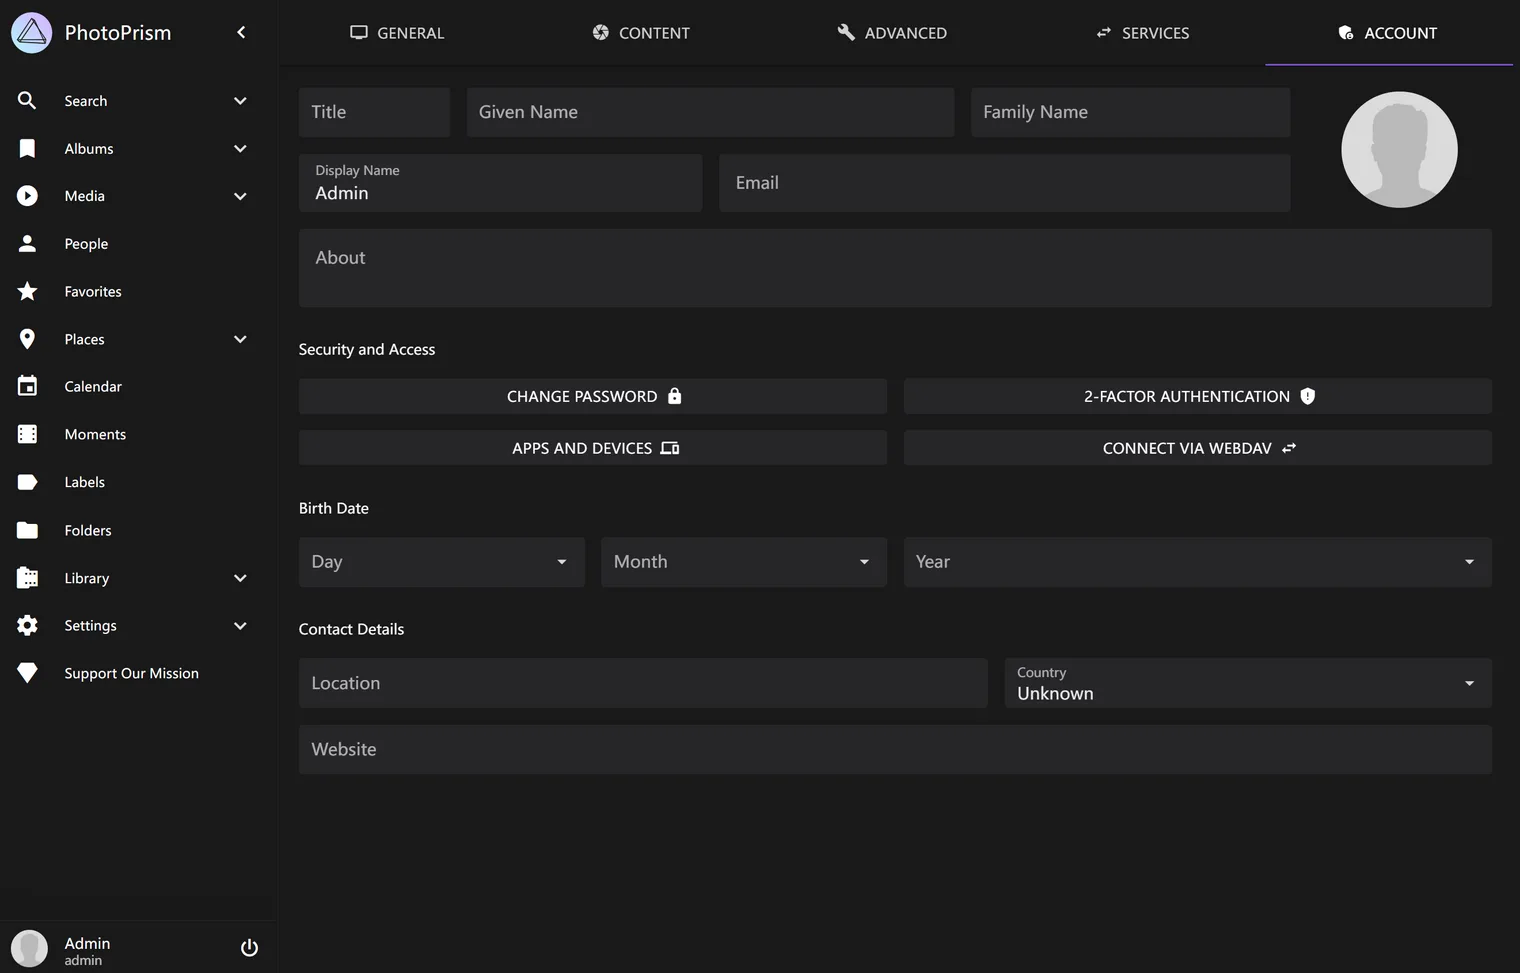
Once logged in, you’re ready to go. To change the default account or password later, open Settings → Account.
Using PhotoPrism
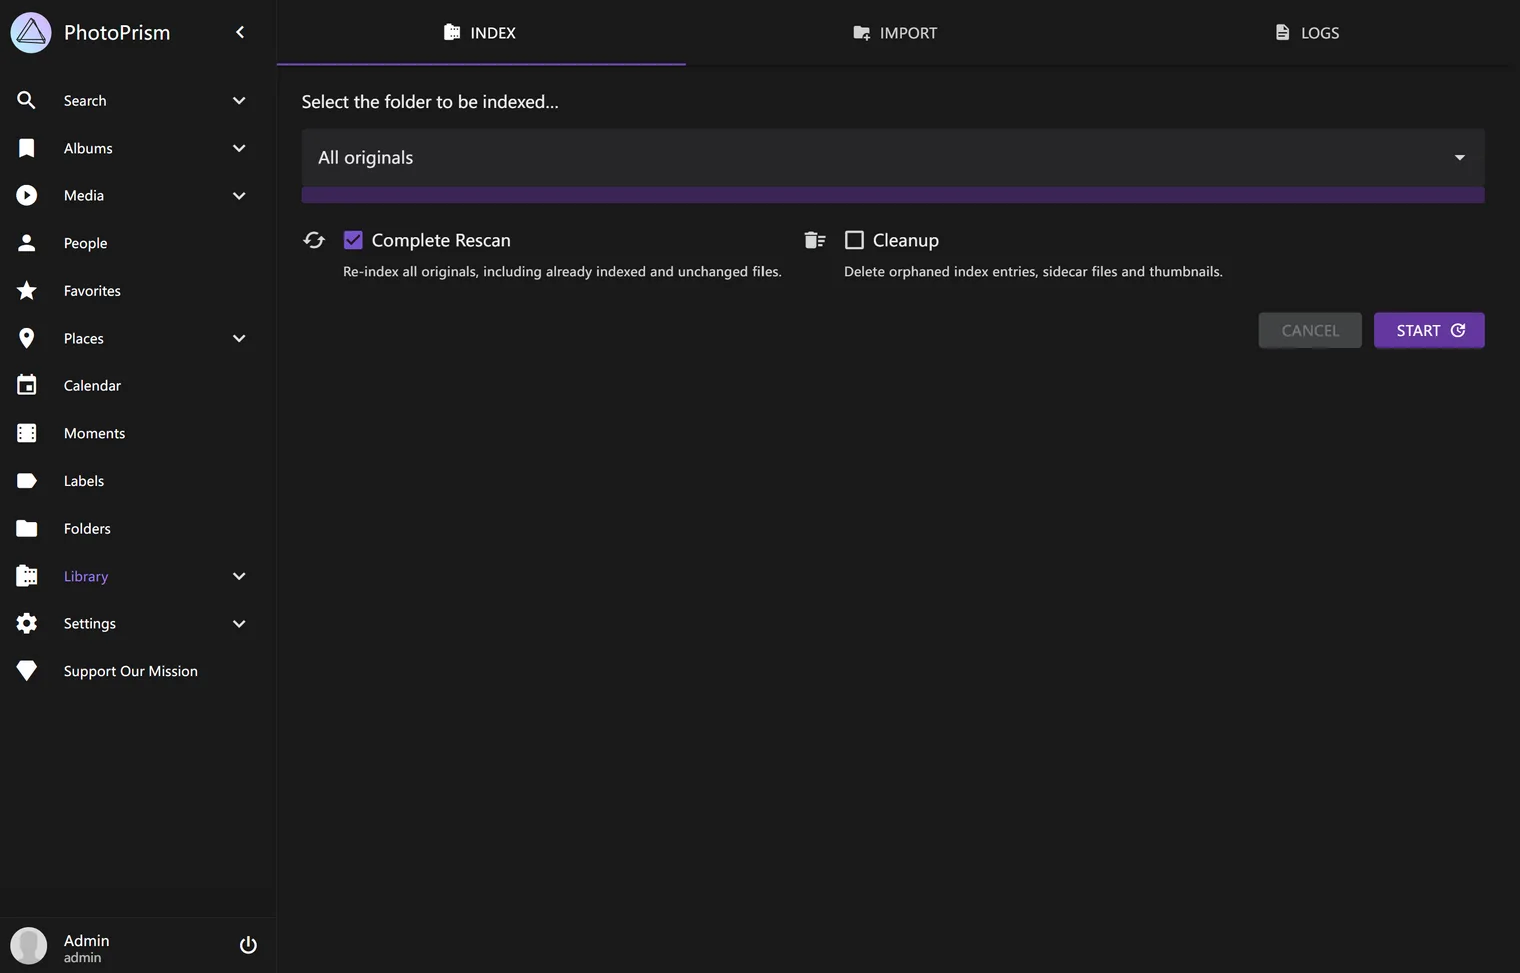
- Add your photos — put your pictures into
/DATA/Gallery(or upload them from the web UI), then start indexing from the Library tab. PhotoPrism organizes and tags them automatically with AI.
- Browse — open the Calendar sub-page to browse photos by date, or use Search to find photos by keyword, location, or AI-detected objects.
- Organize & share — create albums under the Albums sub-page to organize your photos and share them with family or friends.
Try these next
Once your photos are indexed, open PhotoPrism and try these — no manual tagging needed:
- Search something natural — type “cat”, “beach”, or “birthday” and PhotoPrism finds every match in seconds.
- Open People — see your photos automatically grouped by face.
- Open Places — see your photos pinned on a world map.
- Open Moments — PhotoPrism auto-groups your photos into events and trips.
Related Guides
- Want automatic phone backup plus a photo gallery? See Immich Photo Backup and Sync Photos with Immich.
Not sure which one fits? Pick Immich when automatic phone backup is the main goal; pick PhotoPrism when you want an AI-powered library over a folder of files you manage yourself.
Need Help?
If you run into any issues while installing or using PhotoPrism on ZimaOS, join the ZimaSpace Discord community. Our team and community members will be happy to help.