
Connecting another NAS to ZimaOS opens two doors at once. You can move files over permanently, or keep the connection and use it for cross-device backup. Both start with the same step: connect the two devices over your network. This page covers the whole journey, with Synology DSM as the example.
Why Connect
One connection, two things you can do with it:
- Move files over. Bring the folders you care about to your ZimaOS device, keep the old NAS running during the transition, and clean up when you are ready.
- Keep it in the backup plan. A connected NAS becomes a LAN source or a second-device destination in your 3-2-1 backup plan. One connection feeds both jobs.
Connect the Two Devices
SMB is the common language here. ZimaOS and other NAS systems both speak it well, which makes a direct network transfer possible without extra tools.
Before you start, make sure the folders you plan to move are shared on the old device. In DSM, check Control Panel > Shared Folder. If a folder was created without sharing, create a new shared directory in DSM and move the data you want to transfer into it.
- Open the Files app on the ZimaOS dashboard.
- In the left navigation, click the plus sign next to Storage, then click LAN Storage.
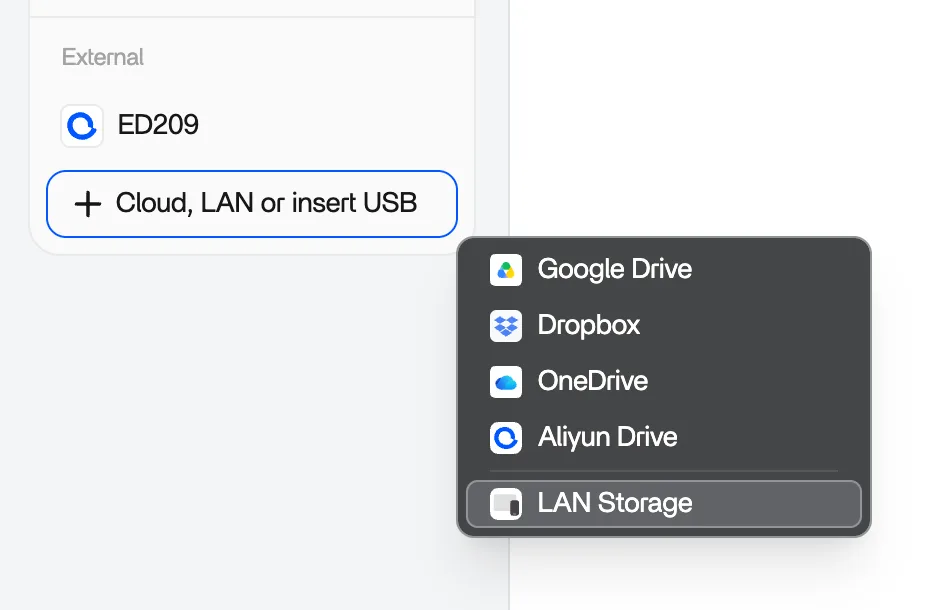
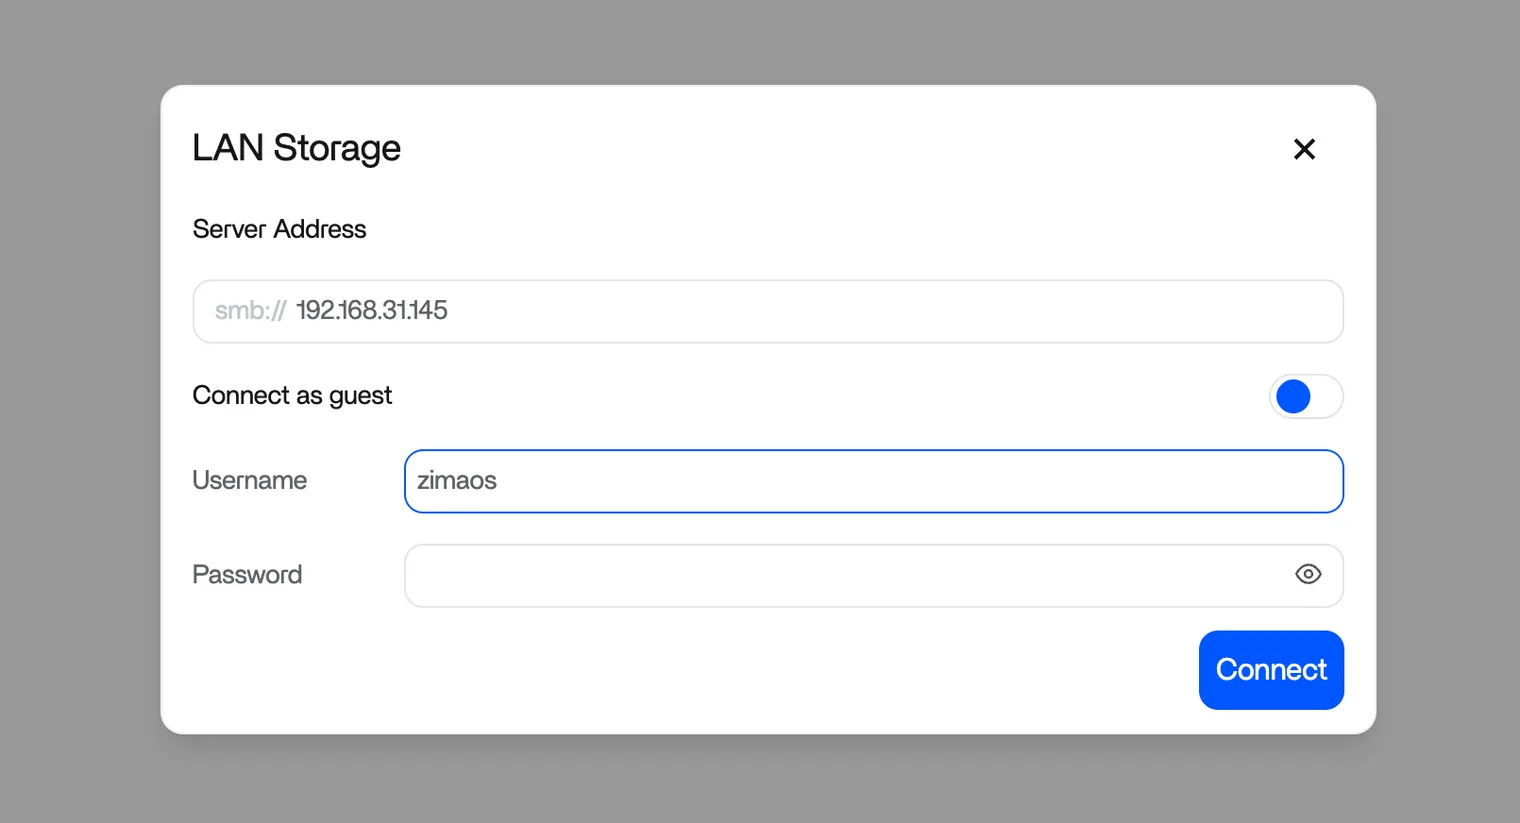
- In the popup, enter the IP address of the other device and click Connect. If the shared account has a username and password, enter those too.
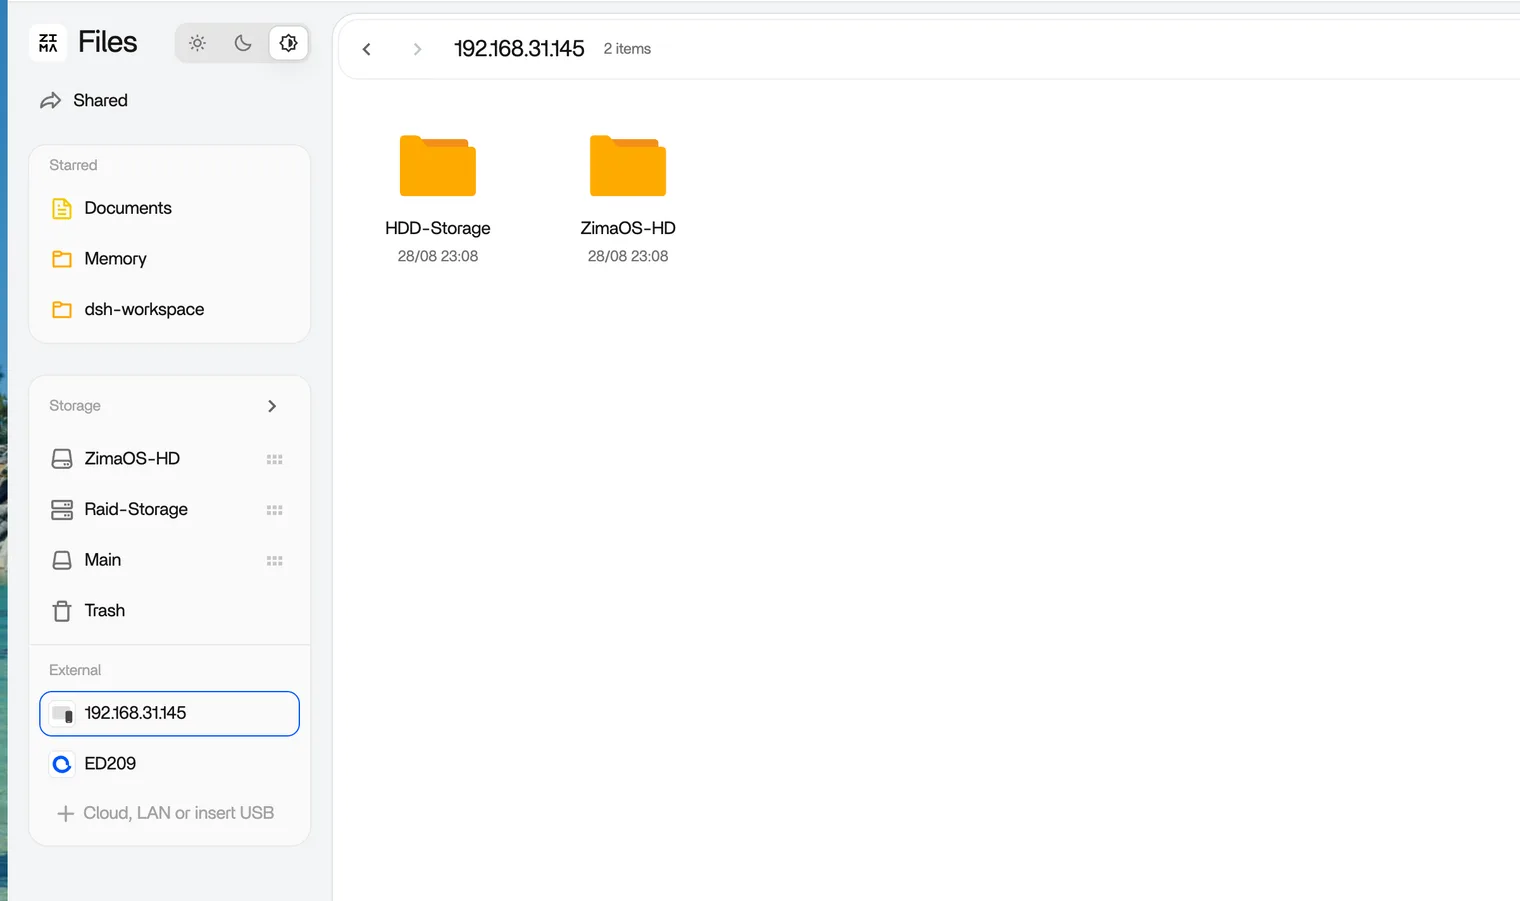
When the connection succeeds, the device appears as a network device under Storage, with its shared directories listed.
Copy Files Over
- Open the shared directory and select the files and folders you want to move. You can select everything.
- Click the Copy button in the upper right corner.
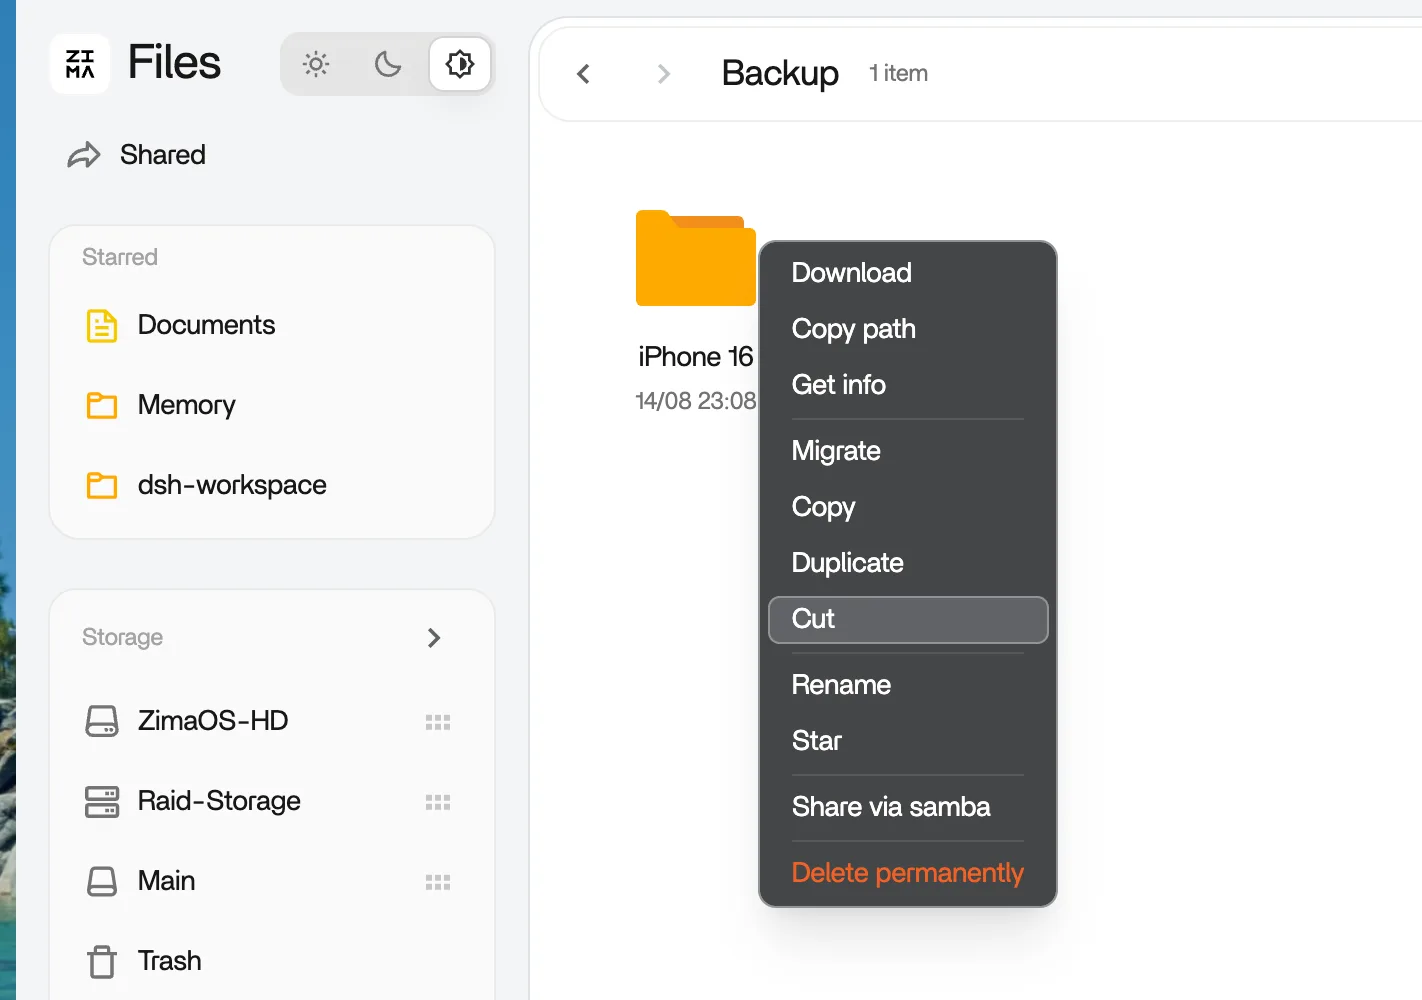
- Go to the target directory in your ZimaOS storage and click Paste.
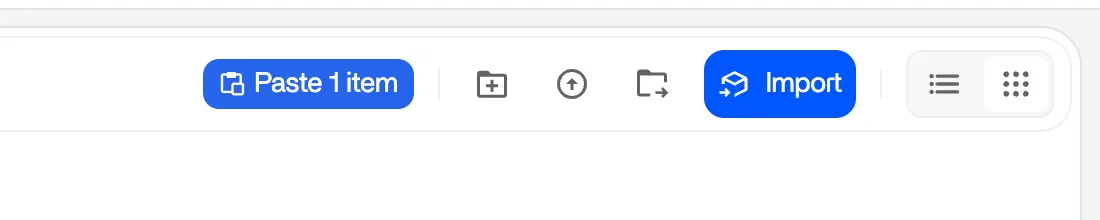
Capacity CheckMake sure the remaining capacity of the destination storage is larger than the total size of what you are copying. Then let the transfer run.
Copying leaves the originals on the old device. Nothing is deleted until you decide to clean up, which makes it safe to verify the copies first.
When the transfer finishes, the files appear in your ZimaOS storage like anything else on the device. Open them, check that everything made it, and the old NAS can keep serving until you are ready to retire it.
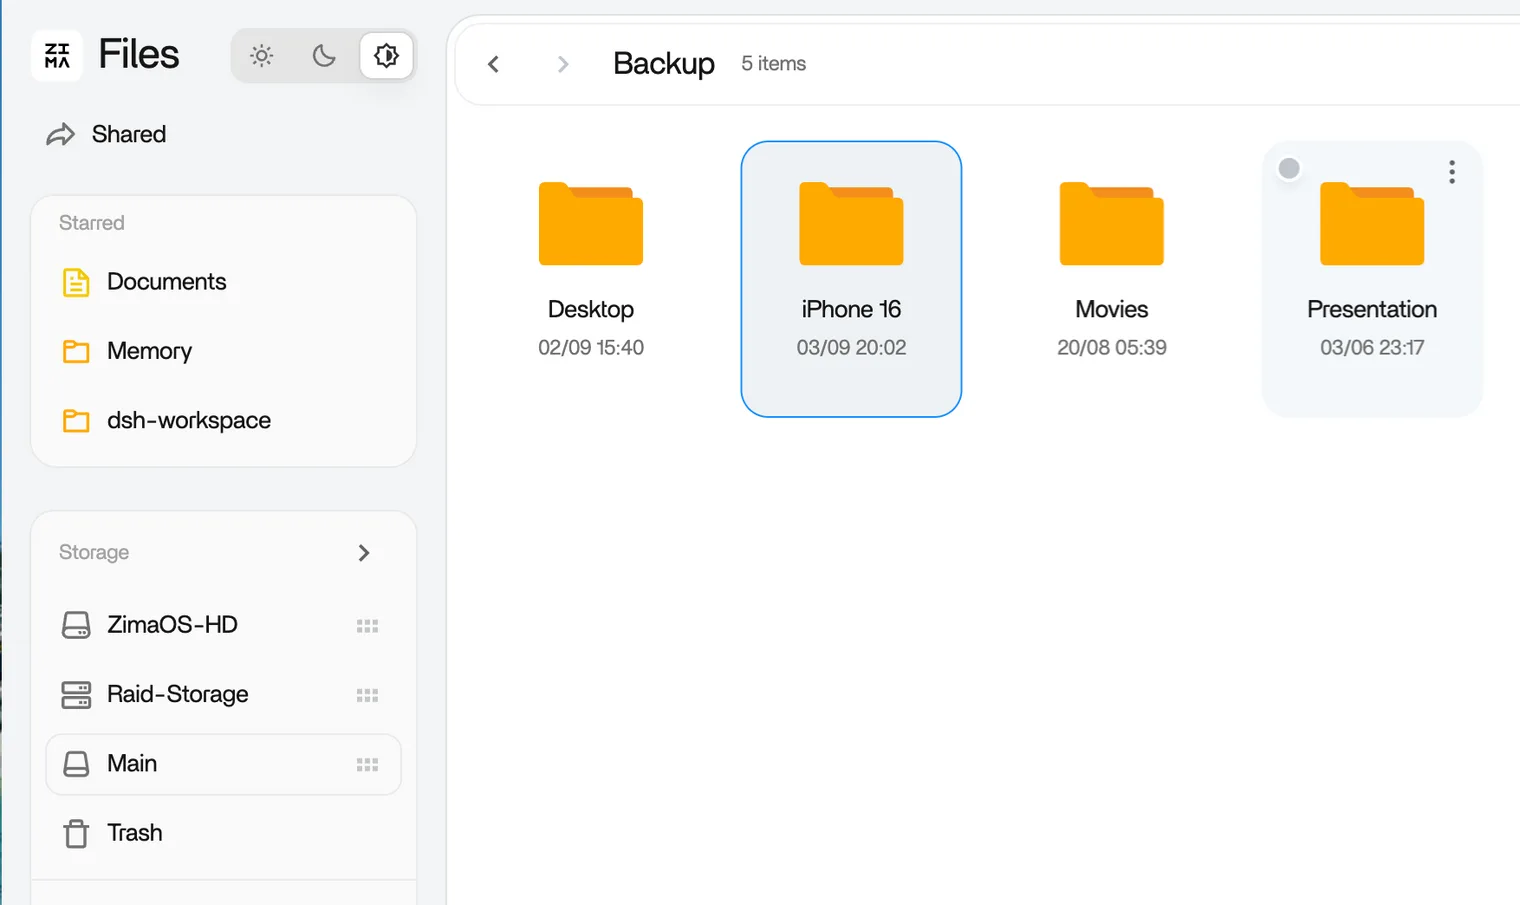
Take Your Time
There is no deadline to cut over. A phased move works better than a big-bang one.
Start with the folders you use every day. Once those live on the new device, work through the rest of the backlog at your own pace. The old device keeps serving its files until the last copy is done.
After the Move
Once the files are on the new device, protect them with a 3-2-1 backup plan. A freshly migrated library is exactly the data you do not want to lose twice.
Next
- 3-2-1 Backup Strategy — protect the files you just moved
- Connect Cloud Drives — the other half of the offsite story
- Phone Backup — bring the rest of the household data in