
When a drive fills up, or you swap it for a bigger one, you do not need to reinstall anything. The built-in Data Migration tool relocates whole categories of data to another storage space in one run.
What You Can Move
The tool works on three categories:
- Docker images. The packages your apps run from. This category grows fastest when you keep installing apps.
- Docker application data. Everything your installed apps have written, moved as a whole.
- User folders. Photos, Downloads, Documents, Media, and Backup.
It moves at the category level, not app by app. If you want to relocate a single app or understand where its files live, see App Storage Paths.
When Container Data Fills the System Drive
The system drive is usually the smallest one, and containers write to it by default. Docker images and app data grow quietly until updates start failing and apps behave oddly.
Setting the app data location early is the way to prevent this, and App Storage Paths covers that. If the system drive is already full, the Data Migration tool fixes it in one run: migrate Docker images and app data to your storage space, and the system drive is clear again.
When You Migrate RAID Data
Replacing drives in a RAID array, or moving to a bigger array, follows the same path. Migrate each category to the new storage space, one at a time. When the last one finishes, the old array is free to retire. Apps keep working throughout, and migration does not reinstall or reconfigure anything.
How to Move
- Open Settings > Data Migration.
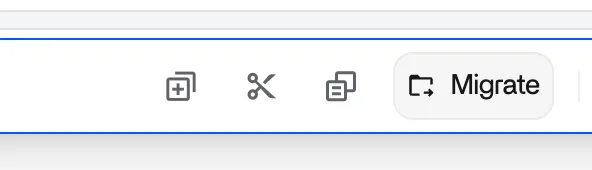
- Select the item you wish to migrate and click the Modify Location button on the right.
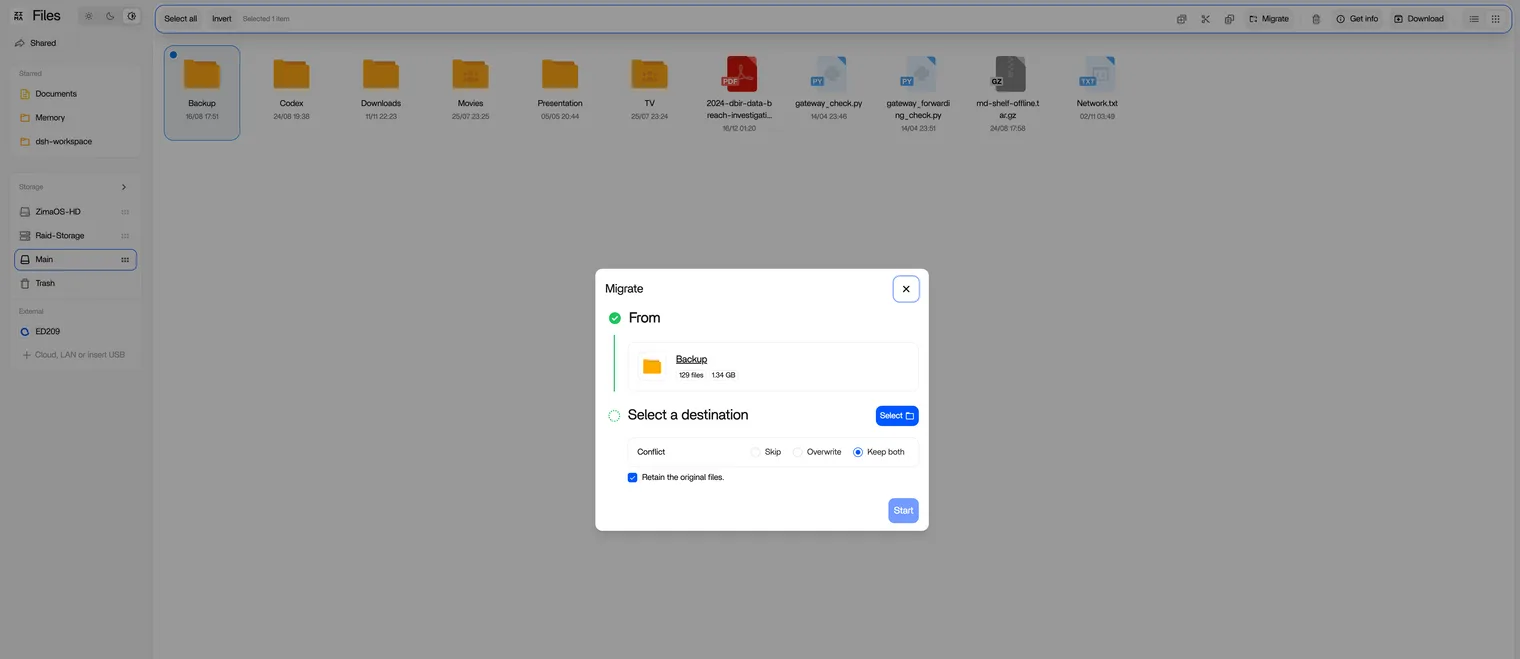
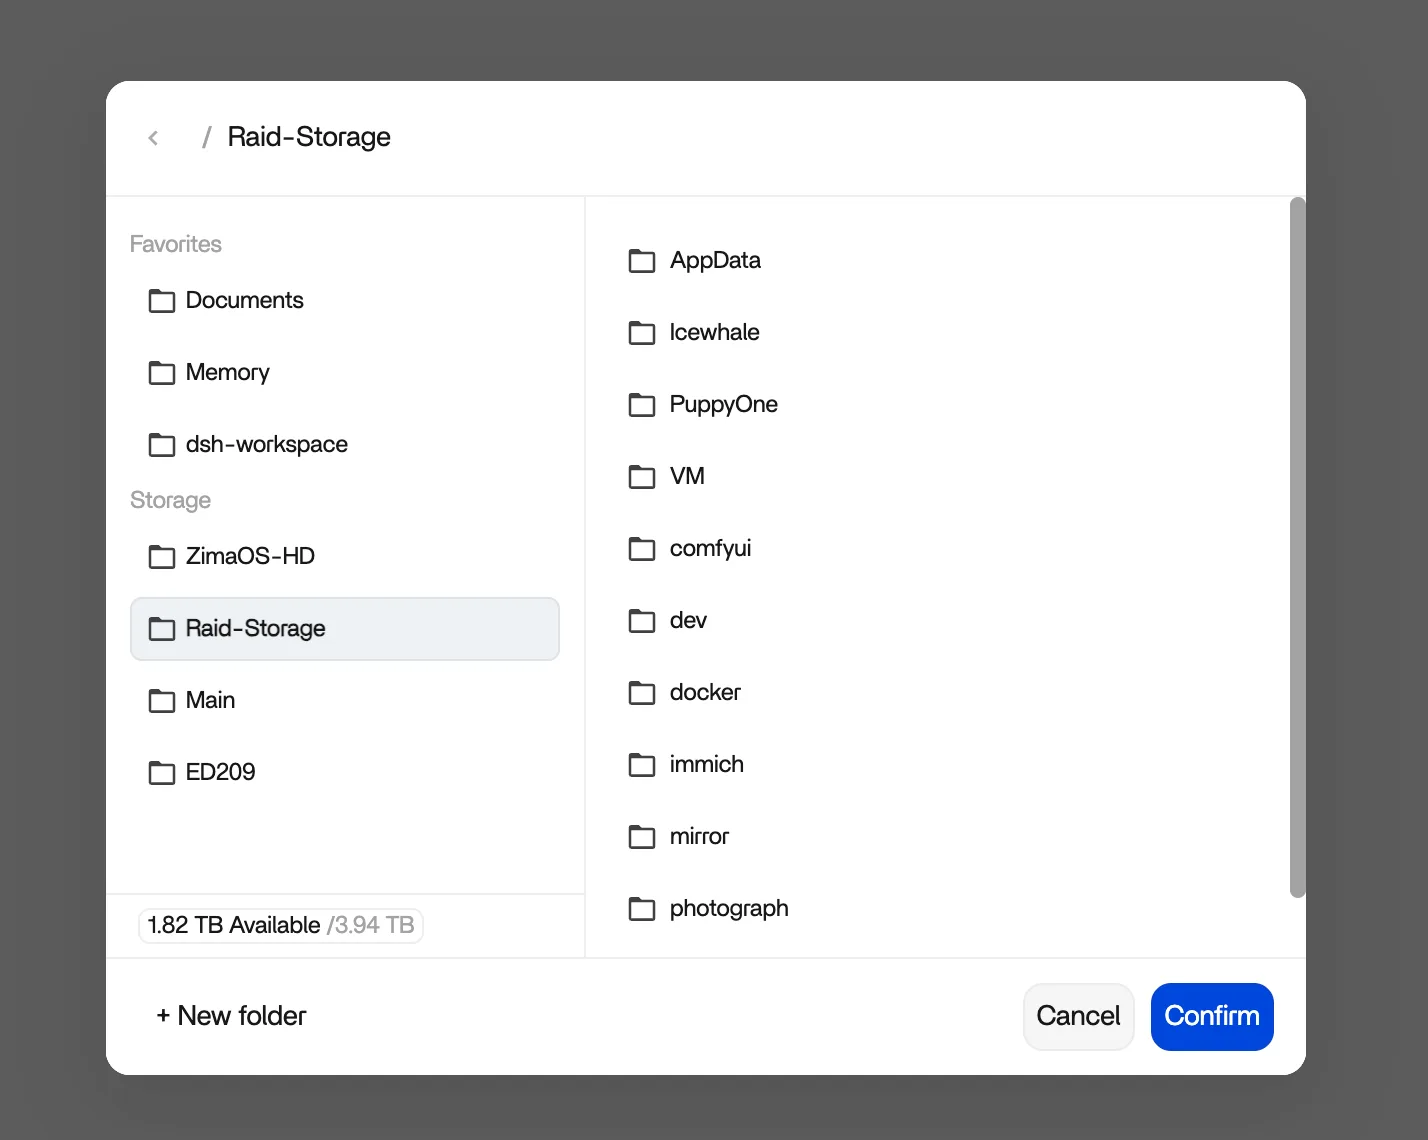
- Choose the new storage space and click Next.
Confirm how conflicts are handled. When a file already exists at the destination, pick what happens: skip it, overwrite it, or keep both. Also choose whether the original files stay on the old drive or are removed after a verified migration. Then check the acknowledgment box and click Start Migration.
Progress shows full screen, and no other operations can be performed during migration.
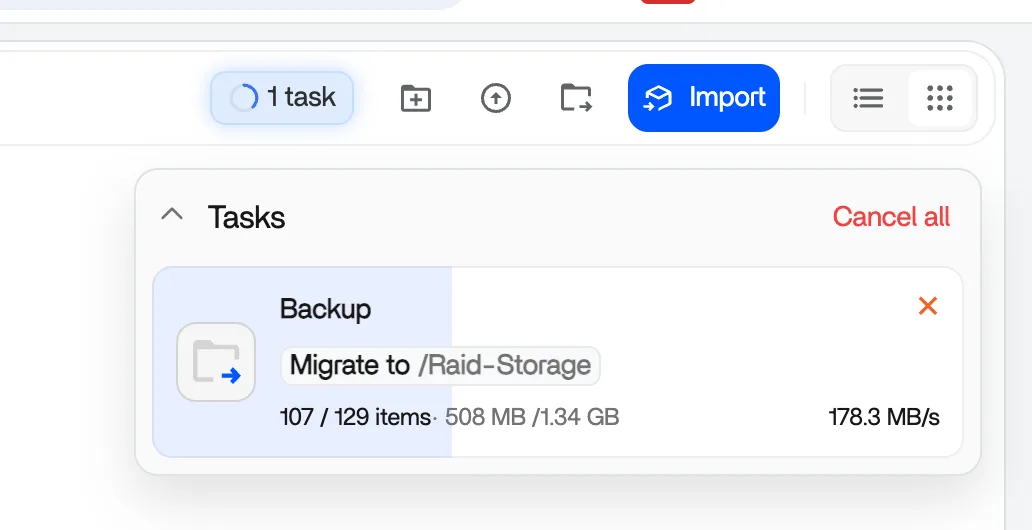
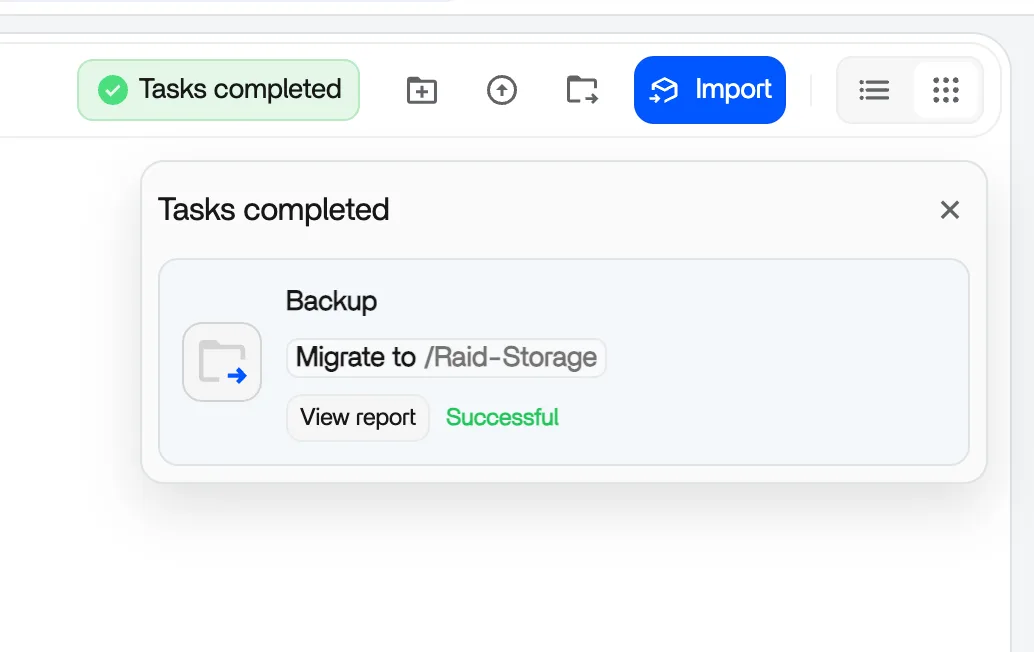
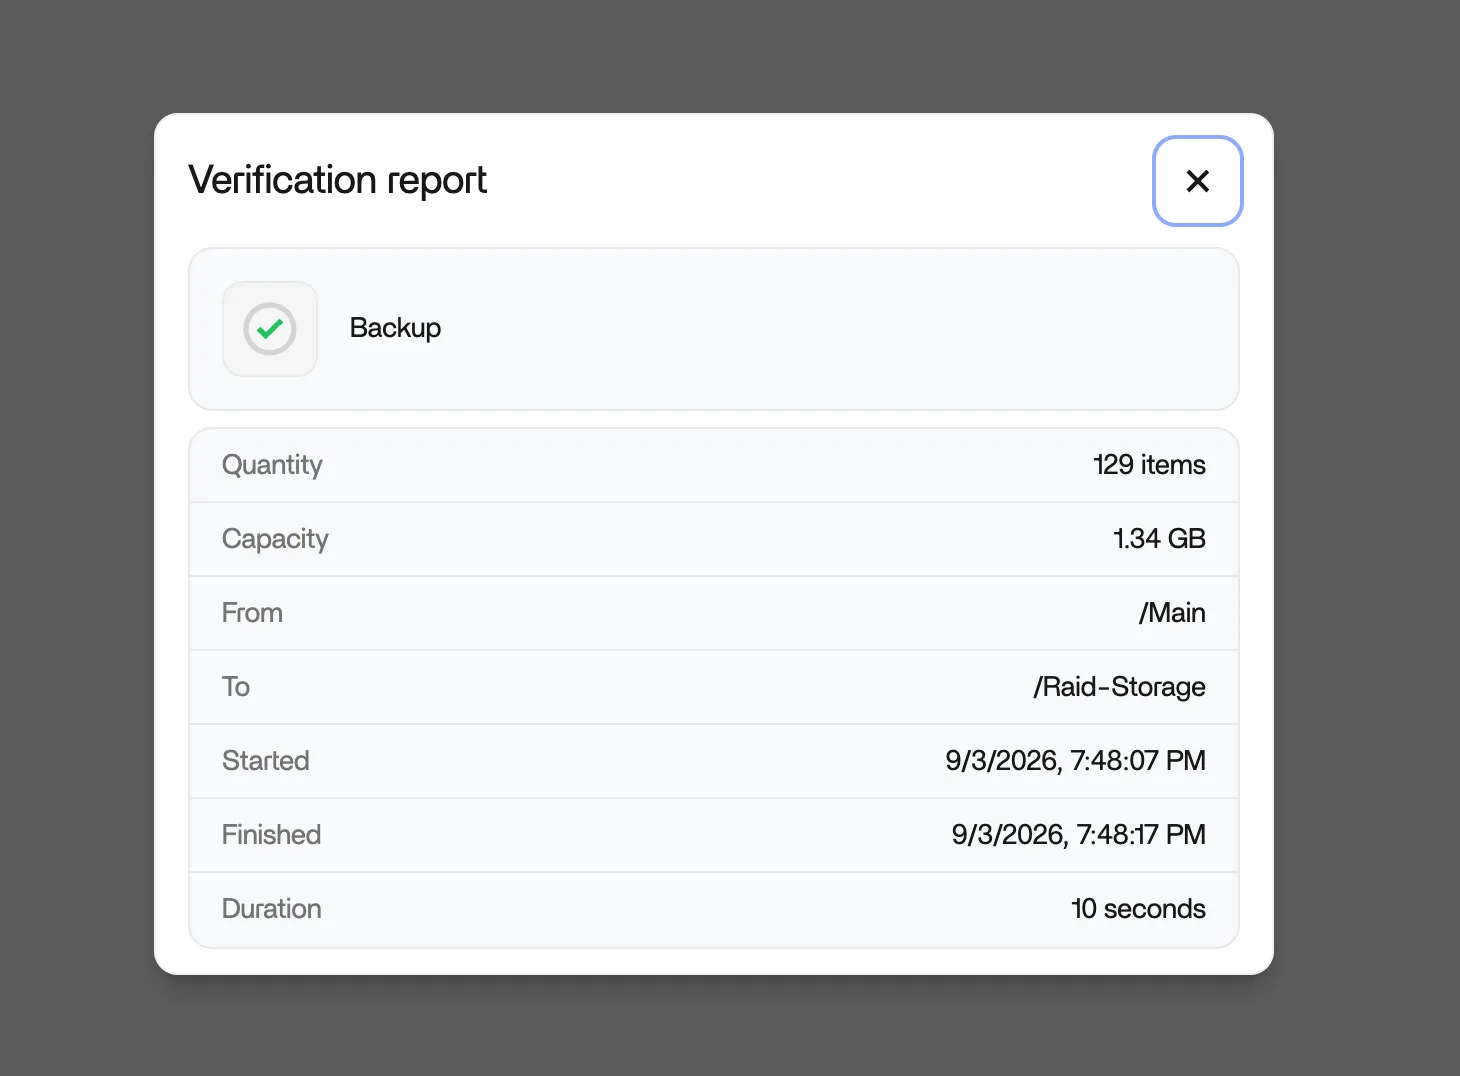
- When it finishes, a popup shows the migration details. For large migrations, the tool provides a full report of the results.
Limitations
The tool migrates the three categories above. System partitions and data outside those categories are not part of it.
Related
- App Storage Paths — app-level moves and where app data lives
- Storage Setup — plan your storage spaces
- Connect Another NAS — data moving between devices goes through the Files app instead
- 3-2-1 Backup Strategy — the offsite and second-device rings of your plan