
Backing up photos is not a decision people struggle with. The struggle arrives years later, when the phone drawer holds three old devices and the cloud bill has quietly grown with the library. Your own device writes a different ending: photos from every phone you have owned gather in one library, and the whole story sits in one place.
Before You Start
Your ZimaOS device needs to be powered on and connected to the network. For the first connection, your phone and the device should be on the same Wi-Fi. Have your ZimaOS account and password ready. If the device is fresh out of the box, follow Get Started first.
Install ZimaClient
Get ZimaClient for iOS from the App Store, or Android from Google Play, then open it.
Sign In and Connect
- Open ZimaClient. It scans the local network and lists the NAS devices running ZimaOS that it finds.
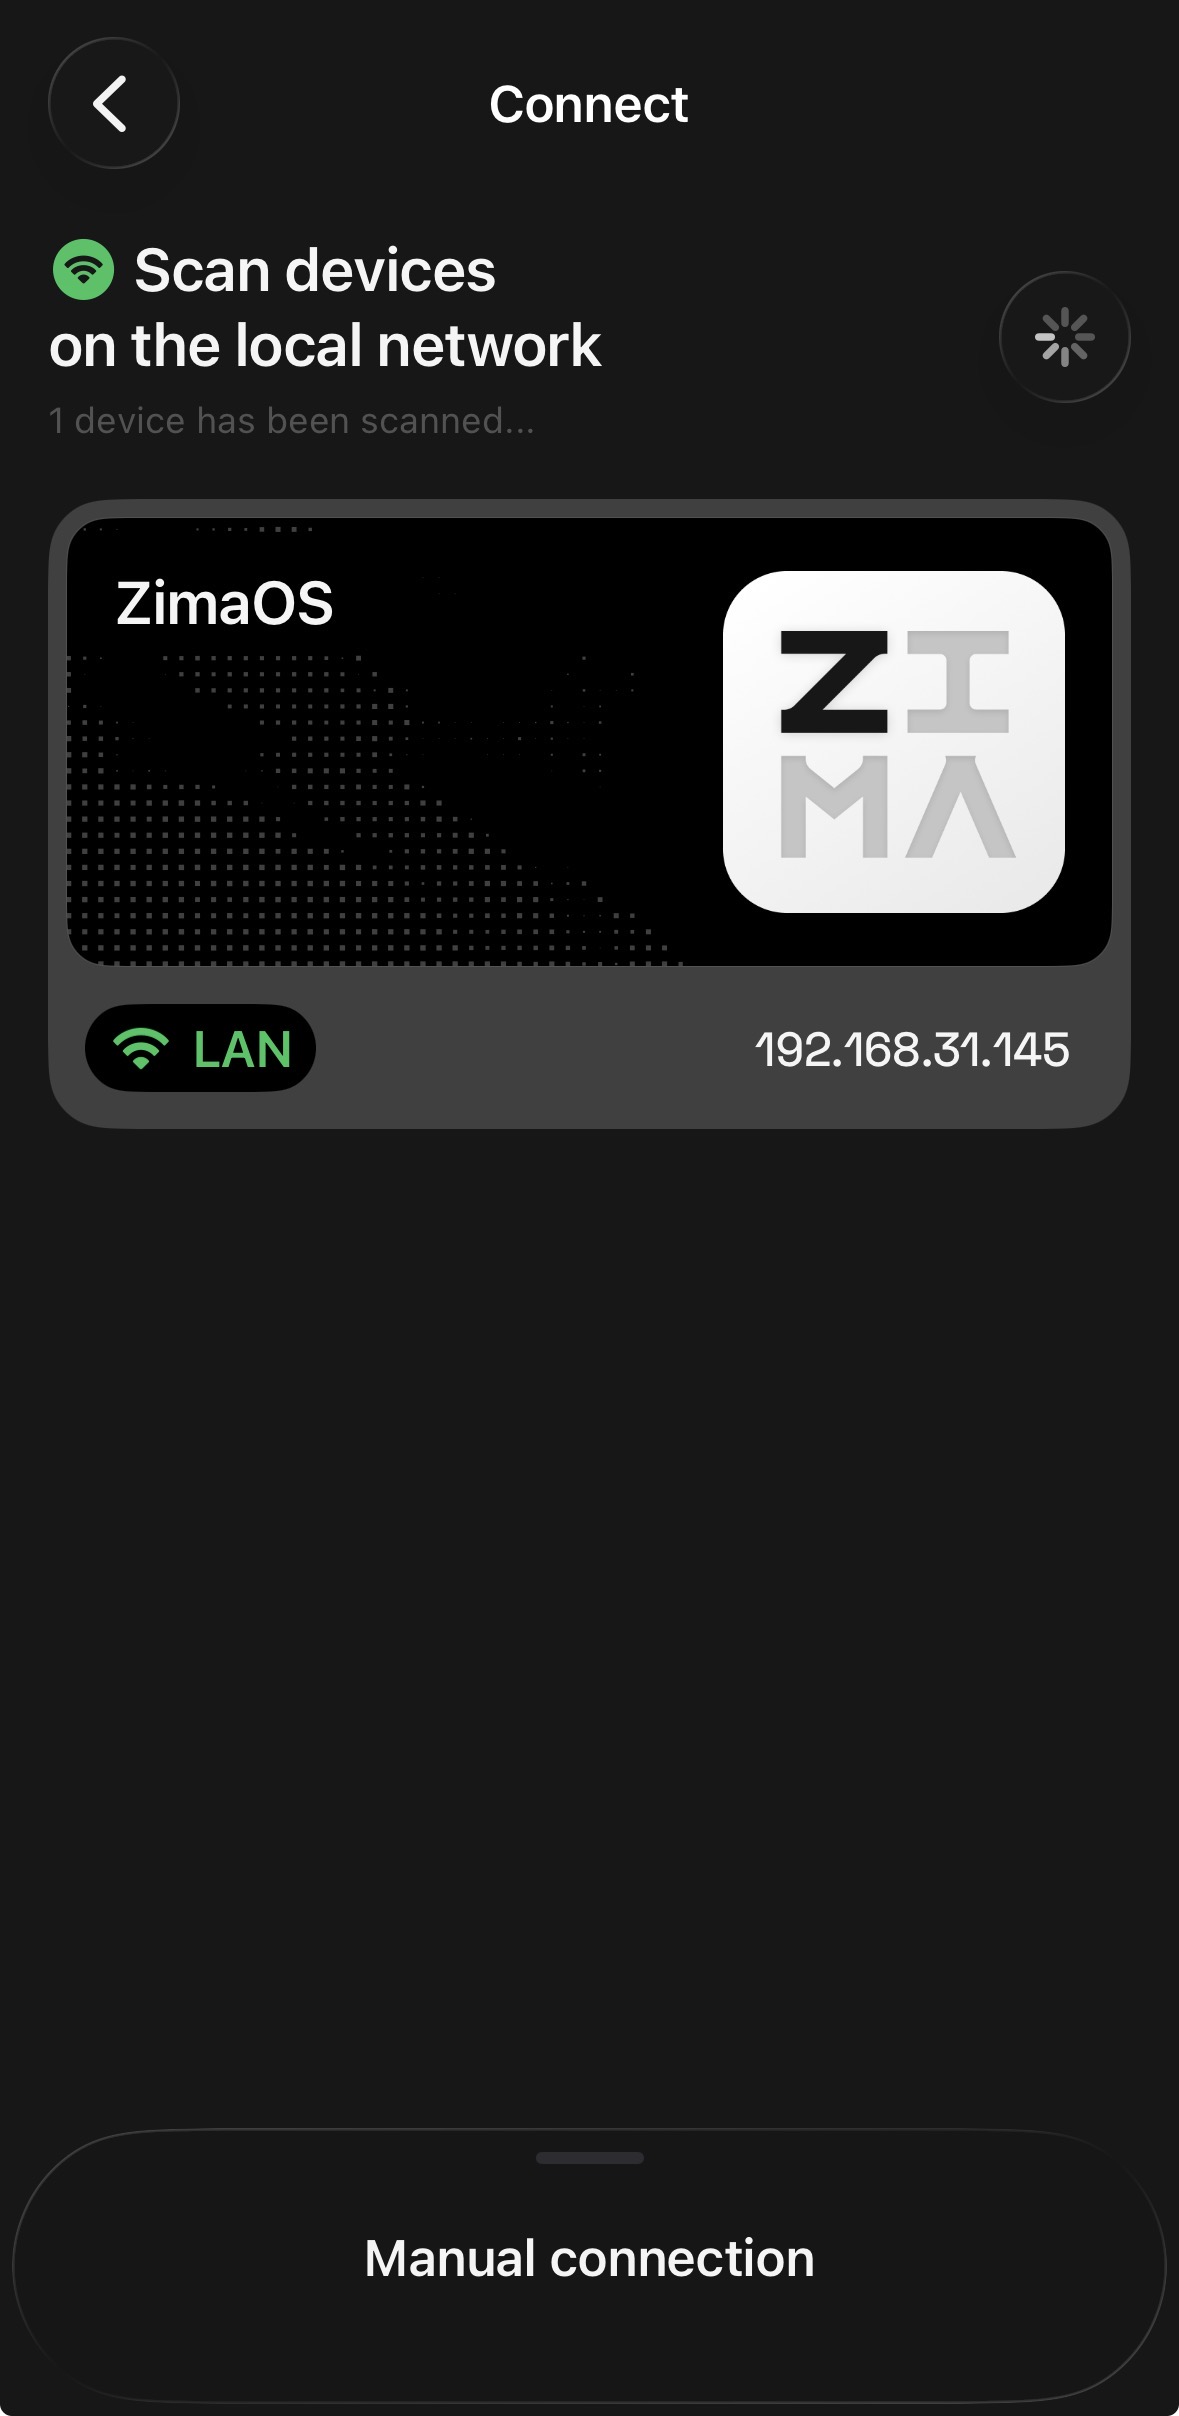
- Tap your device and sign in with your ZimaOS account.
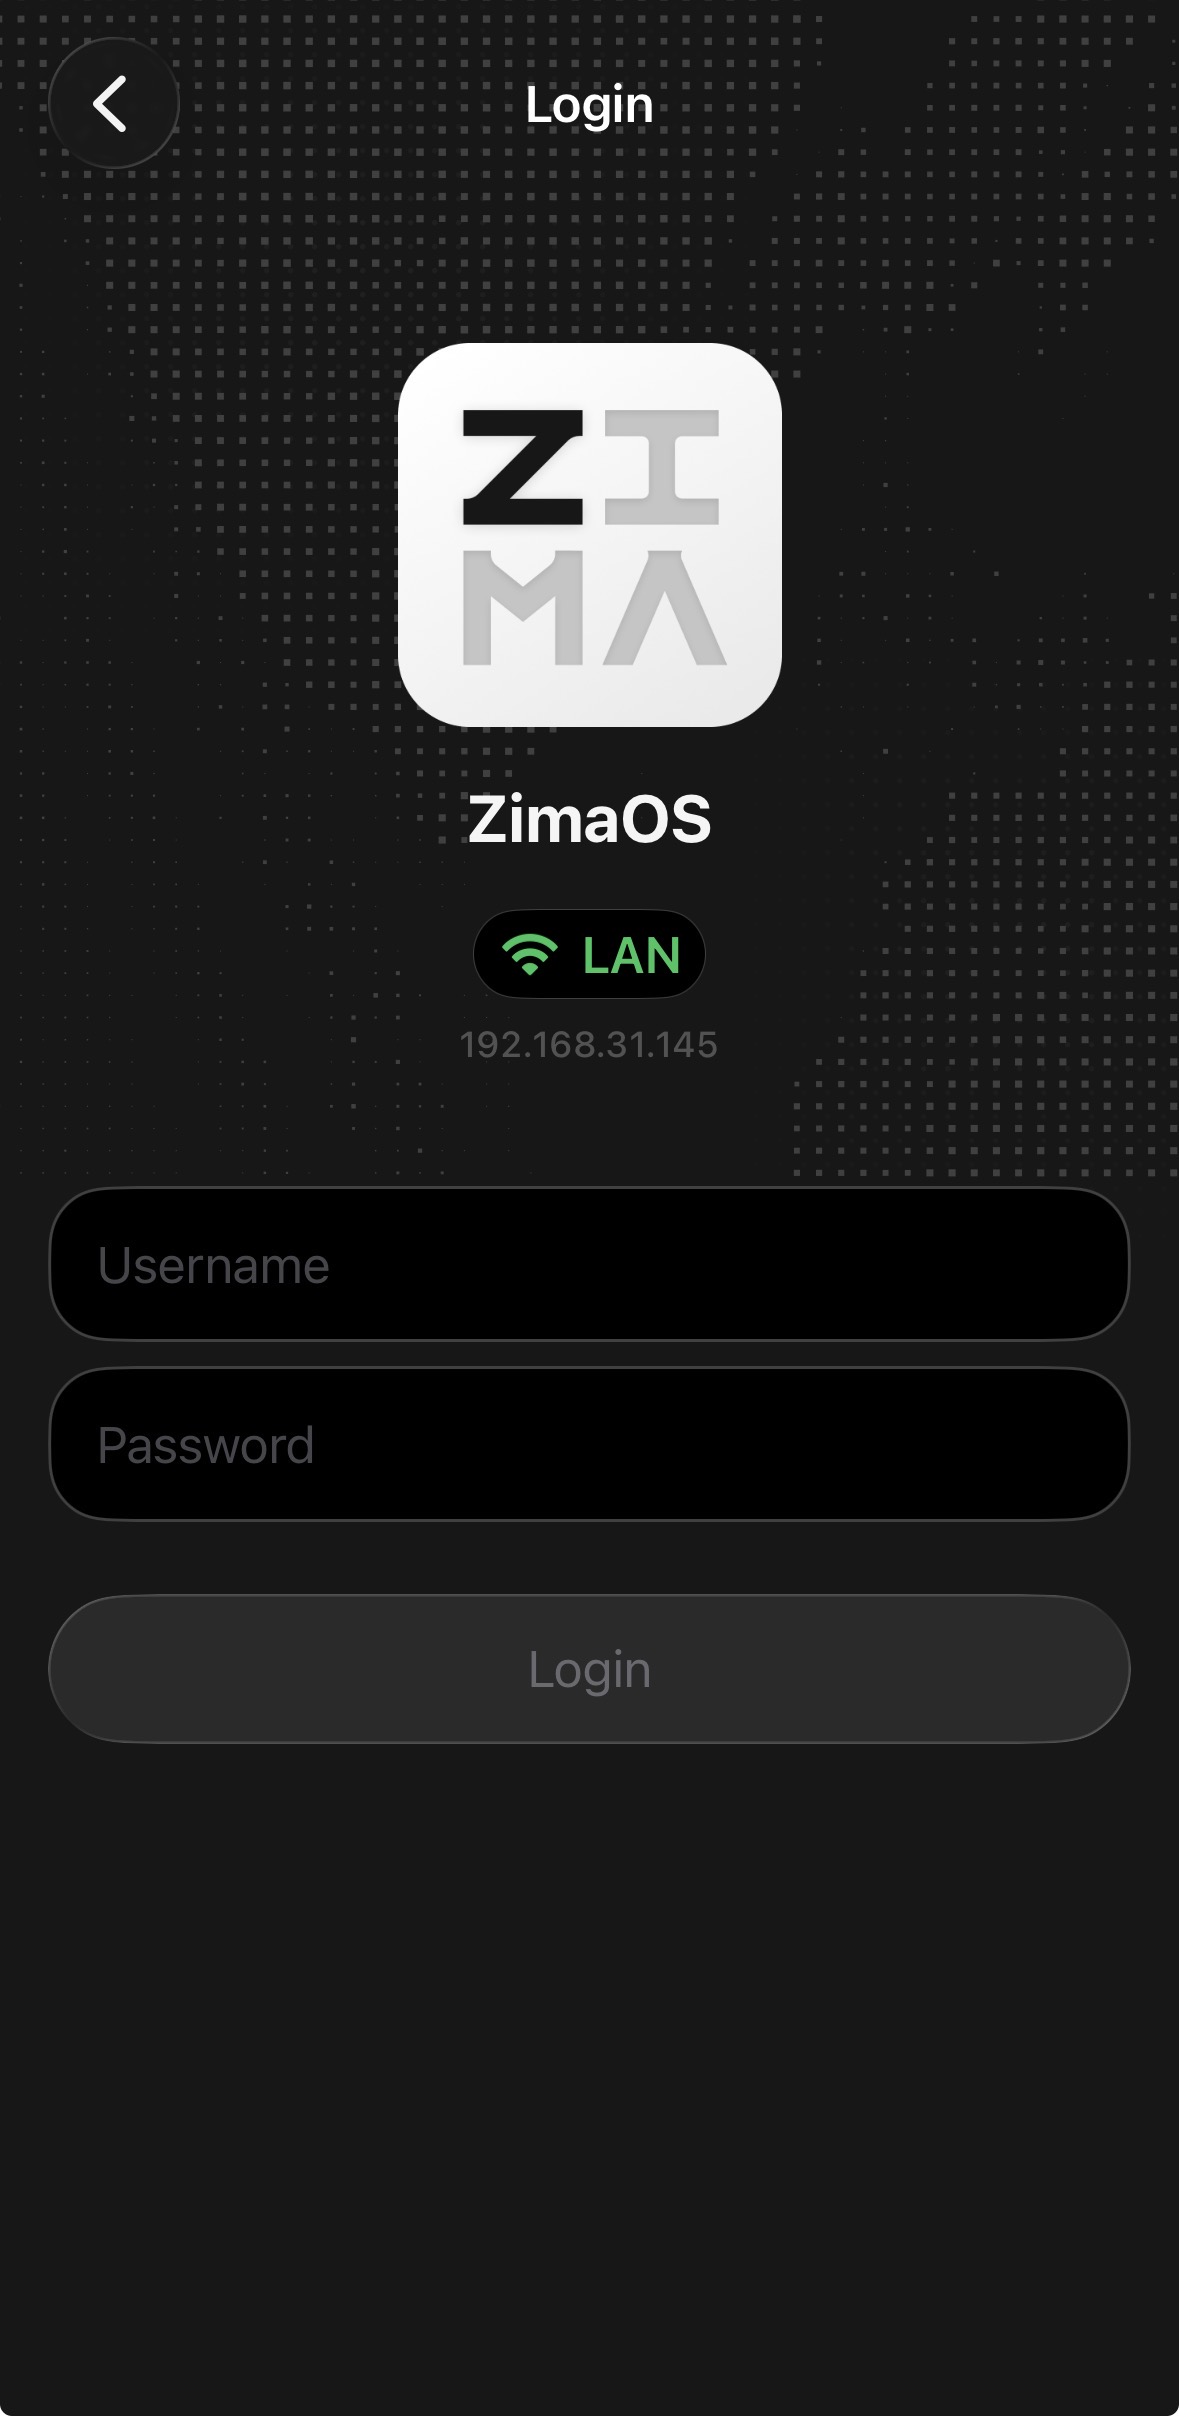
After the first sign-in, the phone is linked to the device.
Remote AccessRemote access is set up automatically, so backups keep working when you are away from home — provided you have enabled the remote access feature in Settings > Network on your ZimaOS device.
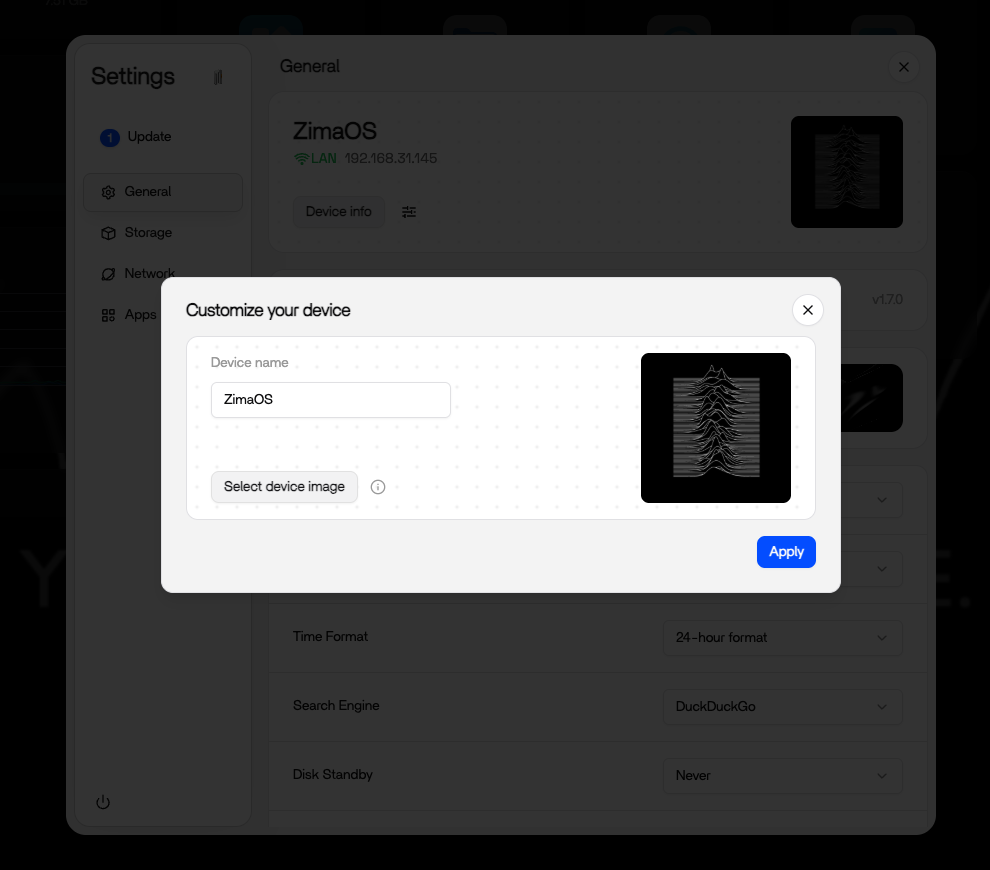
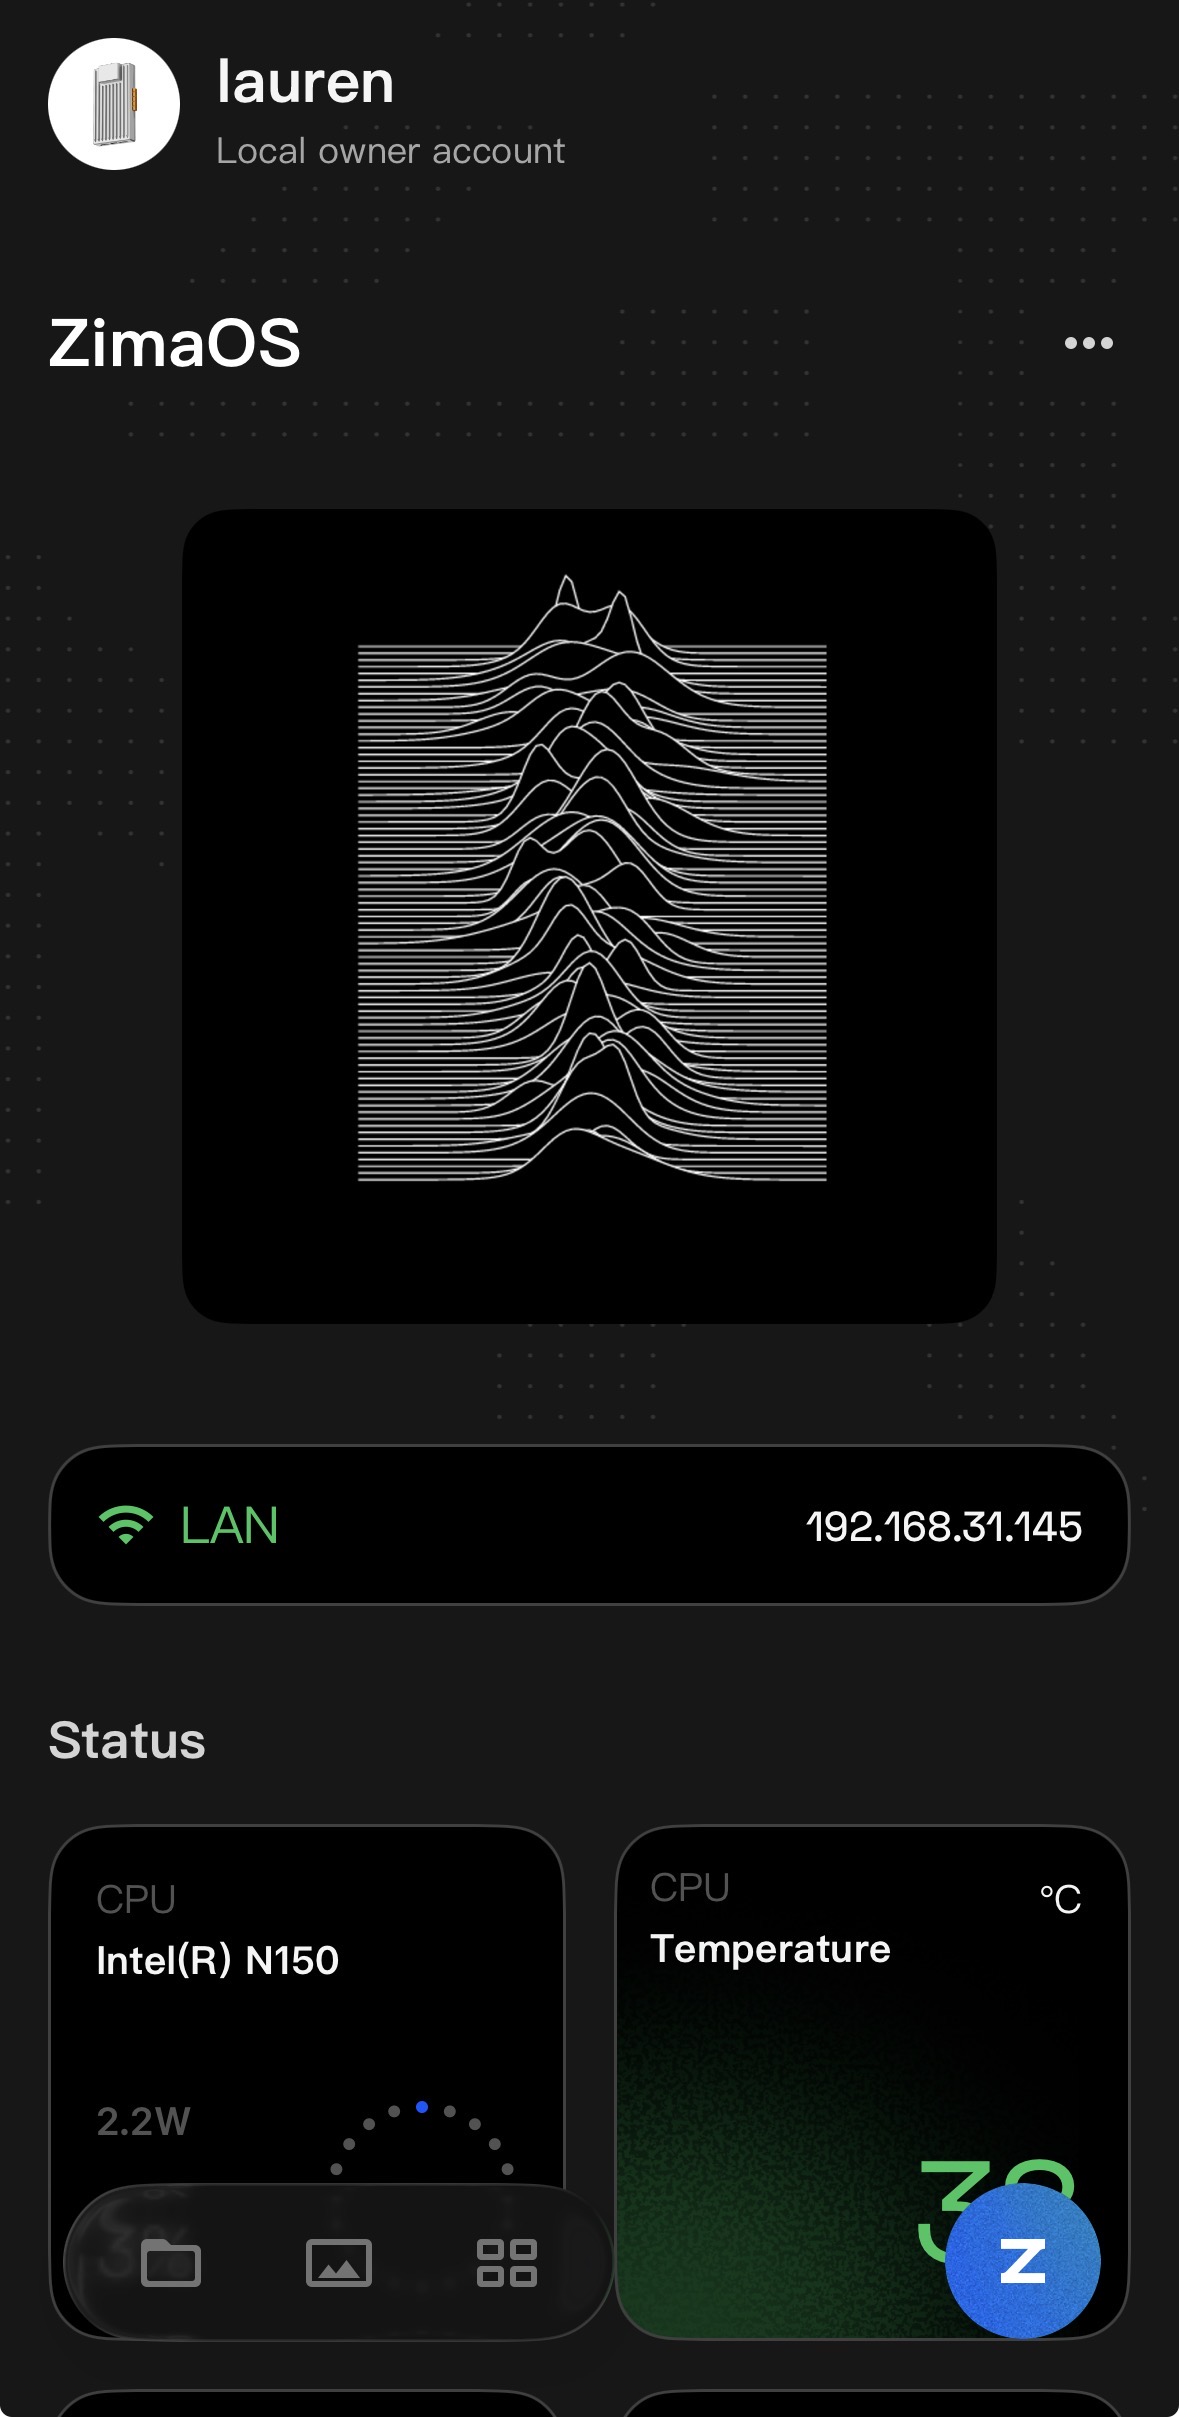
If you run more than one ZimaOS device, give each one a custom icon so your home servers are easy to tell apart at a glance. On the ZimaOS dashboard, open Settings > General and click the configure button next to Device Info. Pick icons with personality. One of ours wears the pulsar waves from a classic album cover, because a home server never stops pulsing with data.
Choose What to Back Up
Pick the albums you want from your iOS Photos library. You can select specific albums instead of the whole library, so screenshots and downloads stay out of the backup if you want them to.
Start with the backup settings, where you choose what the backup includes. Then go through your albums and pick the ones that matter.
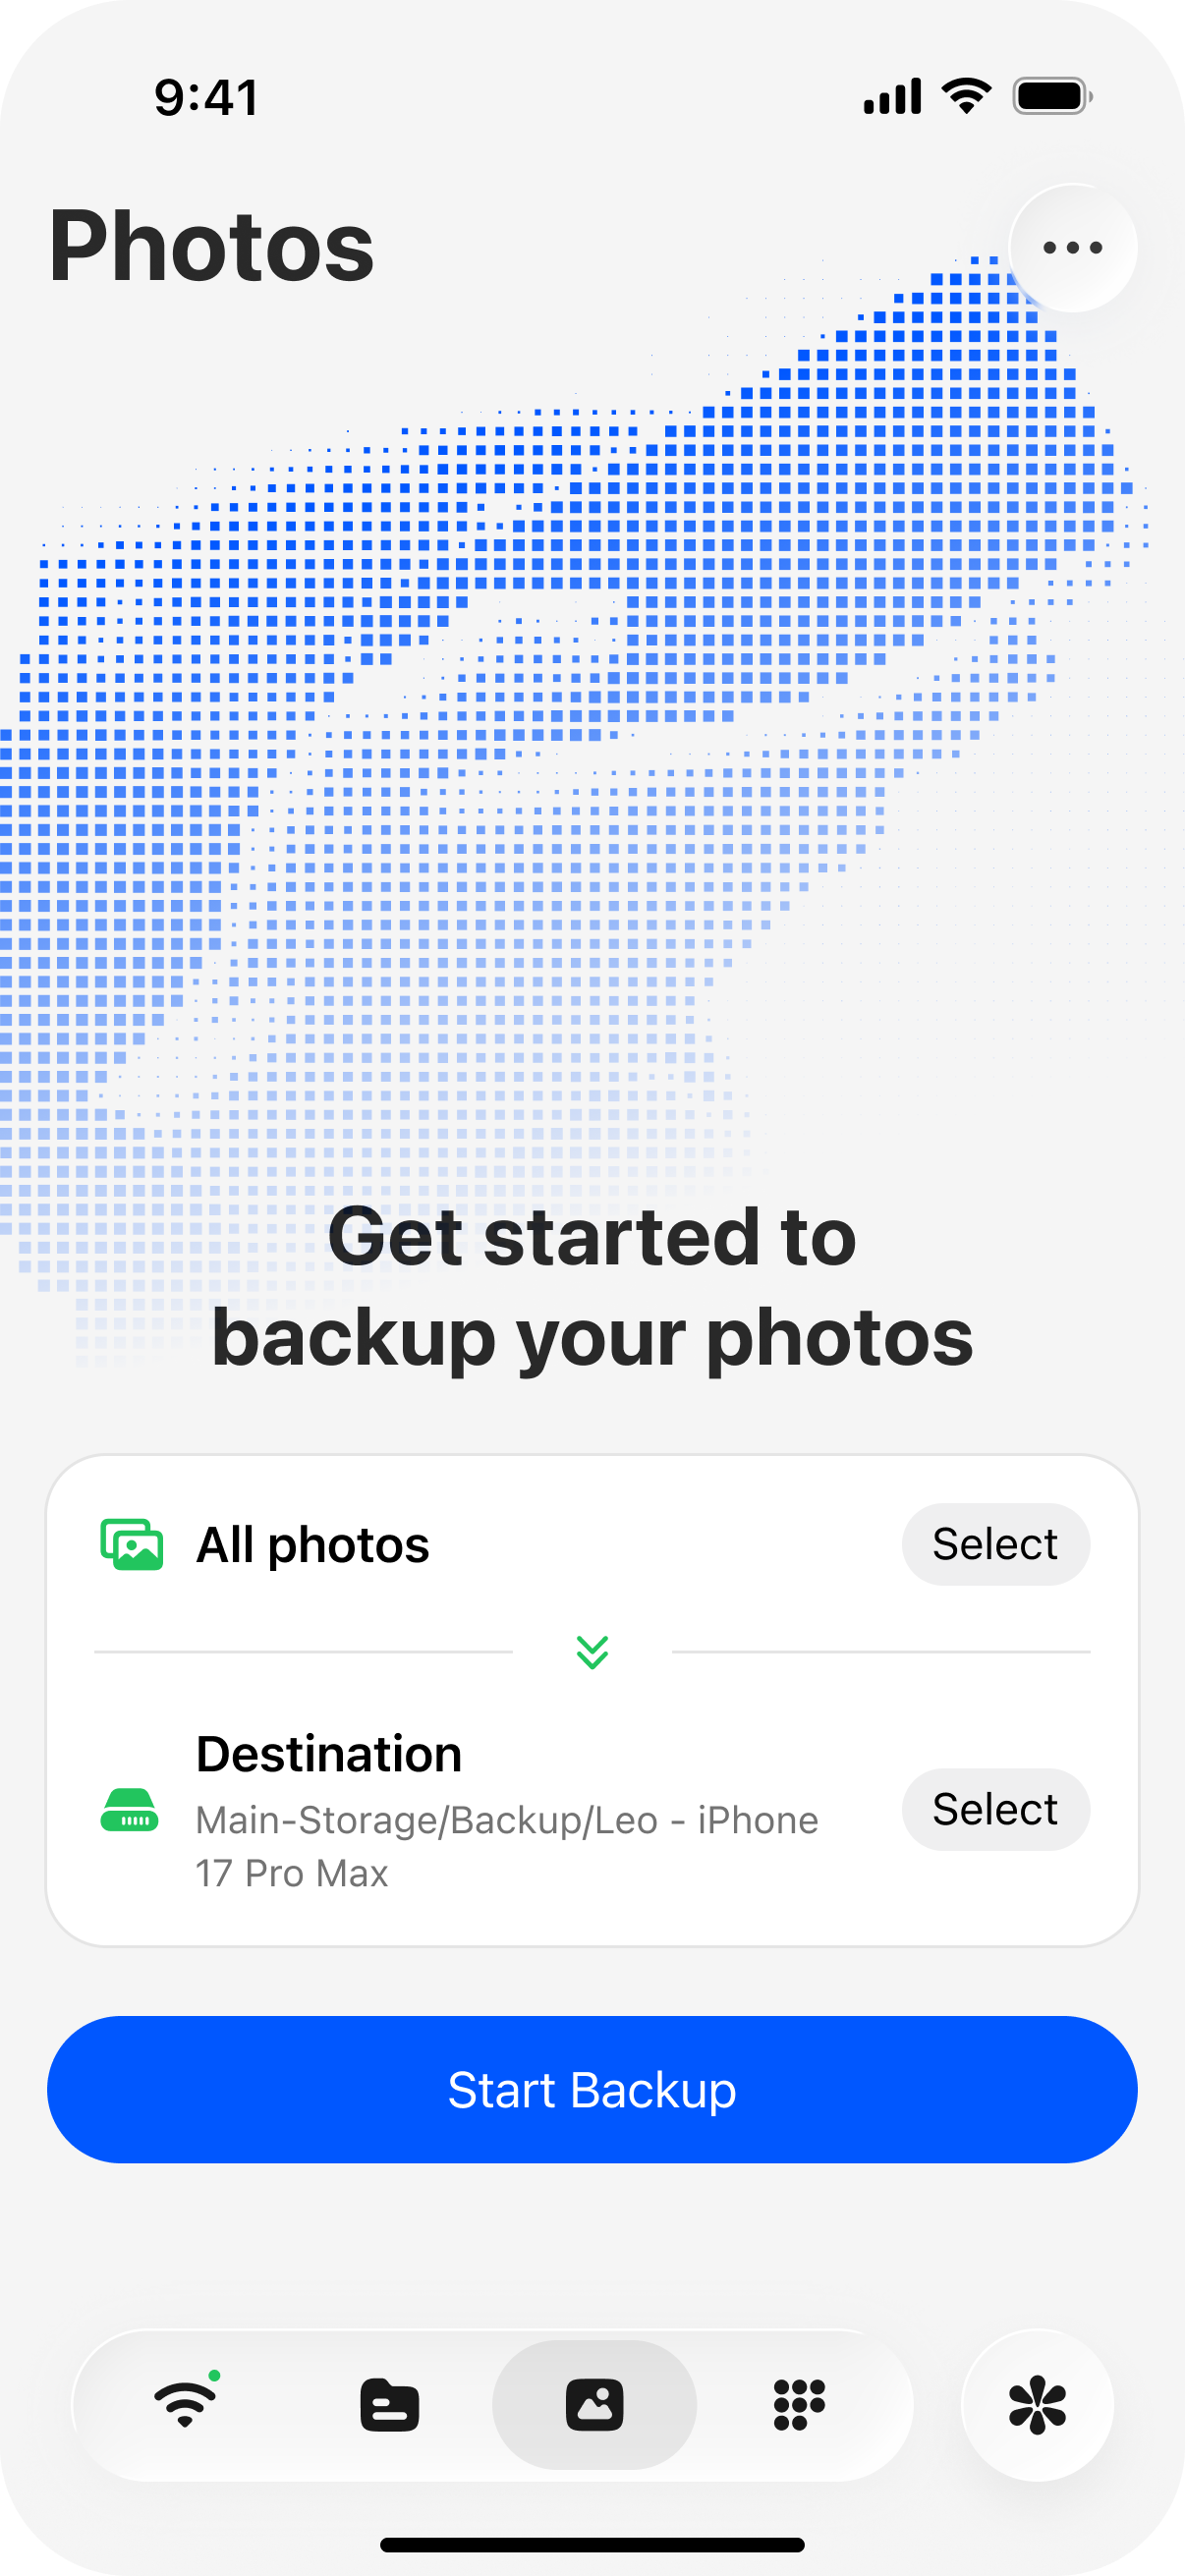
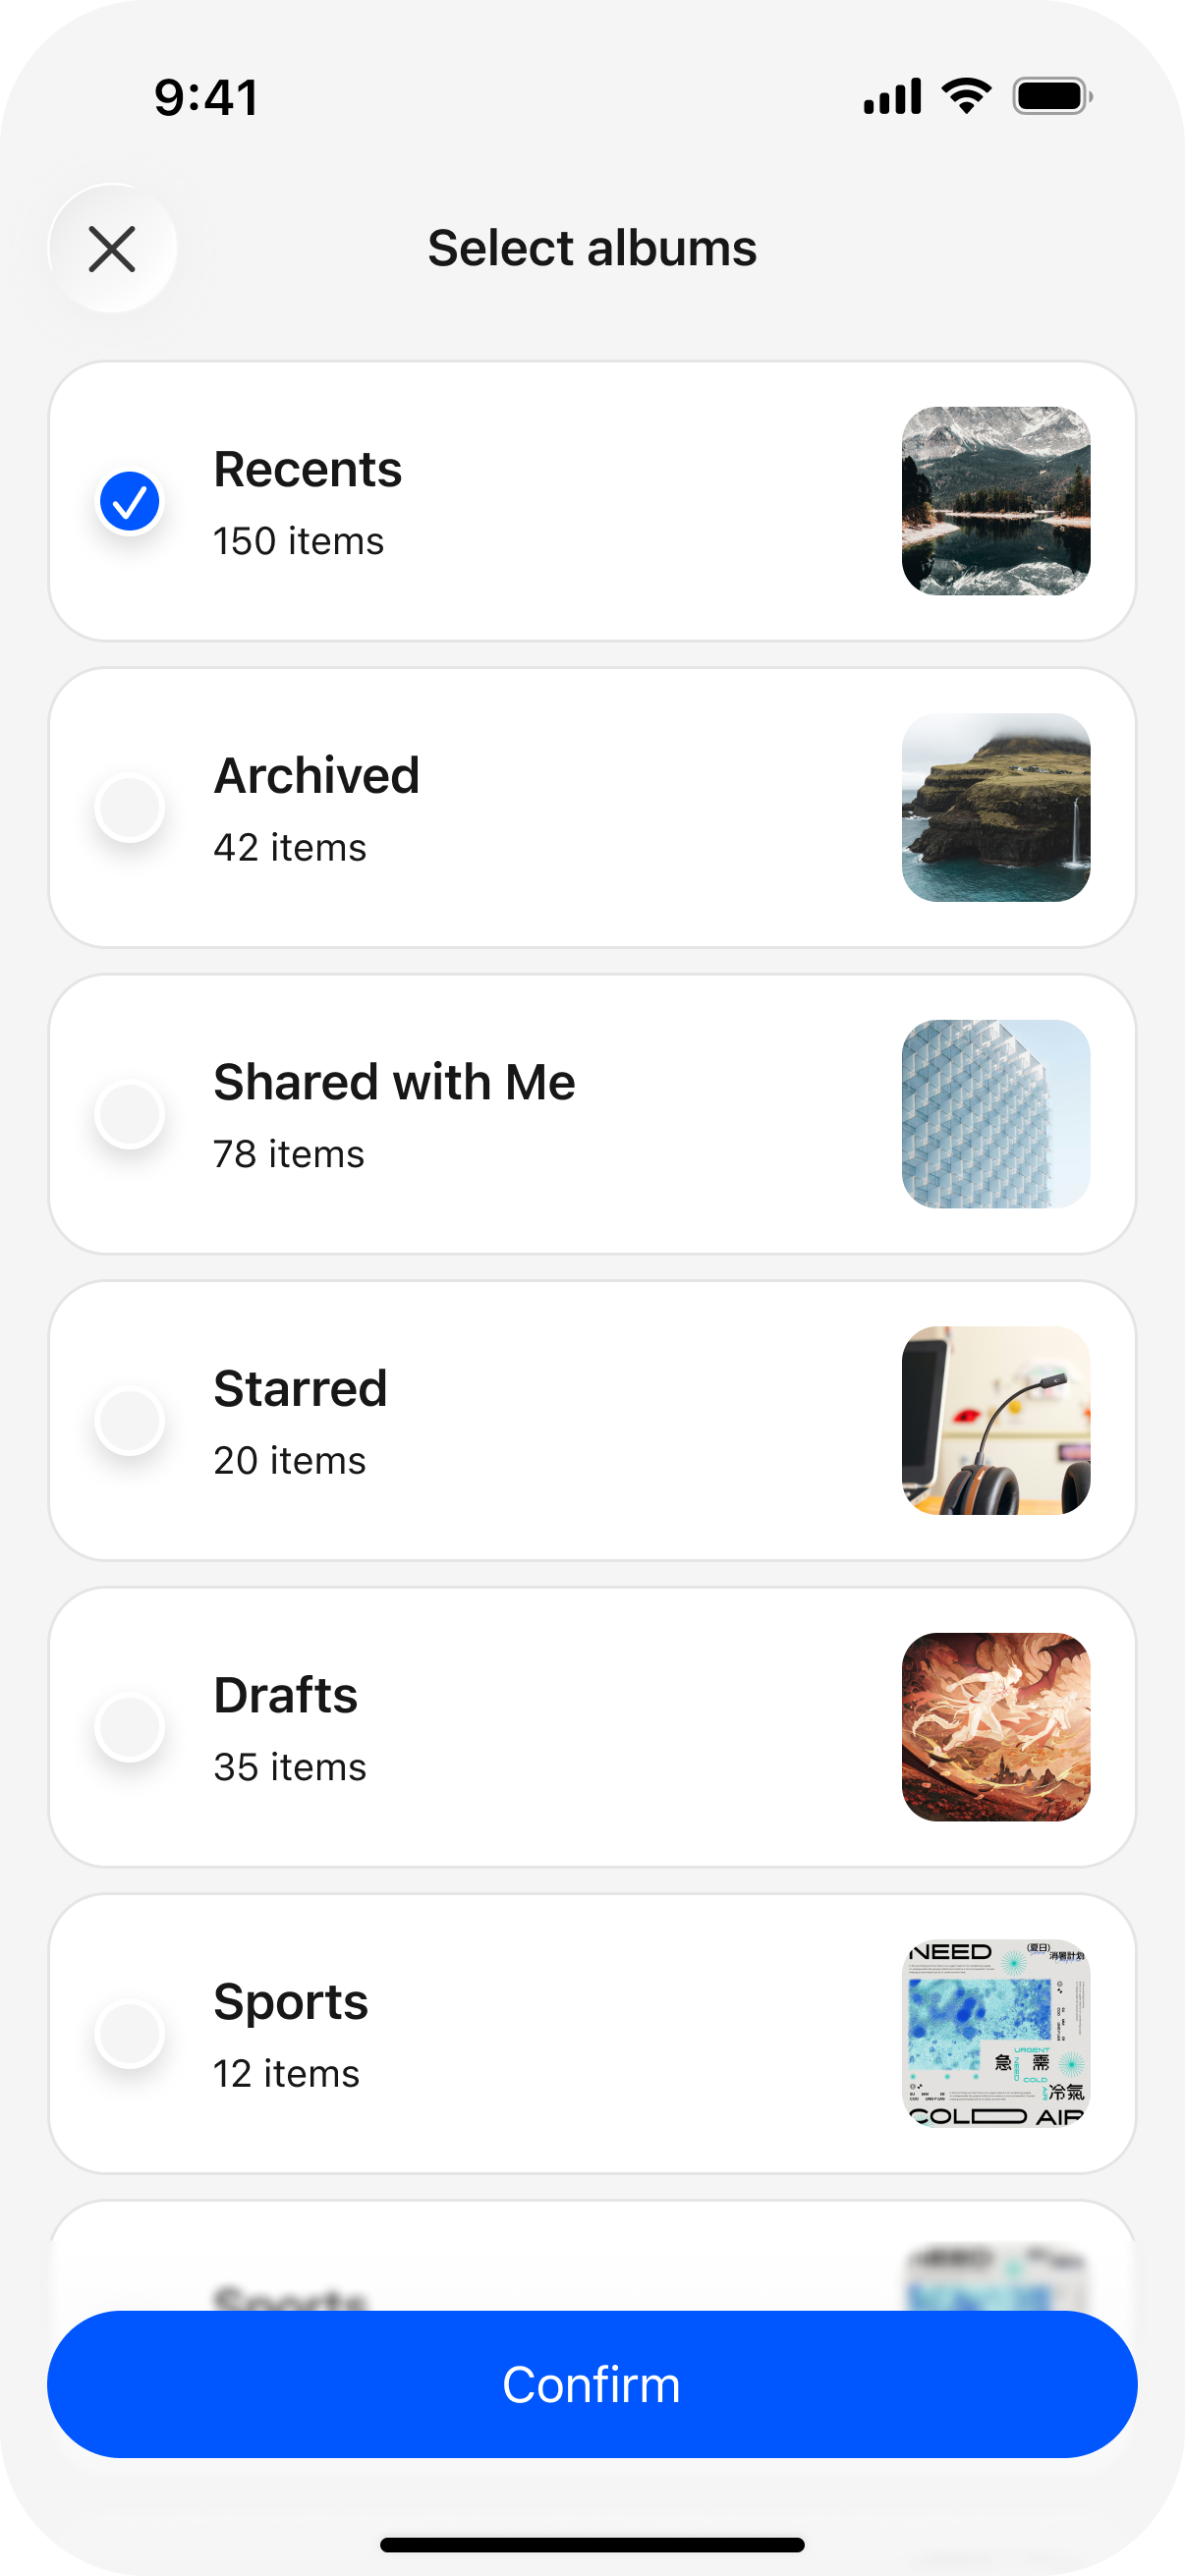
Choose the Destination
The default destination is created for you automatically. When you have a storage space of your own, point the backup there — a RAID array or a dedicated disk — instead of the ZimaOS system drive. The system drive is usually the smallest one, and photos fill it up fast. See Storage Setup for planning your storage spaces.
Start the Backup
Confirm and start. The first backup takes the longest because it moves the whole selection. Later backups only transfer what changed.
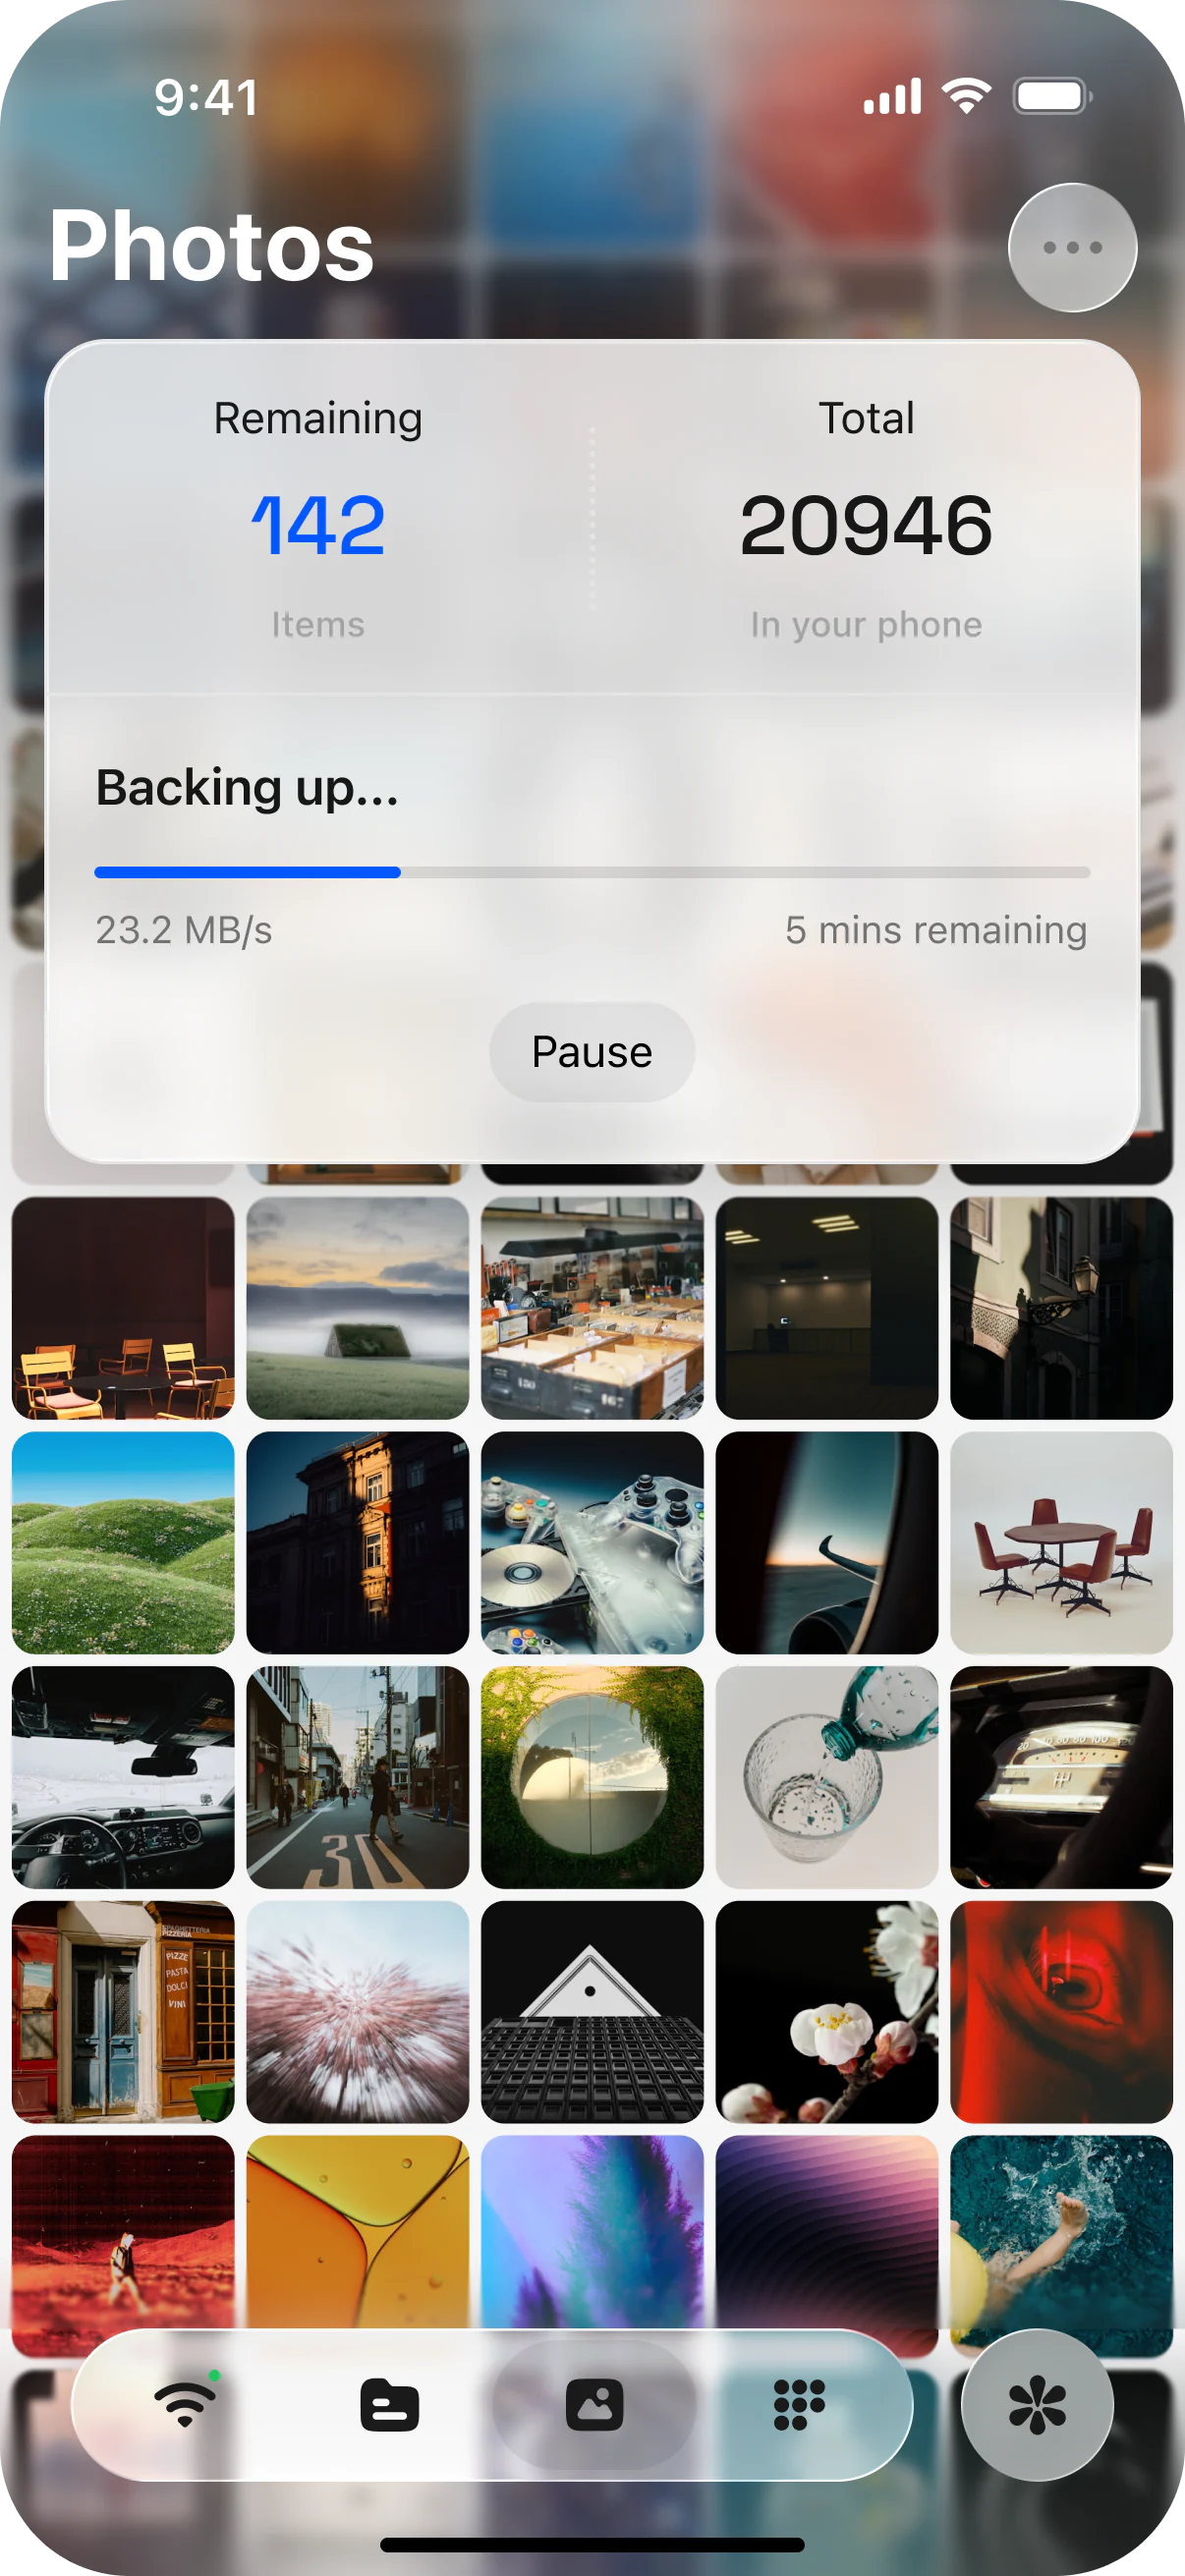
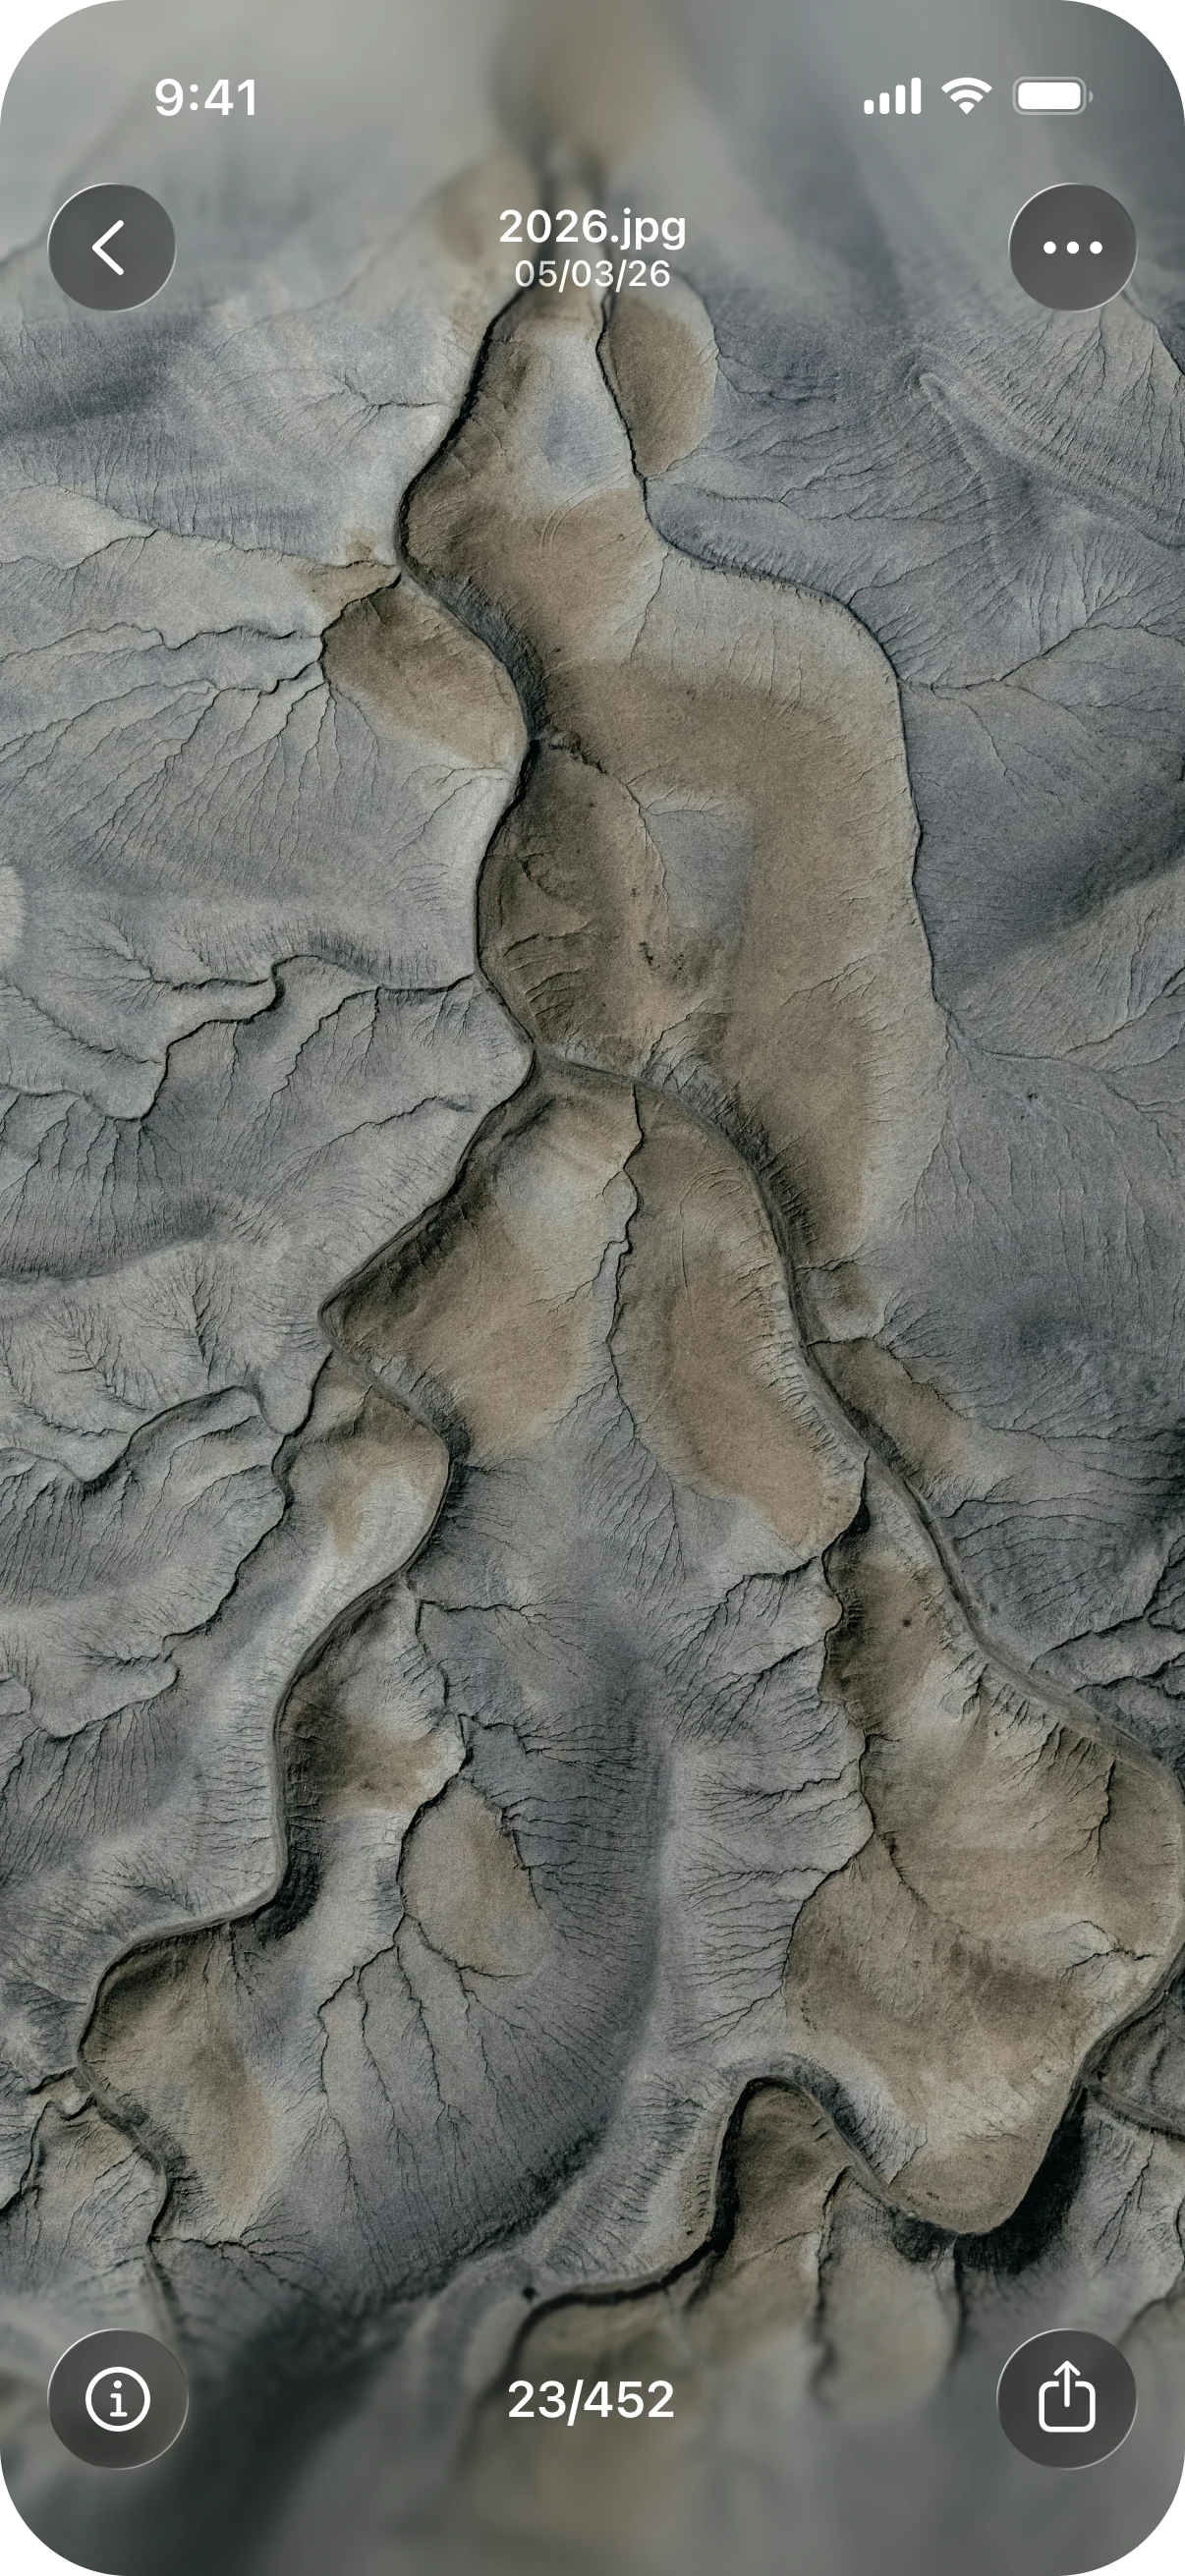
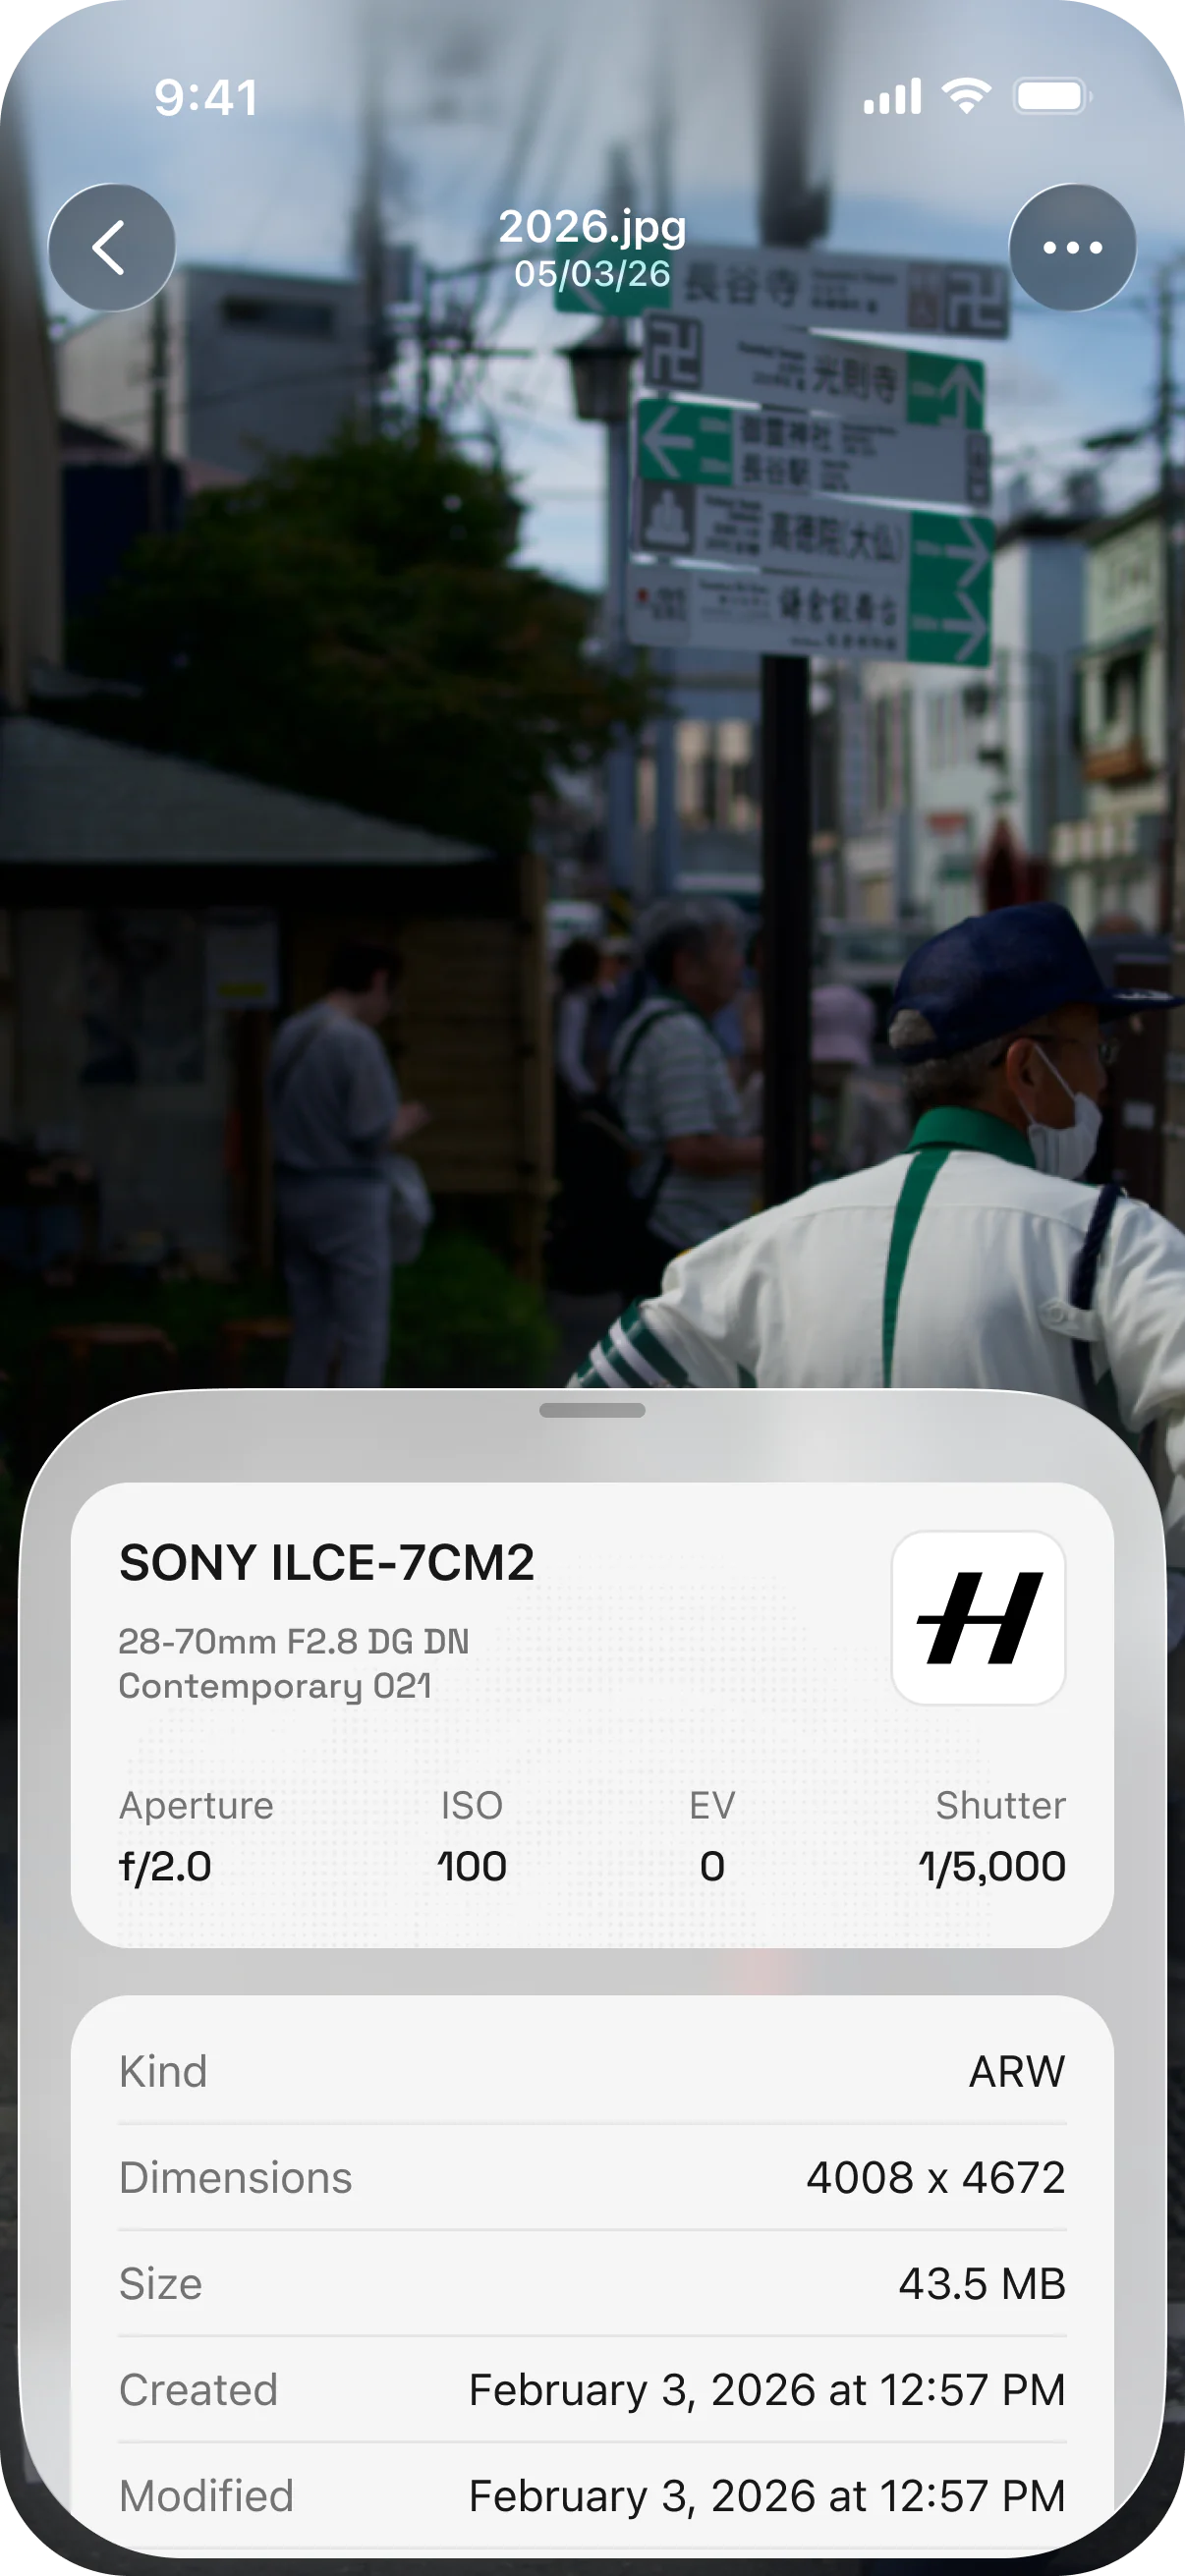
Here is what a backup looks like from the phone: the Photos Preview and a photo opened in detail.
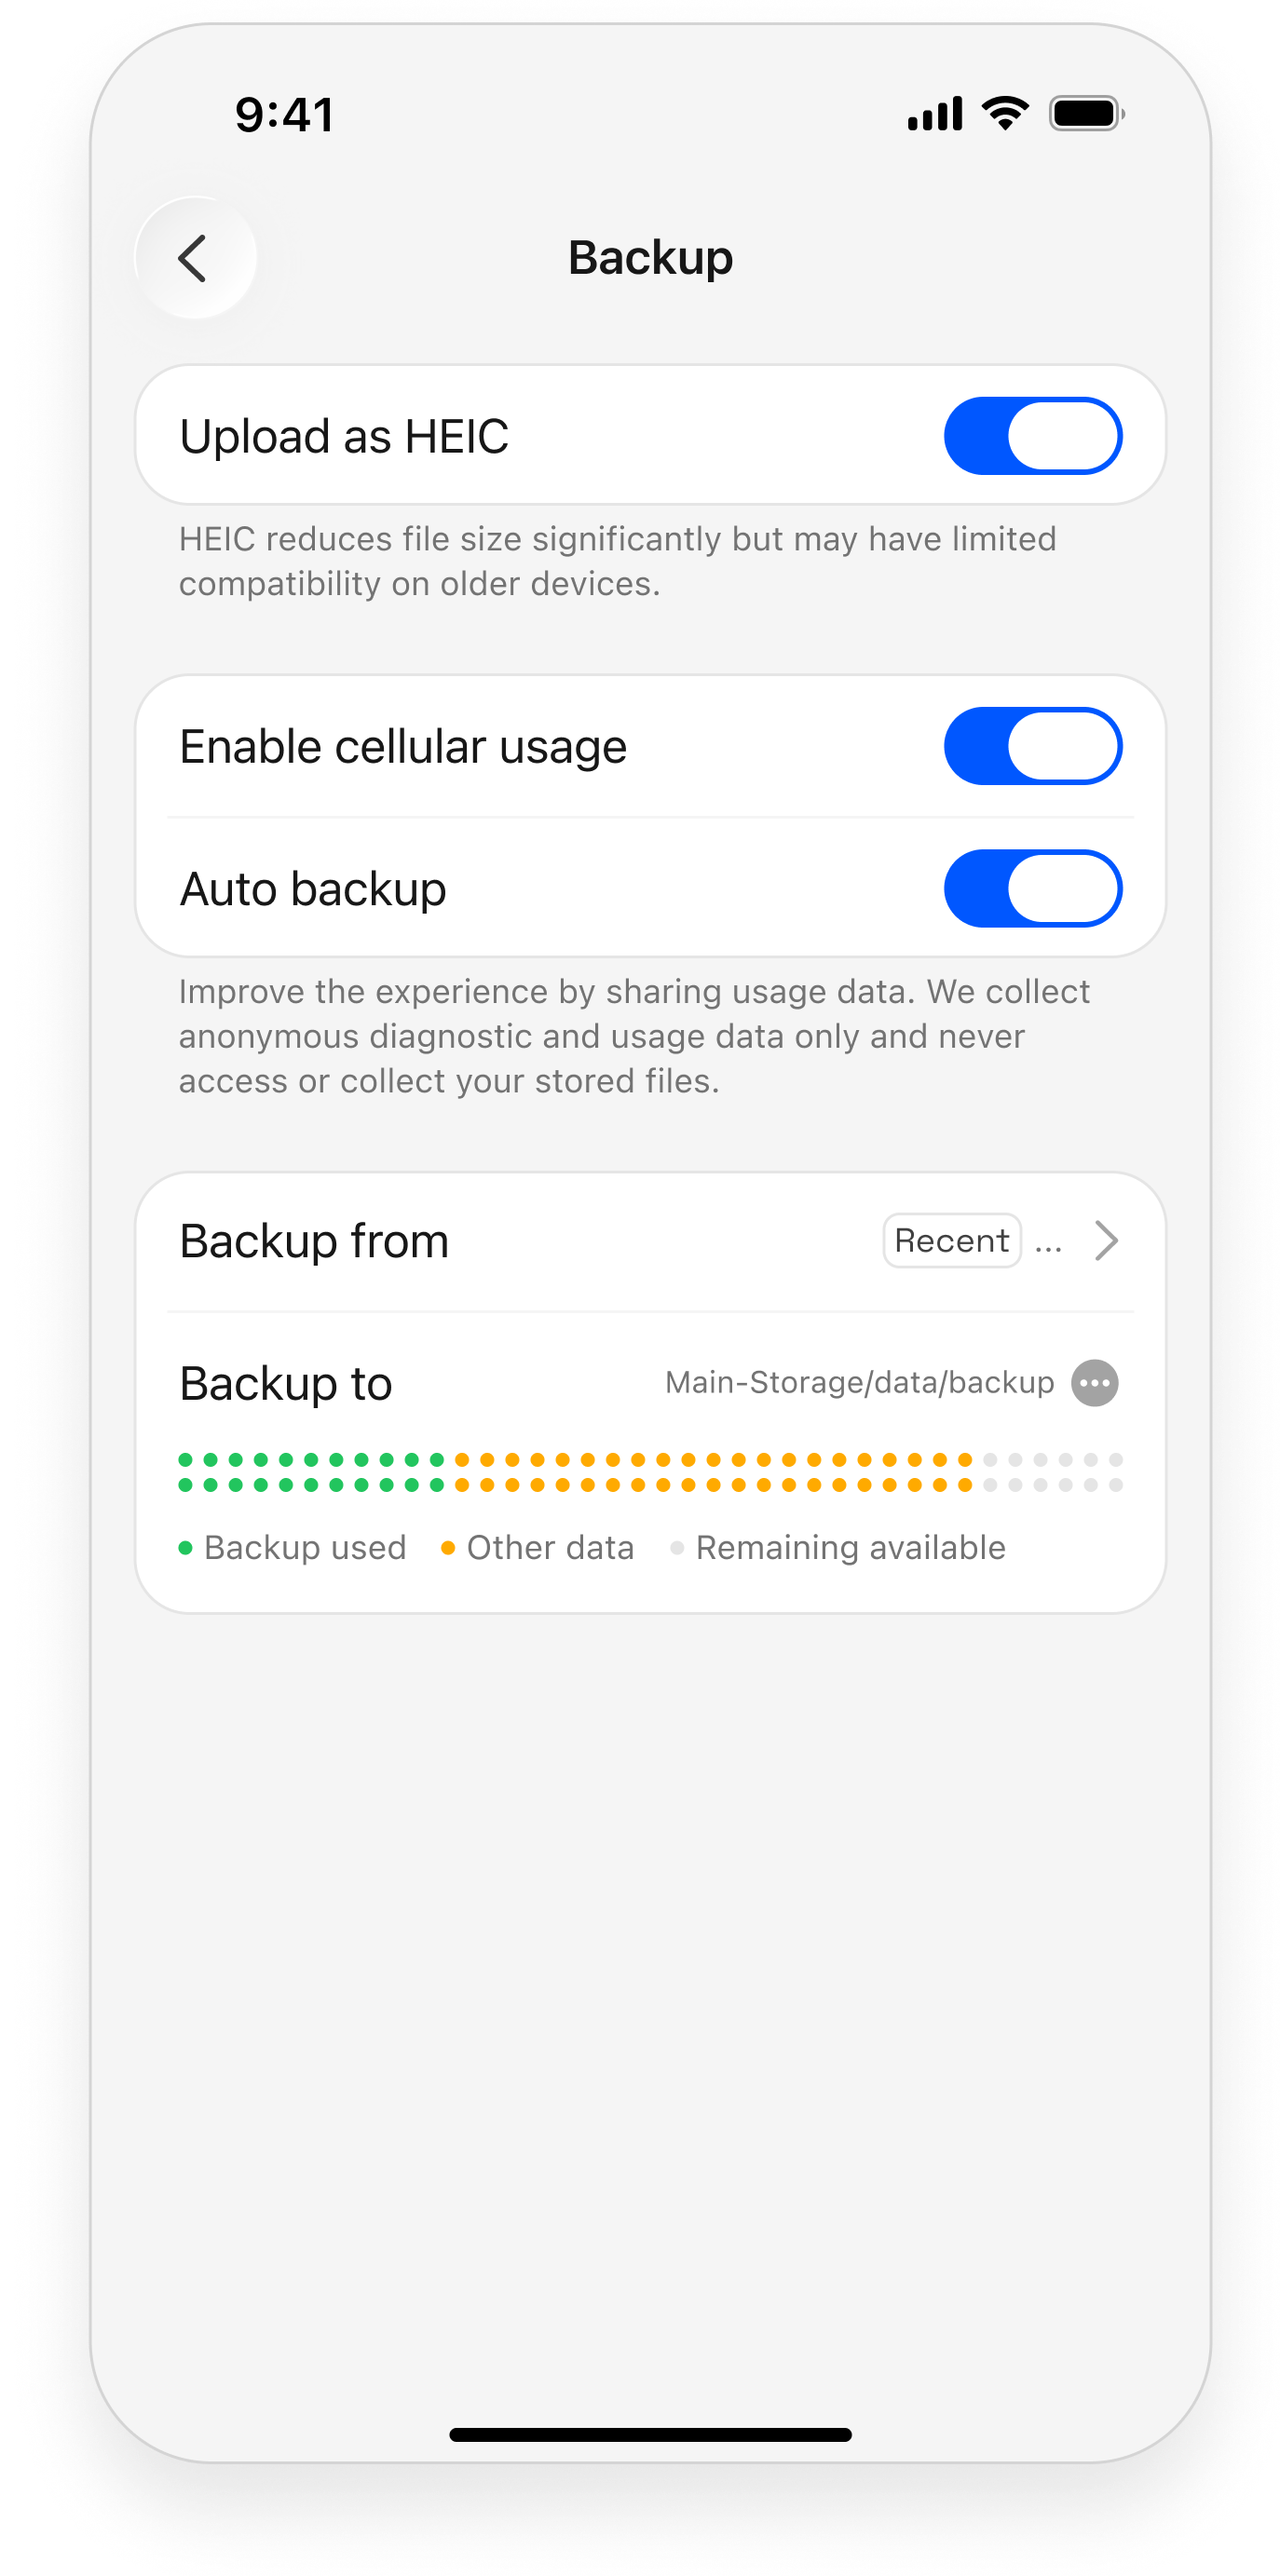
The backup options go further. Live Photos from iOS come through with their motion intact. Automatic backup and backup over cellular data are simple switches, and the destination’s available space shows right there, so you always know how much room is left.
Link a Folder
The Link a Folder option points your backup at a folder that already exists on ZimaOS. It is how content from outside your phone joins the same library.
Think of the folders you already have. Footage from a professional camera or an action camera, backups from older phones, archives copied over from an old computer. Link any of them, and the content shows up in ZimaClient on your phone, organized together with everything else you back up. One library, one place to browse it all.
Backup Speed
A phone on a healthy local network can saturate 50+ MB/s of transfer bandwidth in theory. The real number depends mostly on one thing: your Wi-Fi.
Wi-Fi quality is the biggest lever. A 5 GHz connection close to the router is dramatically faster than 2.4 GHz from another room. Distance, walls, and a crowded channel all cut into speed. Being near the router on 5 GHz beats everything else you can configure.
Everything else is rarely the bottleneck. The device’s network port is faster than your phone’s Wi-Fi path, so it never holds things back. Hard drives read and write at 100 MB/s or more, comfortably above what a phone link can push. The phone’s own performance is not a factor in practice.
ZimaOS Small-File OptimizationPhoto libraries are mostly small files, and ZimaOS is built for exactly that. Batches of screenshots, short clips, and bursts transfer as smoothly as big videos thanks to deep small-file optimization on the receiving side.
The practical takeaway: for the first big backup, put the phone next to the router and let it run.
Practical Tips
- Run the first big backup on Wi-Fi instead of cellular to avoid data caps.
- Before you switch phones, open ZimaClient once and let it finish a final backup.
- Each family member signs in with their own ZimaOS account, so everyone’s photos stay in their own library.
- If the backup stalls, moving closer to the router fixes most cases.
Next
- Computer Backup — bring your laptop in too
- Photos — browse the library once it is in
- 3-2-1 Backup Strategy — one backup is not a plan