
The same backup that keeps your phone safe works for your computer. Install the desktop client, sign in once, and the folders you care about keep landing on your own device.
Before You Start
Your ZimaOS device needs to be powered on and connected to the network. For the first connection, your computer and the device should be on the same network. Have your ZimaOS account and password ready. If the device is fresh out of the box, follow Get Started first.
Install ZimaClient
Download ZimaClient for Windows or macOS and open it.
Sign In and Connect
- Open ZimaClient. It scans the local network and lists the NAS devices running ZimaOS that it finds. Select yours and click to connect.
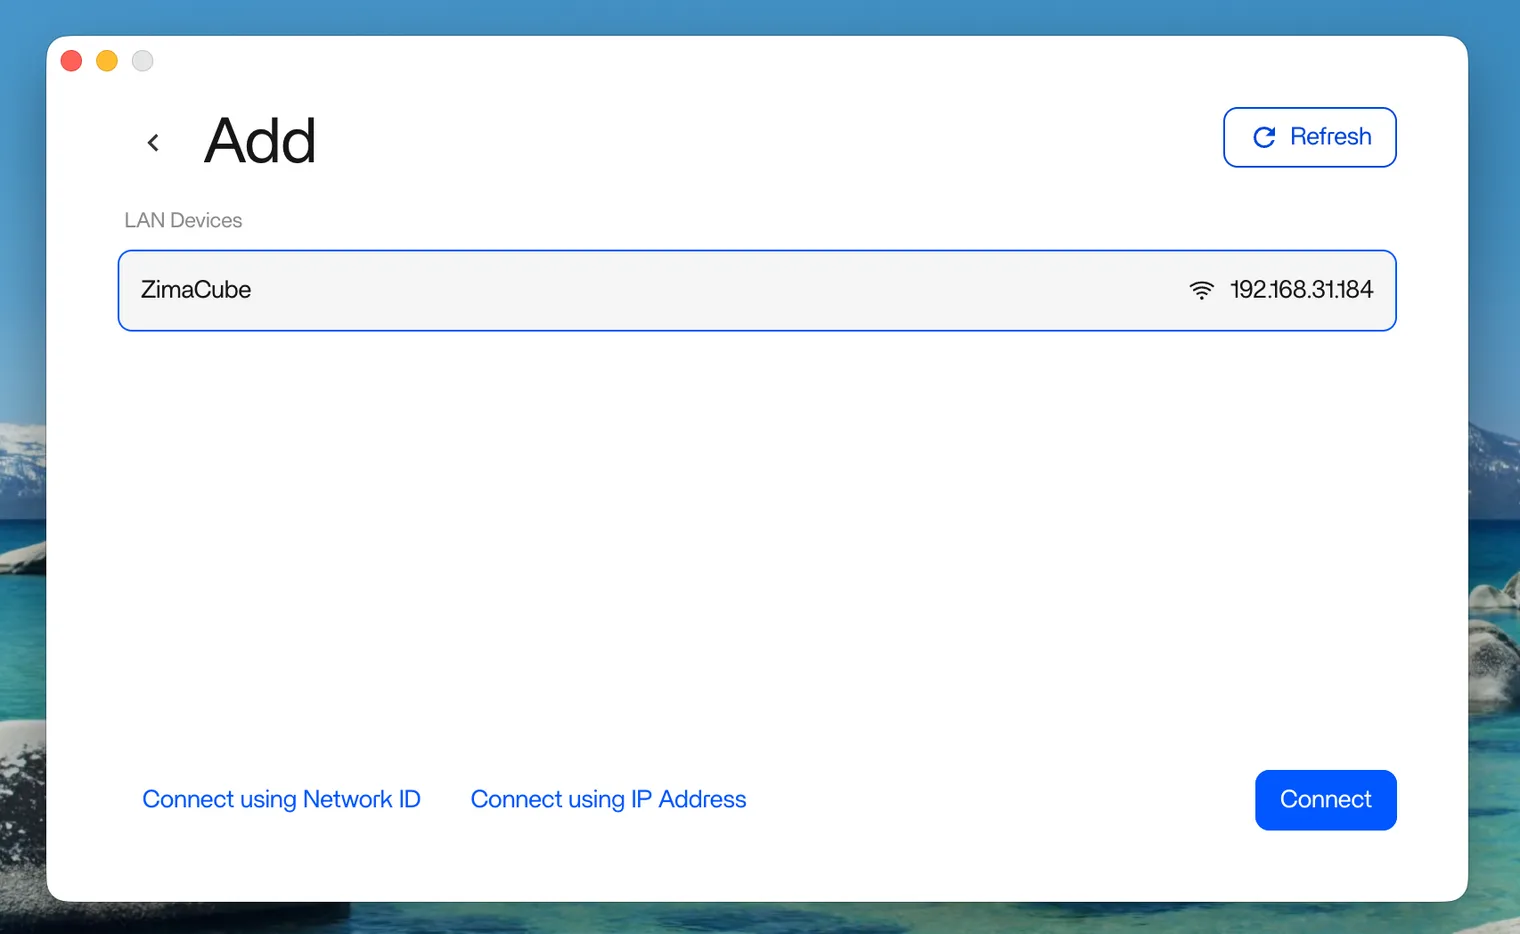
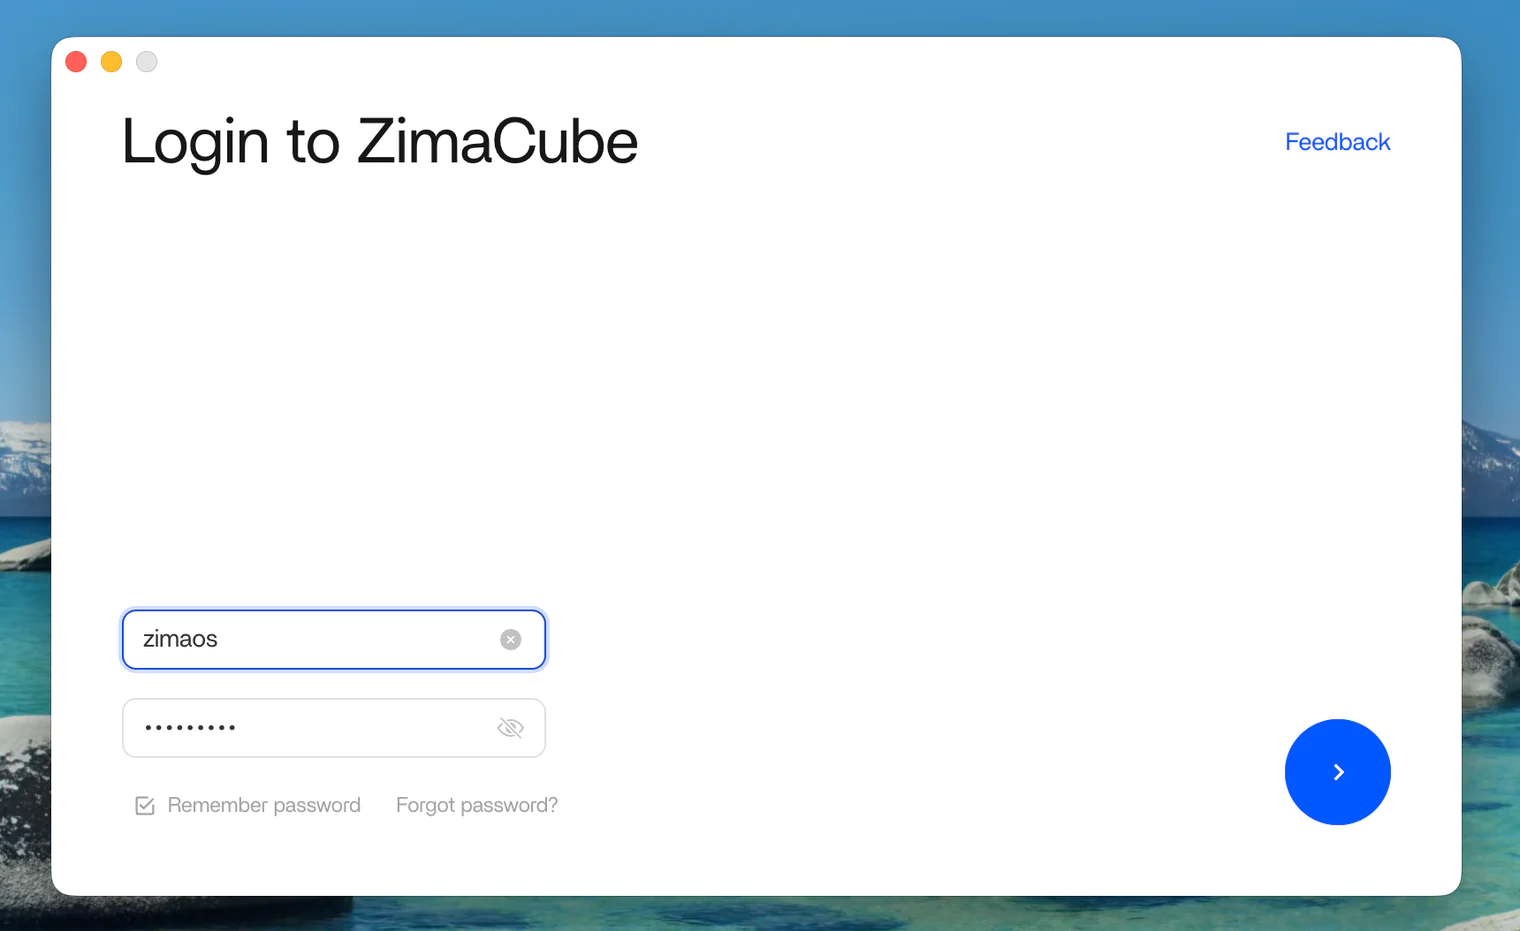
- Select your device and sign in with your ZimaOS account. Check remember password so you stay signed in.
- Configure the default mount so your storage space shows up in the network section of Finder on macOS or File Explorer on Windows. Once mounted, it behaves like a USB drive that is always plugged in. Video editing software and other PC apps open files straight from the NAS as if they were on a local disk.
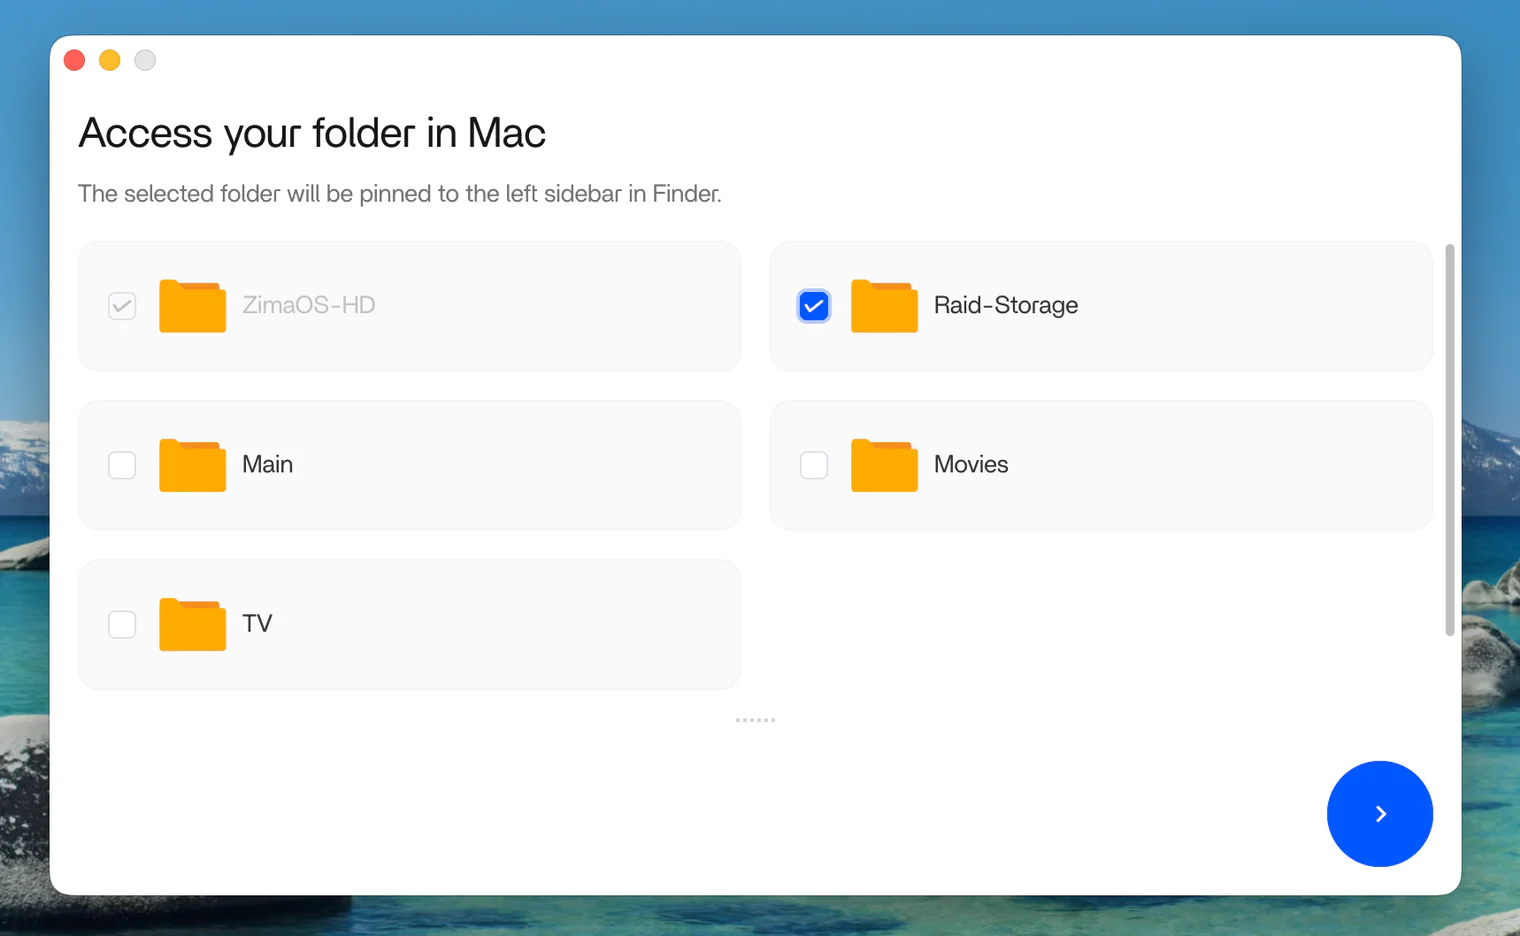
After the first sign-in, the computer is linked to the device.
Remote AccessRemote access is set up automatically during the first sign-in. After that, your laptop reaches the NAS from anywhere through the encrypted peer-to-peer channel, with nothing else to configure — provided you have enabled the remote access feature in Settings > Network on your ZimaOS device.
Access Shared Folders in Finder
Once connected, your ZimaOS storage shows up directly in Finder on macOS and File Explorer on Windows. Browse the shared folders like any other folder on your computer, and drag files in and out without a web interface.
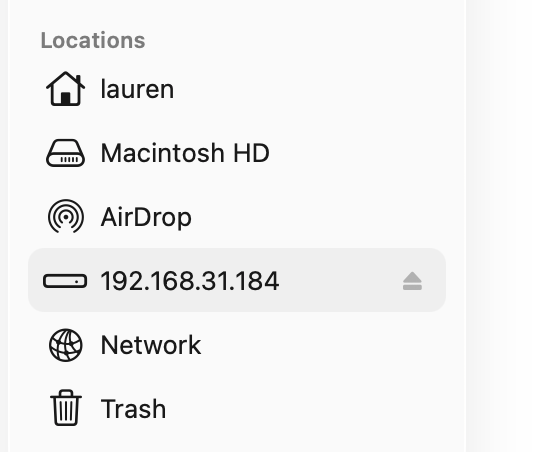
File sharing is on by default through SMB File Sharing, protected by your ZimaOS account.
Choose Folders to Back Up
Pick the folders on your computer that matter: documents, projects, photos.
- In ZimaClient, click Backup.
- Click Add Backup Directory.
- Select the folders to back up.
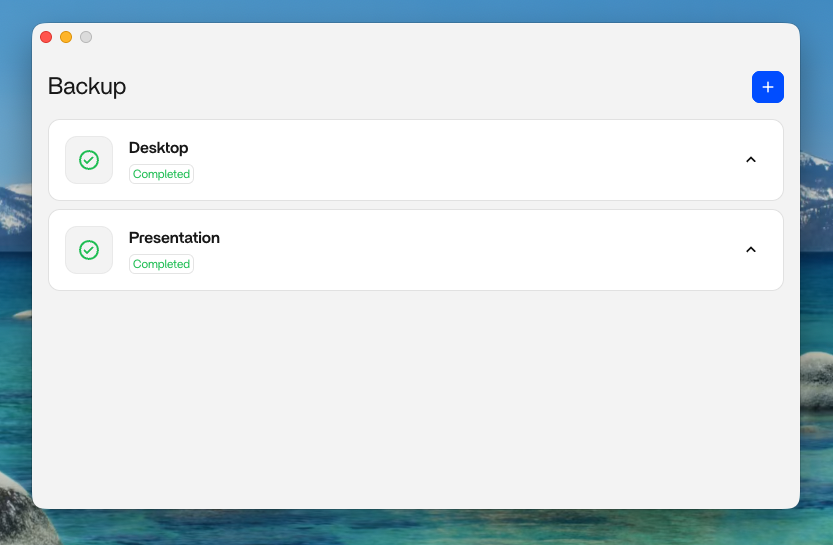
You select them once, and ZimaClient keeps them backed up from then on — automatically, in the background, on the schedule you set. No need to remember to run it.
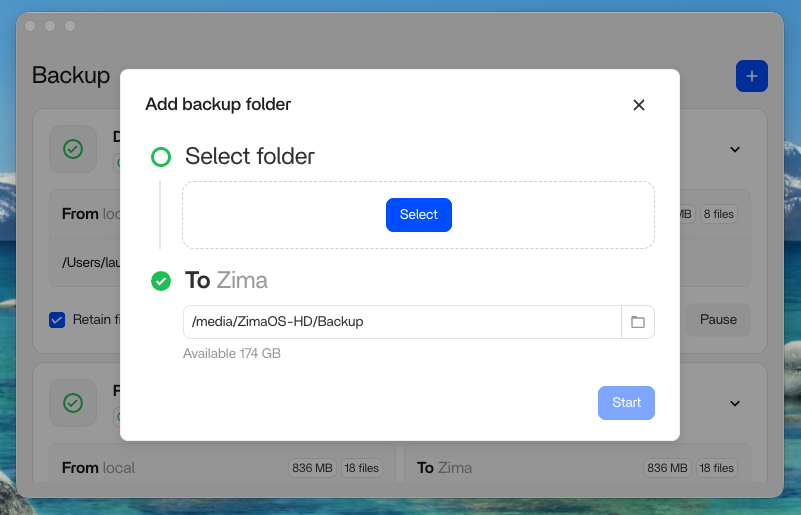
Choose the Destination
Point the backup at a storage space of your own — a single disk or a RAID array — and never the ZimaOS system drive. The system drive is usually the smallest one, and computer folders fill it up fast. See Storage Setup for planning your storage spaces.
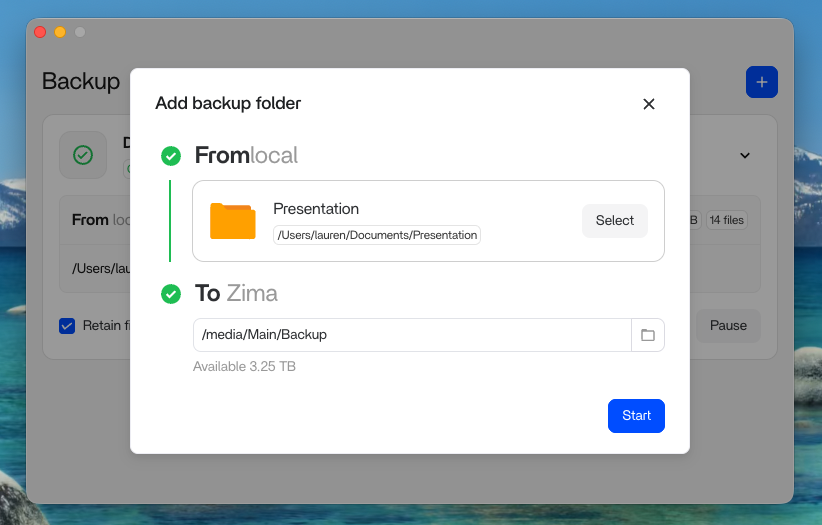
Start the Backup
Confirm and start. The first backup takes the longest because it moves everything you selected. Later backups only transfer what changed.
Restore Files
Getting files back is just as simple as backing them up.
Open your ZimaOS storage in Finder or File Explorer and drag the files back to your computer. Folder backup covers the files where your work lives. On a Mac, Time Machine Backup adds full system recovery on top.
Before you rely on any backup, restore one file and open it. A backup you have never tested is a plan you have never tested.
Backup Speed
A computer on 5 GHz Wi-Fi tops out around 100 MB/s in theory. In a typical home, real Wi-Fi transfers land between 40 and 80 MB/s, depending on the router and how crowded the air is. The NAS side keeps up without breaking a sweat, and ZimaOS transfers large batches of small files as smoothly as big videos, so project folders full of tiny files are no slower than movies.
The factors that actually move the number, in order of impact:
- Wired vs Wi-Fi. A gigabit cable delivers 110 to 125 MB/s, stable and predictable. Wi-Fi shares the air with every device in the house and drops with distance and walls.
- Your router. The single biggest upgrade. In community tests, swapping an ISP-supplied router for a decent one took the same Wi-Fi transfer from 18 MB/s to around 90 MB/s.
- Distance and interference. Closer to the router on 5 GHz beats farther away, and a busy channel with neighbors and IoT devices cuts into the airtime you get.
- Everything else is noise. The device’s network port, the disks inside, and the file mix are rarely the bottleneck once the first three are handled.
If your computer has Thunderbolt, Thunderbolt Direct Connect pushes well past Wi-Fi, limited only by the drives inside your device.
For the first big backup, plug in the cable and let it run.
Common Problems
The backup got interrupted. ZimaOS resumes automatically where it left off. Reconnect and it continues.
You replaced your computer. Install ZimaClient, sign in with the same ZimaOS account, and add your folders again. The data on the NAS is untouched.
The destination is running out of space. Point the backup at a larger storage space, or use the built-in tool in Data Migration to free up room.
Practical Tips
- Before you replace a computer, open ZimaClient once and let it finish a final backup.
- A folder synced to the cloud is not a backup: deleting a file locally deletes it everywhere. A backup keeps versions and only writes forward.
Next
- Phone Backup — the same simplicity for the phone in your pocket
- 3-2-1 Backup Strategy — one backup is not a plan